
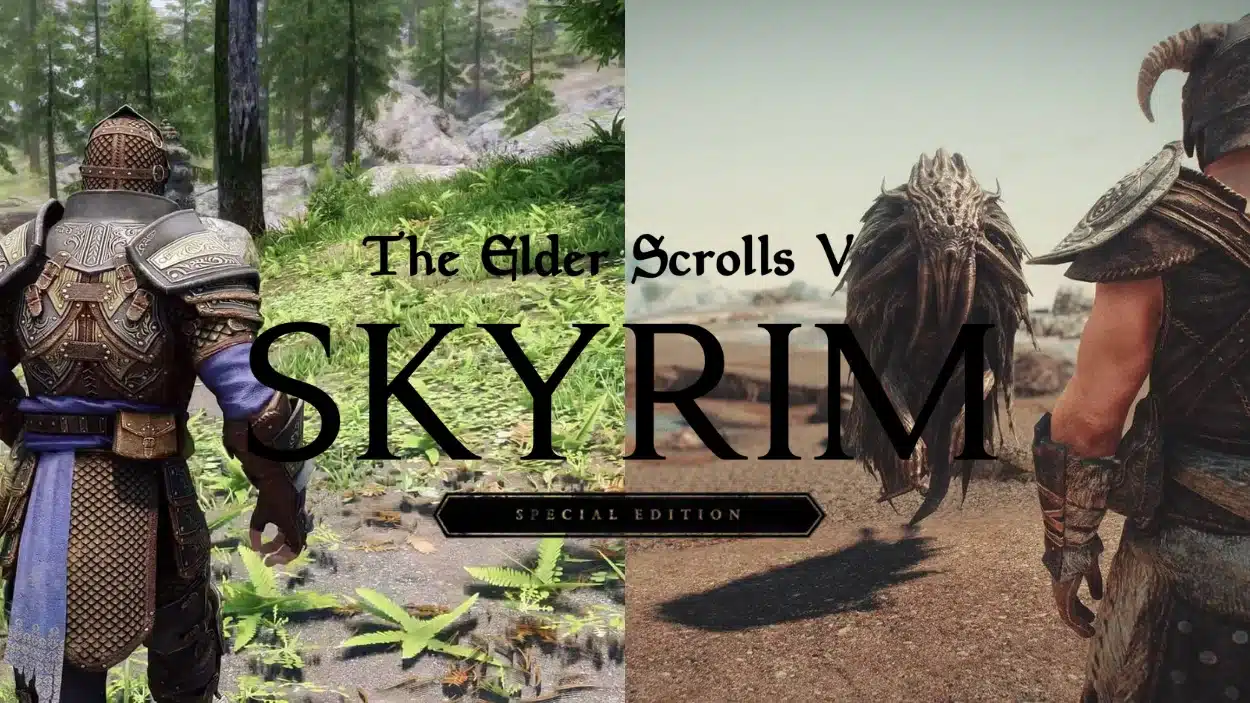
I’ve been playing Skyrim for years, and I know the feeling. The base game is great, but after a while, it starts to feel the same. You want something fresh. Something that makes Tamriel feel new again.
That’s where modding Skyrim comes in.
I’m going to show you how mods can completely change your experience. We’re talking better graphics, new quests, improved combat, and so much more. You don’t need to be a tech expert to do this.
In this blog, I’ll walk you through the basics of modding. You’ll learn what mods are, how to install them safely, and which ones can change your game.
Getting Started – Prerequisites and Clean Install
Before you start adding mods, you need to get a few things ready. Trust me, skipping this step causes problems later.
First, make sure your Skyrim is up to date. Check for any patches or updates through Steam. An outdated game version can break mods or cause crashes.
Next, do a clean install if you’ve modded before. Remove all old mods completely. Delete any leftover files from your Skyrim folder. This gives you a fresh start and prevents conflicts.
You’ll also need some free space on your hard drive. Mods can take up quite a bit of room, especially texture packs and large quest mods.
Finally, back up your save files. Copy them to a safe folder. This way, you won’t lose your progress if something goes wrong during the modding process.
Modding Skyrim – Essential Tools and Mod Managers
You can’t just drop mod files into your game folder and hope for the best. You need the right tools to manage everything properly.
Download the following tools first. Install them before you add any mods to your game.
| Tool | What It Does | Why You Need It |
|---|---|---|
| Mod Organizer 2 | Manages and organizes all your mods | Keeps mods separate from game files, easy to enable or disable |
| SKSE (Skyrim Script Extender) | Extends the game’s scripting capabilities | Many advanced mods require this to work |
| LOOT (Load Order Optimization Tool) | Sorts your mod load order automatically | Prevents conflicts and crashes between mods |
| SSEEdit | Cleans and edits mod files | Fixes errors in mods and resolves compatibility issues |
How to Mod Skyrim – Essentials and Bug Fixes

Every modded setup needs a solid foundation. These essential mods fix bugs and improve stability before you add anything else.
Unofficial Skyrim Patches
The base game has tons of bugs that Bethesda never fixed. The Unofficial Skyrim Special Edition Patch (USSEP) handles this for you.
This mod fixes thousands of issues:
- Quest bugs that prevent completion
- Item placement errors
- NPC dialogue problems
- Mesh and texture glitches
Install this first before any other mods. It’s compatible with almost everything and makes your game much more stable. You’ll avoid a lot of headaches down the road.
Performance and Stability Mods
Your game needs to run smoothly, especially with multiple mods installed. These performance mods help with that.
SSE Engine Fixes addresses core engine problems. It prevents crashes and improves frame rates. Install it right after USSEP.
Another key mod is SSE Display Tweaks. It helps with screen tearing and stuttering. You can also cap your frame rate to prevent physics glitches.
User Interface Improvements
Skyrim’s default UI is clunky and hard to use. SkyUI completely redesigns it for PC players.
The inventory becomes much easier to sort through. You can search items by name. Everything feels more organized and accessible.
Plus, many other mods require SkyUI to function properly, so install it early.
Unlocking Next-Gen Graphics – Visual Overhauls
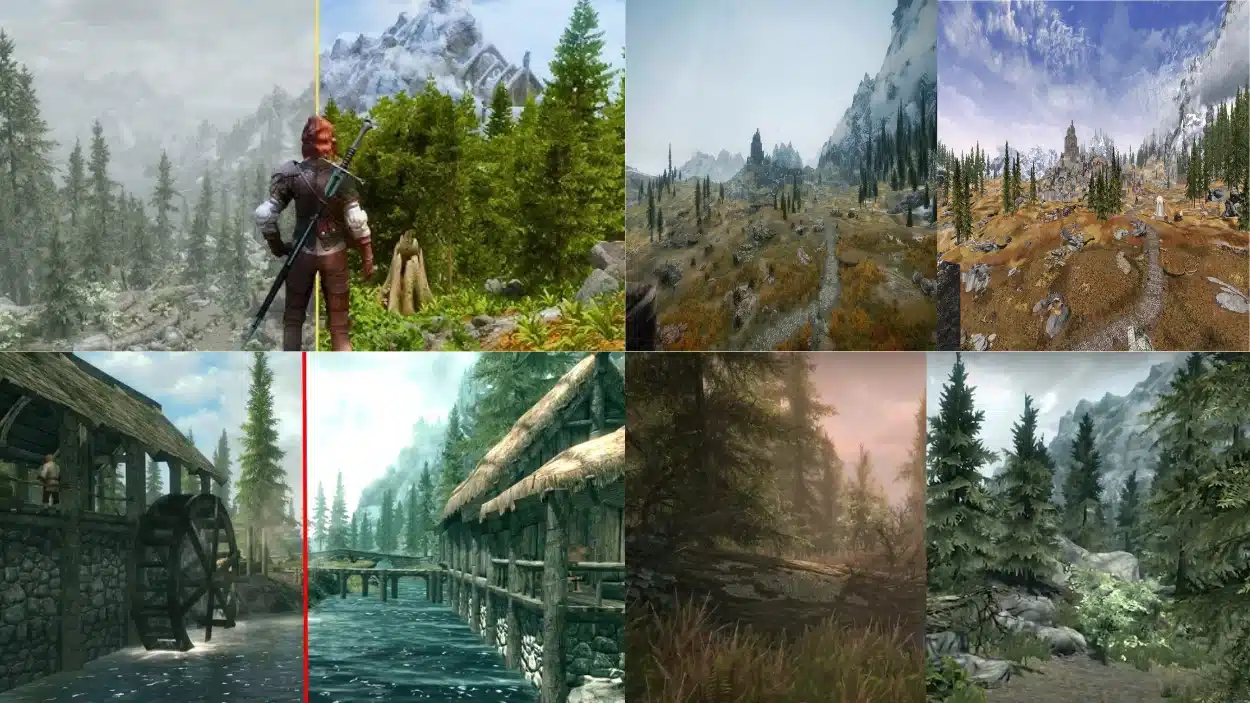
Modding Skyrim to improve graphics makes it look like a modern game. Here’s what you need to change the visuals.
High-Resolution Texture Packs
Install texture mods to replace the game’s old, blurry textures. Noble Skyrim and Skyrim 2020 are great options. They make everything look sharper and more detailed.
Lighting and Weather Mods
Mods like Enhanced Lights and FX change how light works in the game. Obsidian Weather adds realistic weather patterns. Your world will feel more alive and atmospheric.
Character and NPC Overhauls
Make faces look better with mods like WICO or Diversity. NPCs won’t look like potatoes anymore.
Environmental Enhancements
Flora mods add better trees, grass, and plants. Your forests will look incredible.
ENB Presets
ENB is the final touch. It adds advanced lighting effects and color grading for a cinematic look.
Advanced Tips – Load Order, Conflicts, and Troubleshooting
Getting mods to work together takes some know-how. Here are the key things you need to understand.
- Sort Your Load Order Properly: Use LOOT to automatically organize your mods. It places them in the right sequence to avoid conflicts and crashes.
- Check for Mod Conflicts: Run SSEEdit to spot issues between mods. Look for red flags that show conflicting changes to the same game elements.
- Read Mod Descriptions Carefully: Authors list compatibility issues and requirements. Missing a dependency will cause problems, so check before installing.
- Test After Each Addition: Add a few mods at a time, then test your game. This helps you identify which mod causes crashes if something breaks.
- Keep Backups of Working Setups: Save your mod list when everything is running smoothly. You can restore it if later additions mess things up.
Wrapping it Up
You now have everything you need to start modding Skyrim the right way. I’ve shown you the tools, the essential mods, and how to avoid common mistakes. Your game can look and play better than ever before.
So what’s next? Start small. Install the bug fixes and stability mods first. Then add graphics improvements one at a time. Test as you go.
Modding takes patience, but it’s worth the effort. Your game will feel brand new. If you run into problems, revisit the troubleshooting tips I shared.
Now get out there and build your perfect Skyrim experience. You’ve got this.