Copying a pro’s exact Fortnite settings rarely closes the gap on its own.
I’ve rebuilt this same settings stack on three different PCs, and the pattern never changes: the layer doing the real work usually sits underneath the numbers.
It’s the Windows power plan idling in the background, a TV’s motion smoothing quietly adding delay, a deadzone set two points too high.
None of that shows up on a settings list, yet it decides how far any single number can take you.
Good Fortnite pro settings work as a stack, not a checklist, with the pieces closest to your hardware carrying the most weight. Start there, then build up.
Why Your Settings Need a System, Not a List?
Your hardware and OS settings set the ceiling. Everything in-game works within whatever limit they allow.
That’s why copying a pro’s sensitivity and seeing no improvement is so common. The numbers were right, but the foundation wasn’t.
Your setup runs in four layers: hardware and OS at the bottom, then video and audio, then sensitivity, then controls and binds at the top.
Each layer sits on the one below it. An incorrect power plan causes frame spikes that no in-game setting can fix.
A misconfigured deadzone breaks sensitivity no matter how carefully you dialed it in.
The players who actually improve from a settings change are usually the ones who understood what that setting was doing in the first place, not the ones chasing a slightly different number.
Build your setup from the bottom up, and give the broader picture some thought too; this roundup of Fortnite tips and tricks to level up like a pro covers the decision-making side once your settings are locked.
Configure each layer before moving to the next. Skip ahead to sensitivity before your hardware is sorted, and you’re tuning on an unstable base.
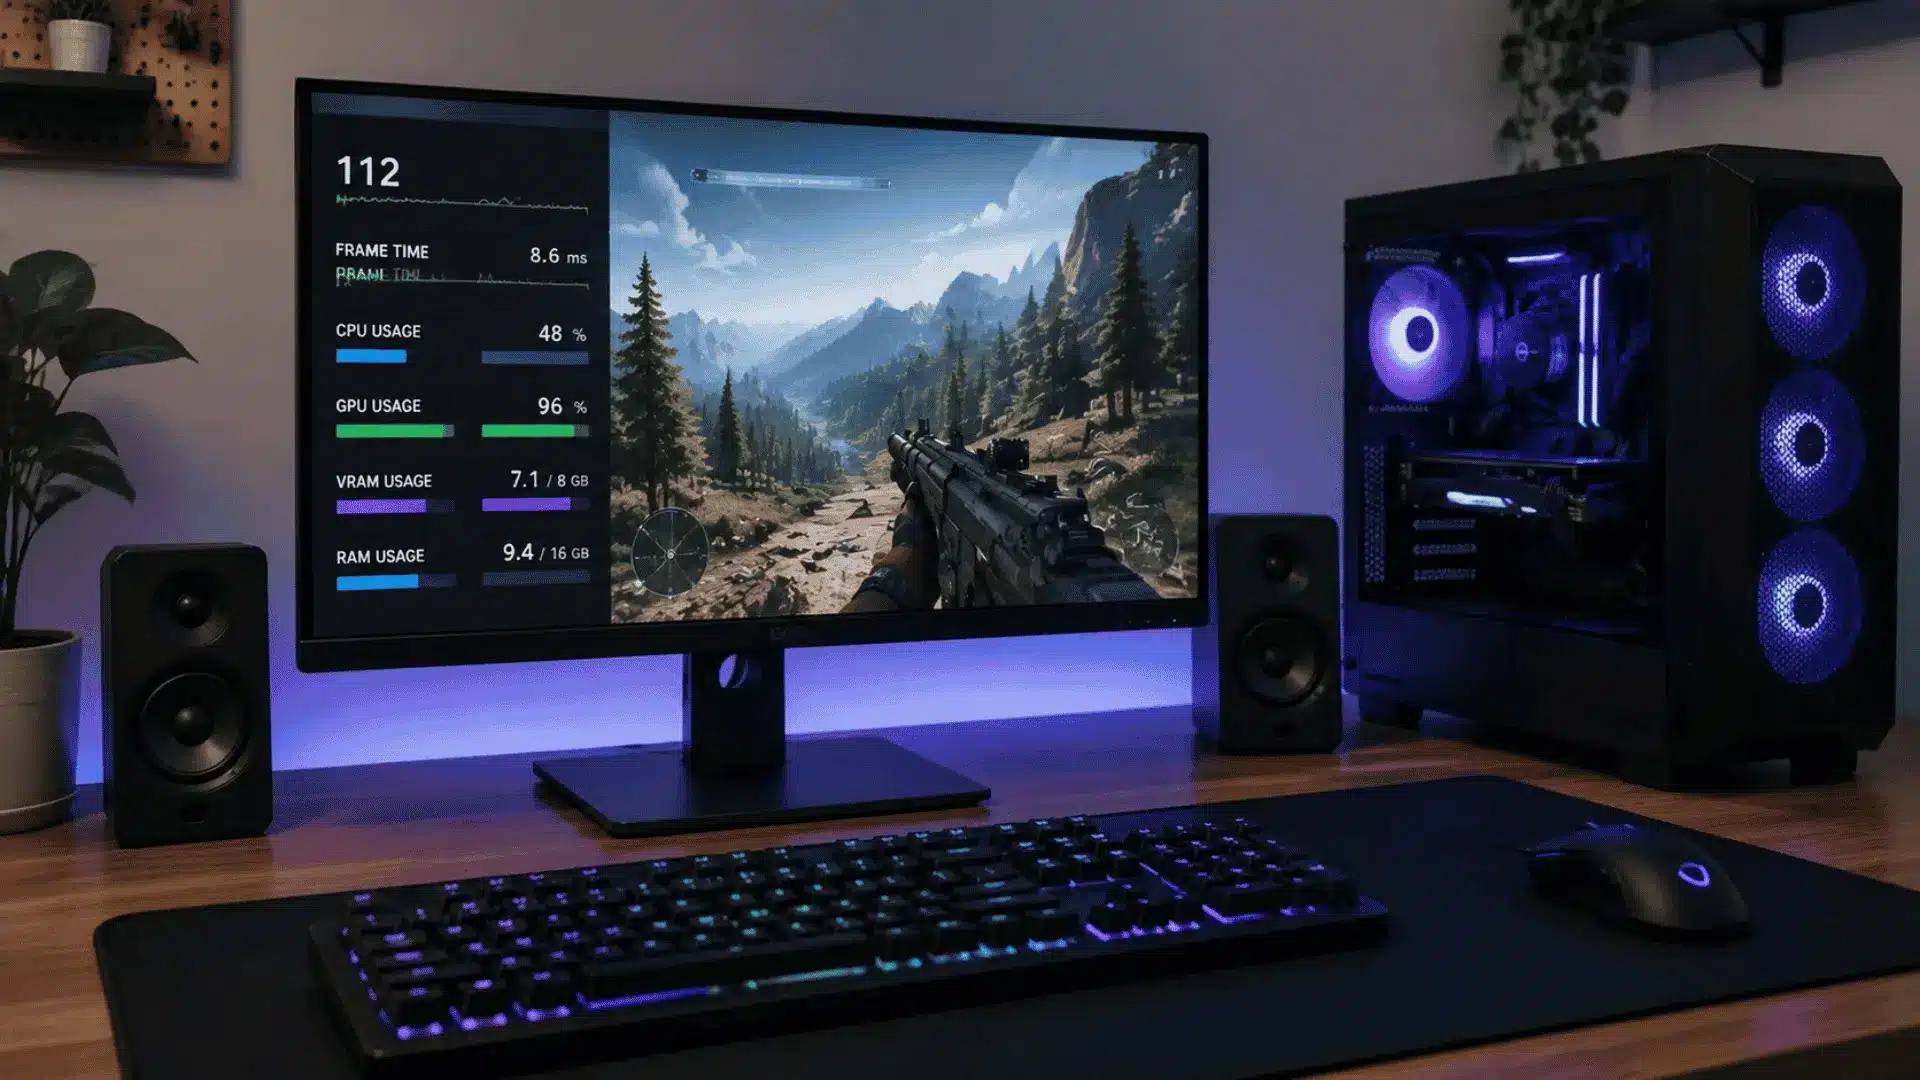
Device and System Settings Outside the Game
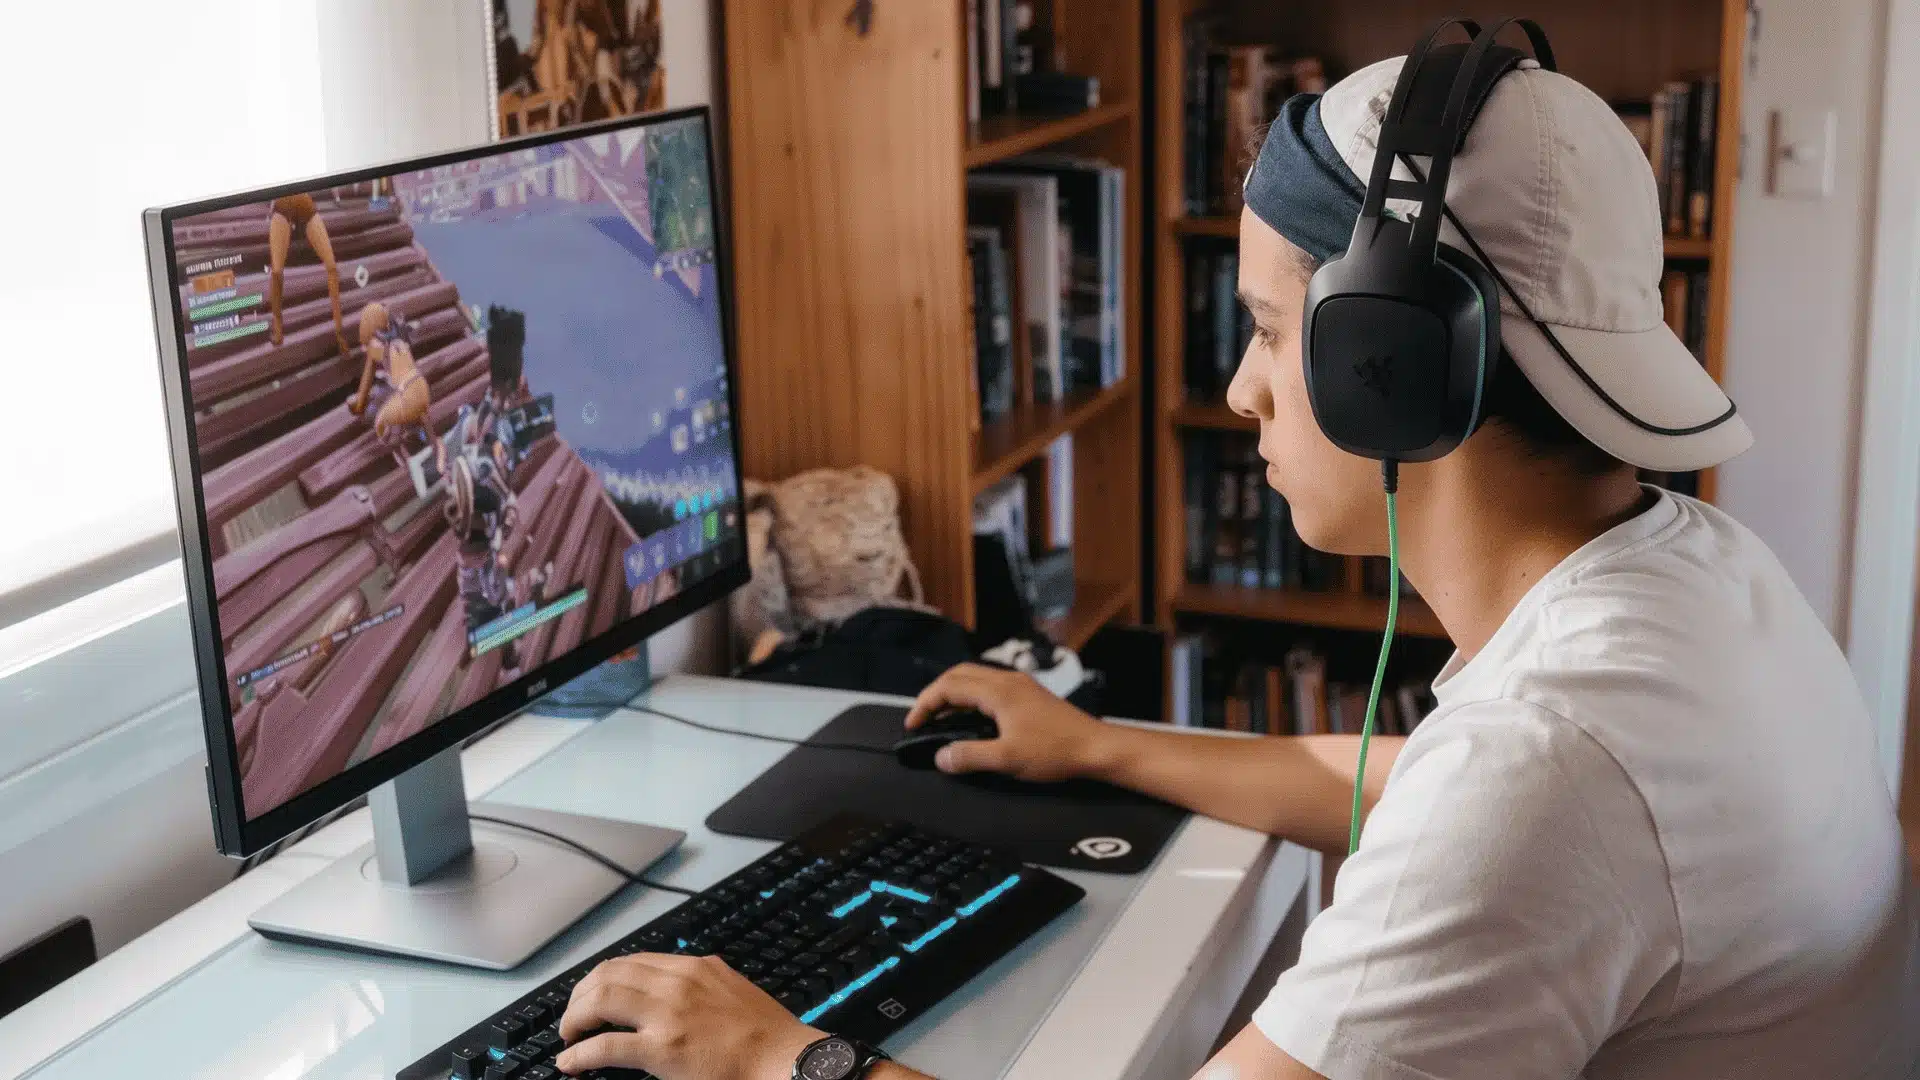
Your hardware and OS settings form the ceiling. An incorrect power plan or an uncorrected monitor refresh rate creates problems that no in-game setting can fix.
These are the settings most players never touch, and the ones responsible for the biggest unexplained performance gaps.
1. Monitor Setup
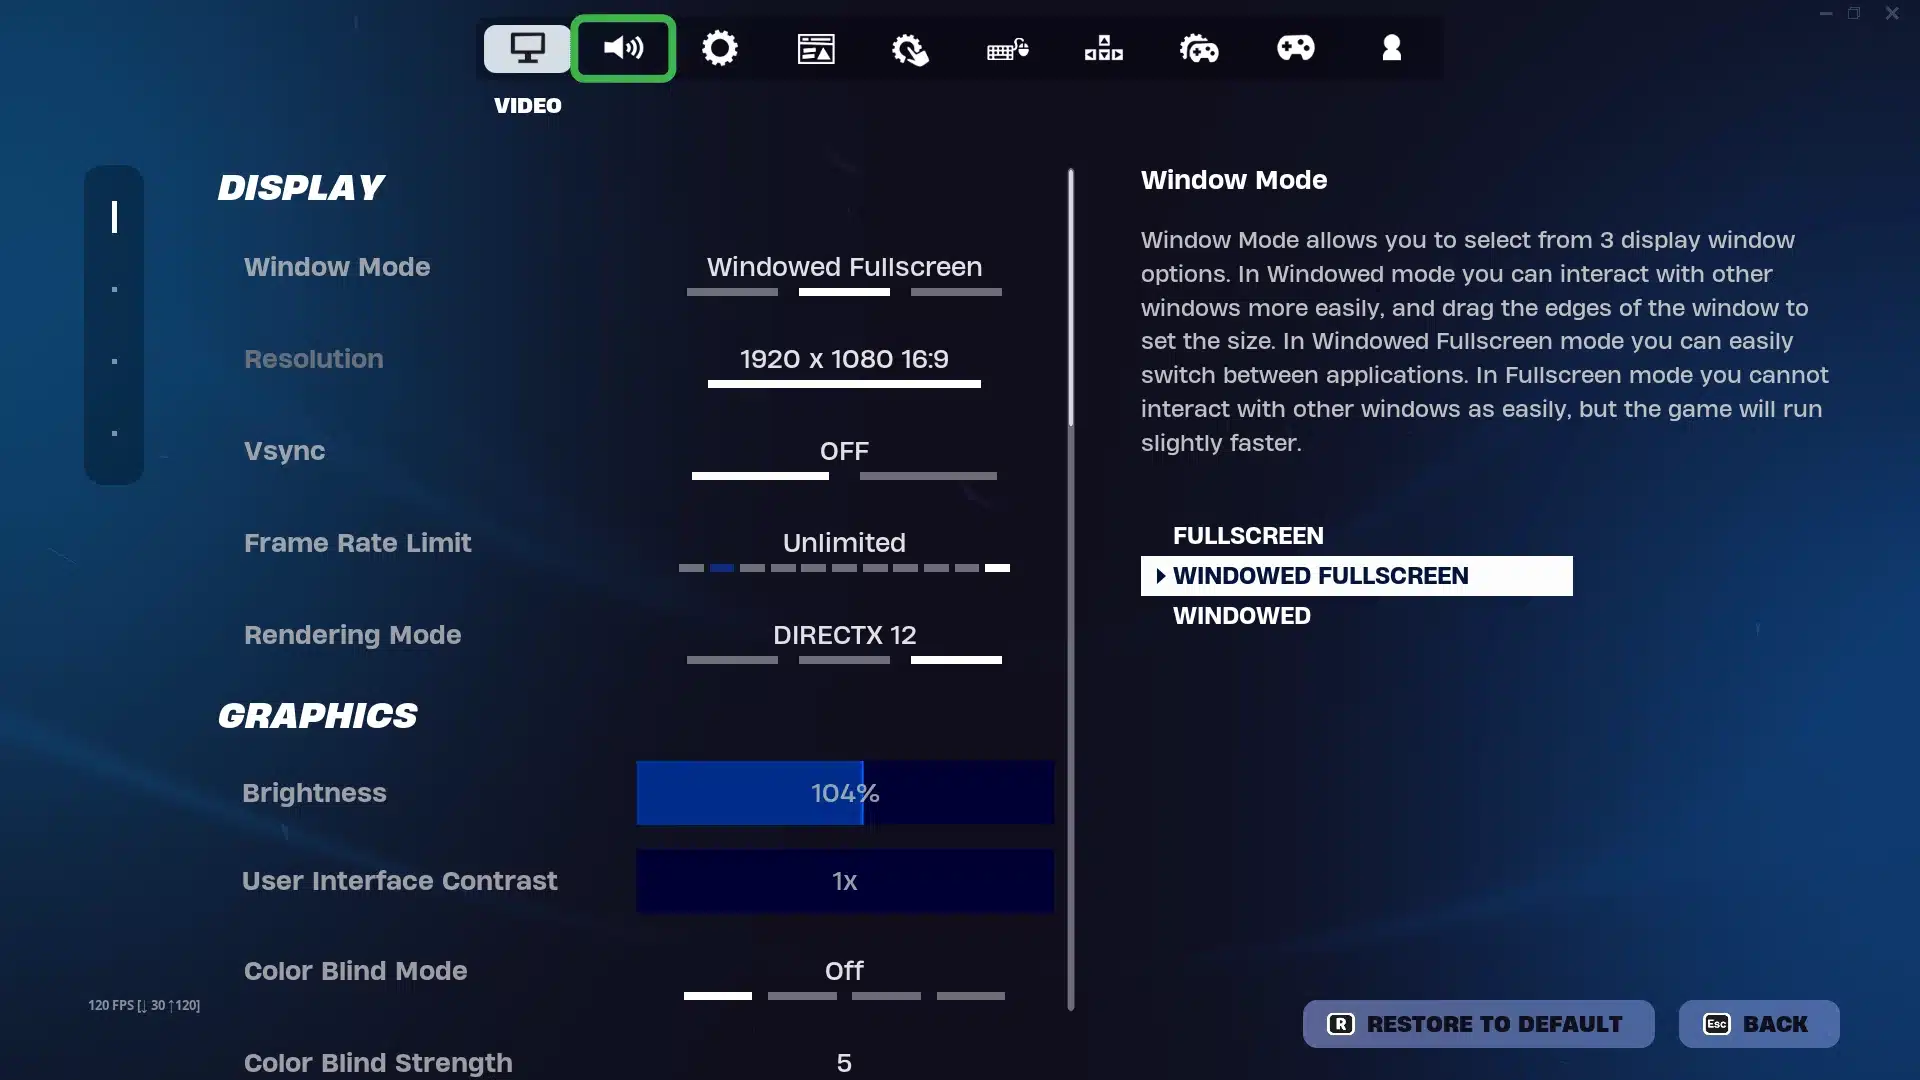
Your monitor’s refresh rate needs to be set in Windows, not just in the monitor’s own menu. Open Display Settings, click Advanced display, and set the refresh rate there.
A 240Hz monitor reports as 60Hz in Windows until you change it. Fortnite caps to whatever Windows reports, not what your monitor can actually do.
Set in-game brightness to 55–60% and monitor brightness to 70–80%. Console players need HDMI 2.1 to output 120Hz; HDMI 2.0 caps at 60Hz regardless of what the display supports.
2. Mouse and Pointer Settings
Set Windows pointer speed to 6/11, the exact middle of the slider in Control Panel under Mouse. It’s the only position where Windows applies no acceleration to your input.
Turn Enhance Pointer Precision off in the same menu. It’s on by default and adds acceleration without labeling it as such.
Set polling rate to 1000Hz. Higher rates only help if your CPU can handle the reports cleanly. Use an XL mousepad; your full 180° flick should fit without running off the edge.
3. Windows and GPU Settings
These run beneath every game on your system. Set them once and leave them.
- Power plan: High Performance or Ultimate Performance. Balanced throttles CPU clock speed dynamically, which creates microstutter during fights.
- Windows Game Mode: On. Deprioritizes background processes during a session.
- Hardware-Accelerated GPU Scheduling: On if your GPU supports it. Reduces CPU-to-GPU latency by a small but real margin.
- NVIDIA Low Latency Mode: Ultra, in NVIDIA Control Panel. AMD has an equivalent in Radeon Software. Both reduce the gap between your input and the frame you see.
- Background apps: Close RGB control software, browser tabs, and any streaming tools before playing. They steal CPU headroom at the moments you need it most.
I’ve watched a Balanced power plan alone add noticeable frame-time variance during back-to-back box fights on two otherwise identical rigs.
None of these takes more than five minutes to set. The performance difference, especially the power plan, shows up immediately in how fights feel.
Console-Specific Settings
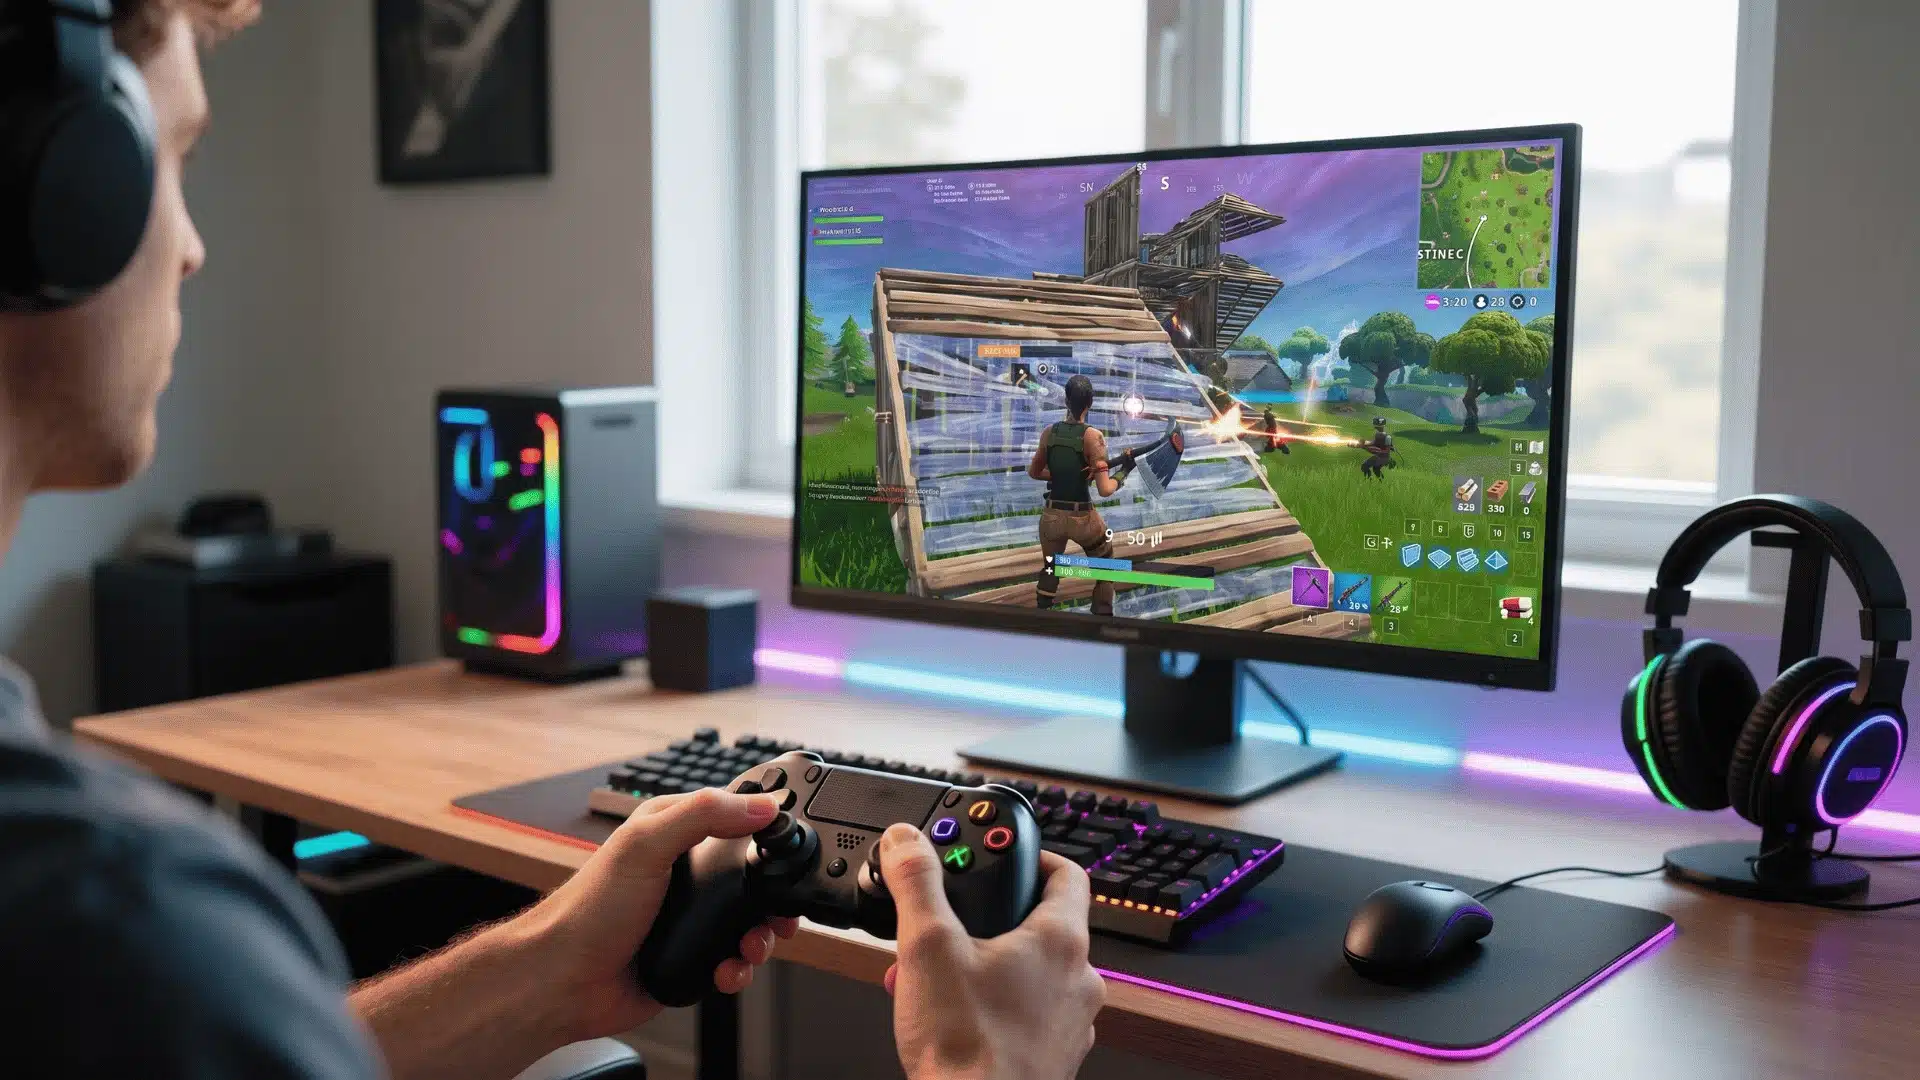
Console performance starts outside the game. Your TV settings alone can add or remove up to 80ms or more of latency before a single frame reaches your eyes.
- Performance mode: On. Resolution mode runs at higher visual quality but lower frame rates. For competitive play, frame rate wins.
- 120Hz output: Enable in your console’s display settings. Requires HDMI 2.1 on both ends, the cable and the TV port.
- TV Game Mode: On. Find it in your TV’s picture settings. It disables the TV’s own post-processing, which is where most of that added latency comes from.
- Motion smoothing: Off. Find it by name: TruMotion on LG, MotionFlow on Sony, Auto Motion Plus on Samsung, ClearMotion on Hisense. It adds latency your console can’t fix.
TV settings are the most skipped step for console players. Two of these, Game Mode and motion smoothing, will change how the game feels more than any in-game setting will.
Video and FPS settings
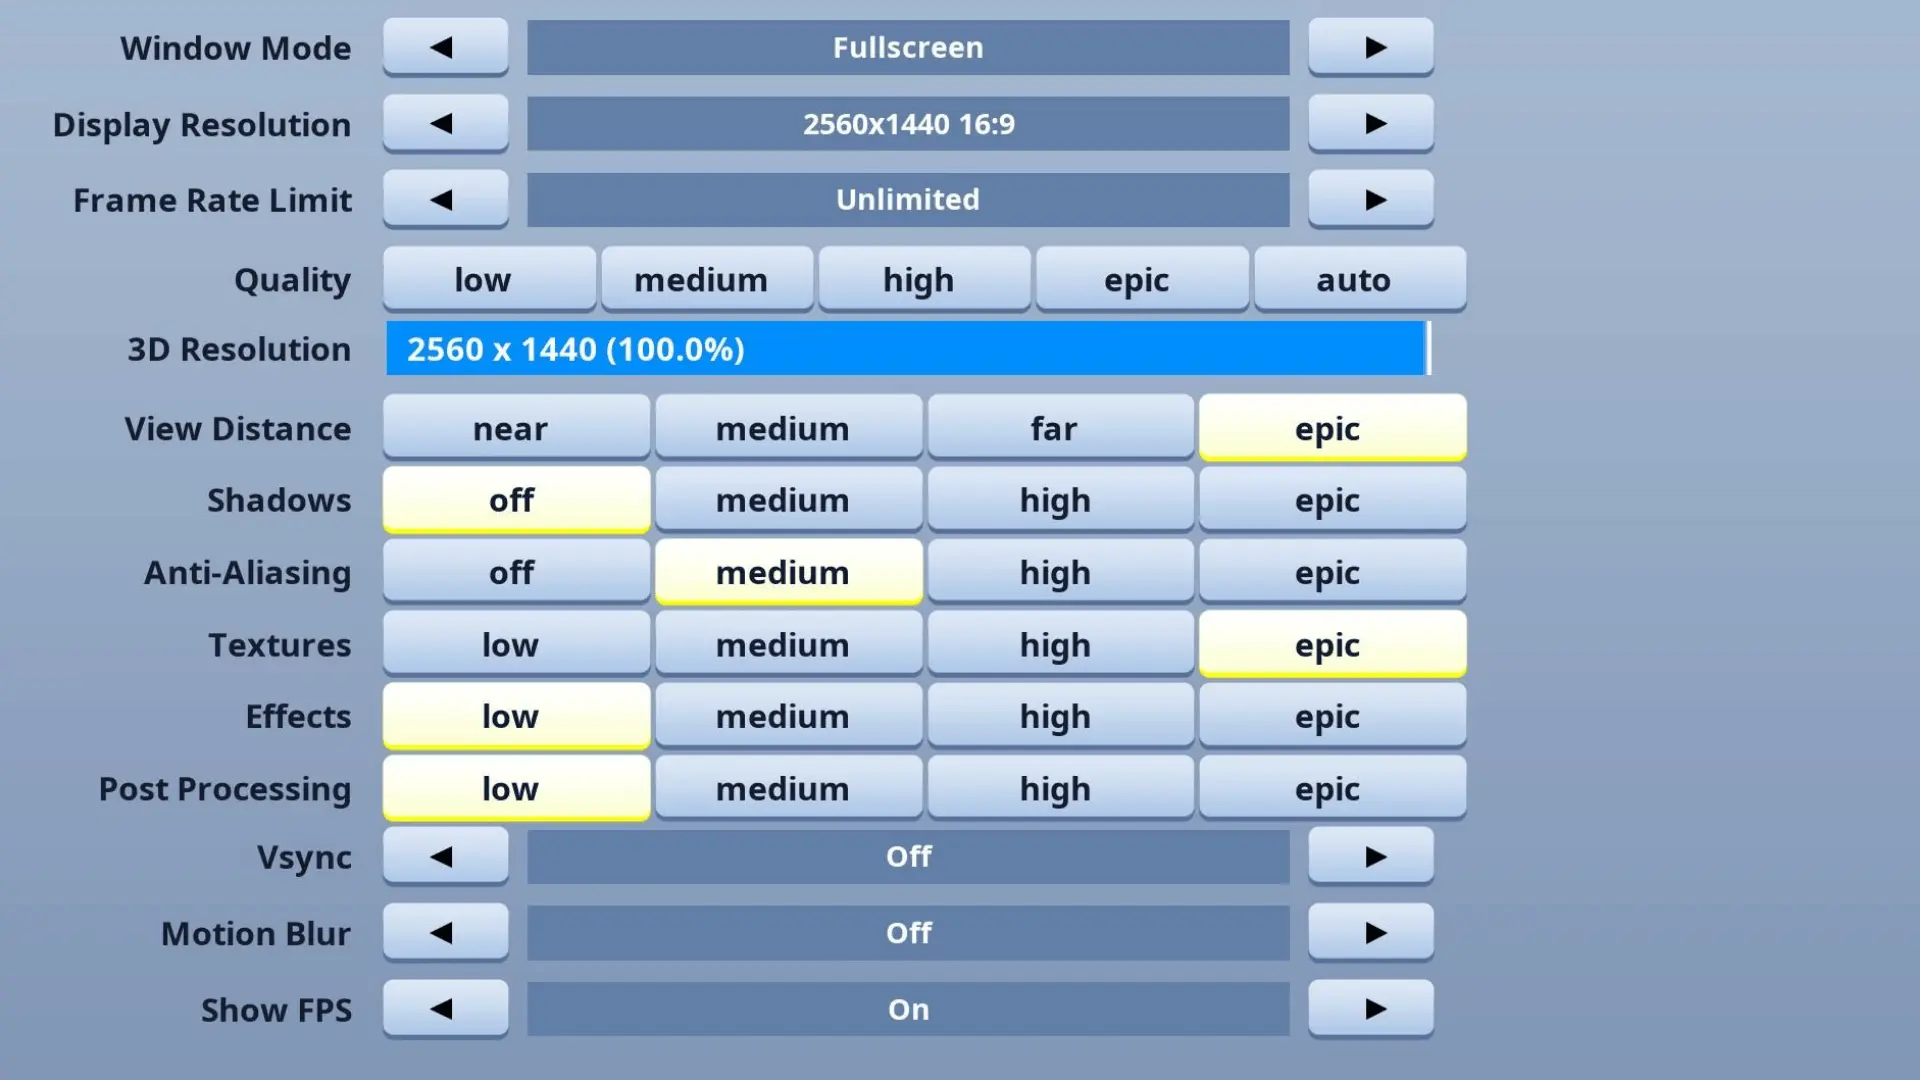
Competitive video settings follow a priority order: frame stability first, input lag second, visual clarity third. Settings trade one for another.
Knowing which matters more stops you from making the wrong trade. The goal is the setting that matches what a fight actually demands, not the lowest number on the slider.
Display and Performance Settings
These control how the game delivers frames to your screen. Get them wrong, and everything above them suffers.
| Setting | Value | Why |
|---|---|---|
| Window mode | Fullscreen | Bypasses Windows compositor, cuts 5–15ms of latency |
| Resolution | Native | Lower resolution blurs enemies at range |
| V-Sync | Off | Adds a full frame of input lag to prevent tearing |
| Frame rate limit | Match monitor Hz | Uncapped FPS causes heat buildup and frame spikes |
| Performance mode | On | Reduces CPU overhead, improves frame times |
| Show FPS | On | Know your baseline before diagnosing any problem |
Fullscreen is not just a preference. Borderless windowed runs through the Windows compositor, which adds latency between your input and what appears on screen.
Render Quality Settings
Lower everything except view distance. That one setting has a direct tactical cost that the others don’t.
| Setting | Value | Why |
|---|---|---|
| View distance | Far / Epic | Enemies appear later at lower values |
| Shadows | Off | Obscures feet and silhouettes near cover |
| Anti-aliasing | Off / FXAA | TAA softens the image and blurs targets at range |
| 3D resolution | 100% | Dropping it makes distant enemies harder to read |
| Textures | Medium | High textures eat VRAM with no visibility benefit |
| Effects | Low | Explosion effects block your view during fights |
| Motion blur | Off | Smears everything during edits and fast turns |
| Foliage | Low | Reduces bush density, exposing players hiding in cover |
View distance is the one setting where the competitive cost of going low outweighs the FPS you’d gain. Every other setting on this list is the opposite.
Audio Settings
Audio is a positional input. Footsteps and building sounds tell you where someone is before you can see them. Your audio settings either protect that information or degrade it.
A player you can hear coming is a fight you’re already winning.
In-Game Audio Settings
| Setting | Value | Why |
|---|---|---|
| Sound mode | Headphones | Applies Fortnite’s positional mix regardless of output device |
| Music volume | 0% | Mask the footsteps in the exact range where approach detection happens |
| Sound effects | 70–100% | Footsteps, builds, reloads, all live here |
| Voice chat | 50% + PTT | Loud enough for callouts, quiet enough not to bury environment audio |
| Cinematics volume | 0% | You’ve seen the intro |
| Visualize sound effects | On | Maps nearby sounds to screen icons, useful even with good headphones |
Visualizing sound effects is underused. It shows footstep direction and chest locations as icons on screen, giving you a second channel of information beyond what you can hear.
Headset and System Audio Setup
Use stereo output with no surround sound software running.
Fortnite’s engine already applies spatial audio processing. Windows Sonic, Dolby Atmos, and DTS add a second processing layer on top; the two conflict, and directional accuracy gets worse, not better.
If your headset has an EQ preset, use flat or competitive. Bass-boost presets feel good on gunshots but suppress the mid-range frequencies where footsteps sit.
A decent headset beats monitor speakers for positional accuracy. The difference isn’t subtle in a close fight.
Sensitivity: Keyboard and Mouse
eDPI is the number that actually controls how fast your crosshair moves. Not your DPI. Not your in-game sensitivity. The two combined.
What is eDPI? eDPI is your effective sensitivity: mouse DPI multiplied by your in-game sensitivity setting. It’s the number that actually determines crosshair speed, not either input on its own.
Finding the right eDPI means calibrating to your own hands, not copying someone else’s numbers.
DPI and eDPI
eDPI = DPI × in-game sensitivity. Two players with completely different-looking settings can have identical crosshair speed if their eDPI matches. The product is what matters, not either number alone.
Set your DPI at 400 or 800. Higher values introduce interpolation: the sensor fills in movement data it didn’t actually measure, reducing accuracy during fast swipes.
Adjust in-game sensitivity until a full 180° flick takes one comfortable arm sweep across your pad. Competitive eDPI generally clusters between 48 and 80; use that as a reference, not a target.
Chasing a pro’s exact eDPI matters less than being able to repeat it under pressure. Consistency beats imitation every time it’s tested.
If you want a real published example to calibrate against rather than a range, this breakdown of Peterbot’s settings walks through his exact sensitivity and DPI.
Targeting and Scope Sensitivity
These are multipliers added to your base sensitivity. Targeting sits at 65–75% of base. Scope sits lower, at 50–65%.
A scoped shot amplifies every small movement. Less mouse travel moves the crosshair further on screen, so you need a slower setting to stay accurate.
The precision required to confirm a kill through a scope differs from that needed to track a player on open ground. These two settings directly reflect that difference.
Windows pointer speed and Enhance Pointer Precision are covered in the Device and System Settings section above.
Set those before you touch in-game sensitivity; the wrong pointer setting will make every eDPI calculation below inaccurate.
Sensitivity: Controller
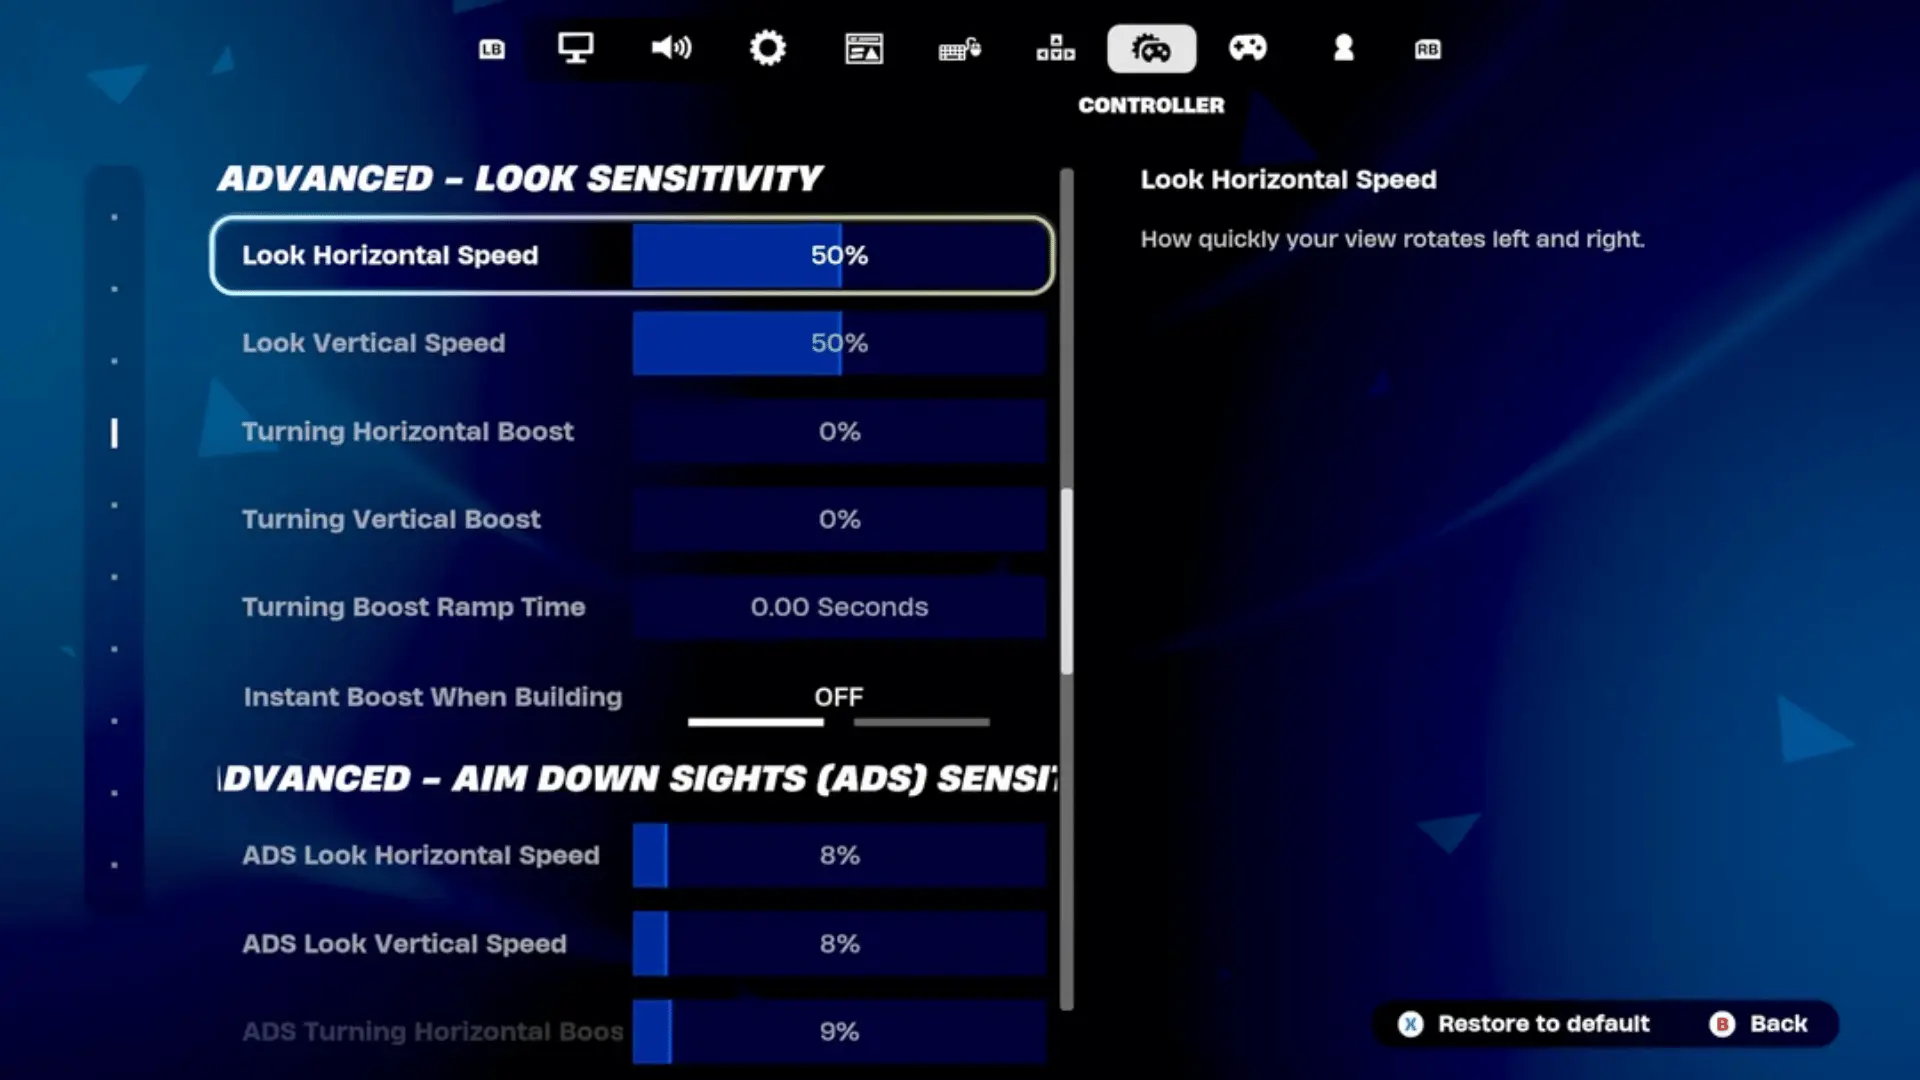
Controller sensitivity in Fortnite comprises three separate problems: aim, build, and edit, and each requires a different value because each is a distinct physical task.
Treating them as one number means you’re always compromising. Get them right individually, and each mode feels like it was built for what you’re doing in it.
1. Look, Targeting, and Scope Sensitivity
Look sensitivity controls how fast you track players in open combat. Start at 10% and adjust one point per session; changes take time to settle into muscle memory.
Targeting sensitivity should sit at 35–45% of your look value. Scope sensitivity is lower again, at 30–40%. The shot that ends a fight needs more precision than the movement that sets it up.
Pro looks at sensitivity clusters between 8–14%. That’s a reference point. Find the value where close-range tracking feels controlled without losing the ability to snap to targets.
2. Build and Edit Mode Sensitivity
In build mode, you’re rotating and repositioning structures fast. In edit mode, you’re navigating a tile grid accurately. Both need more speed than aim, but for different reasons.
Set build mode sensitivity at 1.5–2.0× your look sensitivity. Set edit mode at 1.4–1.8×. The difference between them is small because grid navigation still requires some control.
Aim needs precision. Building needs speed. Editing leans toward speed but still needs some control layered in.
3. Deadzone
Deadzone is the foundation on which everything else sits. Set it wrong, and no sensitivity value will feel right.
Start both sticks at 0% and raise slowly until stick drift disappears. Every point above that threshold is an input you have to overcome before the stick registers anything.
Test left and right sticks independently; they drift differently and need separate values. Too high a deadzone feels sluggish off-center, like the stick has a delay before it responds.
Controls and Keybinds: Keyboard and Mouse
KBM bind design is a proximity problem. Every action you take in a build fight needs to be reachable without either hand leaving its home position.
Your left hand lives on WASD. Your right hand lives on the mouse. The moment one of them has to travel, you’re slower than someone whose hands didn’t move.
That’s the constraint every bind decision should be tested against.
For a full reference layout rather than just the reasoning behind it, this guide to the best Fortnite keybinds lays out beginner-through-advanced options side by side.
Movement and Action Binds
These all need to sit within reach of WASD without any finger stretching or repositioning.
| Action | Bind |
|---|---|
| Move | W / A / S / D |
| Jump | Space |
| Crouch | Left Ctrl |
| Sprint | Left Shift (or Auto-Sprint on) |
| Interact / pickup | E |
| Reload | R |
| Heal/use item | F (if not used for edit) |
| Inventory | Tab |
| Ping/mark | Z |
Sprint is worth enabling as Auto-Sprint in the settings, so you don’t have to hold Shift at all. That frees the finger for other inputs during movement.
Building Binds
Building keys need to live where your right hand doesn’t have to leave the mouse to reach them. The number row, 1 through 5, forces your thumb off the mouse every time. That cost adds up fast in a box fight.
The viable zone is Q, C, V, X, and your mouse side buttons. These are the standards for a reason:
- Wall: Q
- Floor: C
- Ramp: Mouse 4 (or V)
- Cone/roof: Mouse 5 (or X)
Edit is the most time-critical bind in the game. Put it on F or a mouse button, somewhere your hand is already resting. Confirm edit on left click. Reset on right-click. That’s zero hand travel for the full edit sequence.
Turn Turbo Building on in settings. Holding a key to place continuous pieces is faster than tapping each one individually.
Combat and Inventory Binds
Slot your weapons in priority order, so muscle memory matches combat reality.
| Slot | Weapon type |
|---|---|
| 1 | AR / main weapon |
| 2 | Shotgun |
| 3 | SMG or sniper |
| 4 | Heals |
| 5 | Utility/grenades |
Slots 1–3 should be reachable fast. Heals and utility can sit further out since you’re rarely swapping to them mid-fight under pressure.
Fire on left-click, ADS on right-click, harvesting tool on I or scroll up. Map on M, emote on B, low priority, anywhere comfortable.
In-Game Toggle Settings for KBM
These sit in your settings menu, not your keybinds, but they directly affect how your binds perform.
- Auto-Sprint: On. You should never hold a key just to run.
- Turbo Building: On. Hold to place continuously; don’t tap each piece.
- Sprint cancels reloading: Off. Sprinting through a door shouldn’t kill your reload mid-fight.
- Auto pickup weapons: Off. You decide what enters your loadout.
- Auto open doors: On. One less input while pushing.
- Auto sort consumables: On. Heals land in the same slot every time.
- Confirm edit on release: Off. It fires the moment you release the key, which punishes any hesitation under pressure.
Get these right before you touch sensitivity. A wrong toggle here will make your binds behave differently than you expect.
Controls and Button Layout: Controller
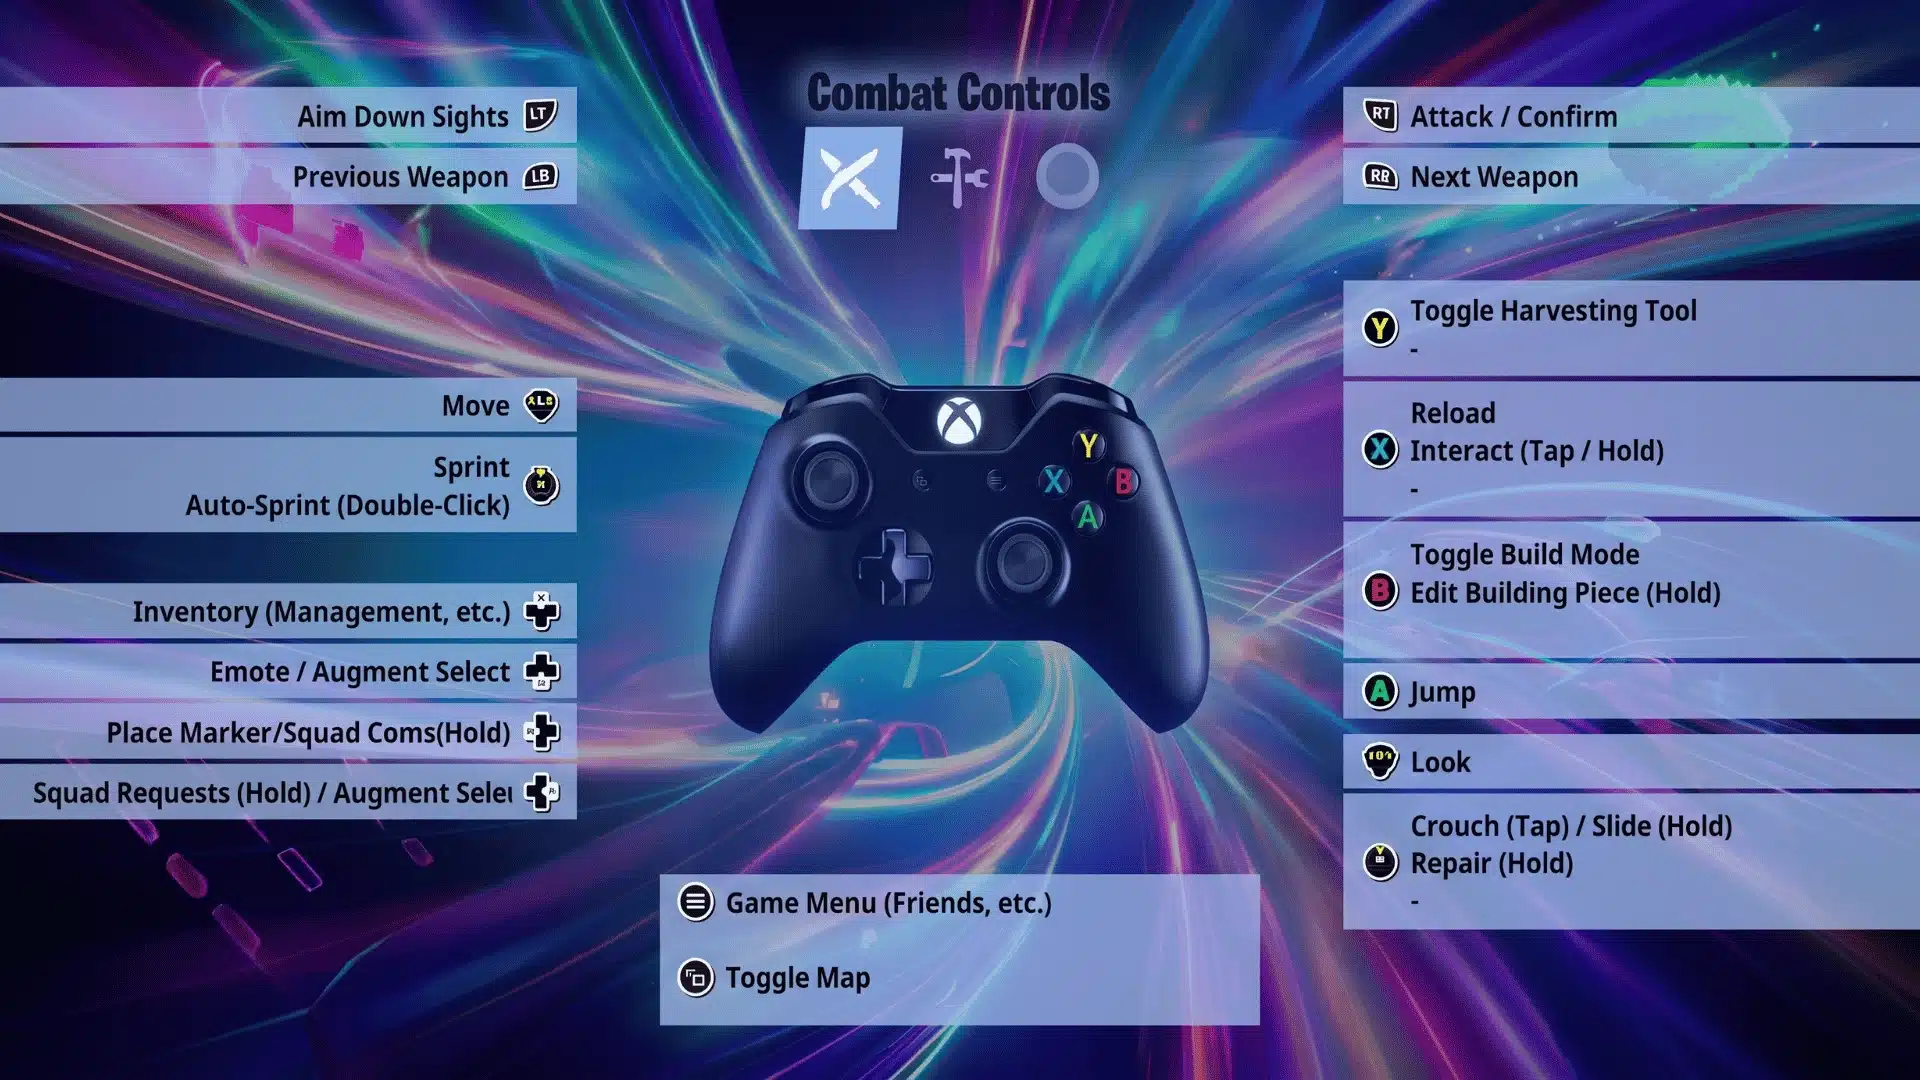
Builder Pro is the competitive standard, and the upgrade that separates good controller players from great ones is keeping the right thumb on the aim stick through every build and edit sequence.
When your thumb leaves the stick to press a face button, you stop aiming. In a build fight, that happens dozens of times per minute. Paddles solve it entirely.
1. Builder Pro Button Assignments
Builder Pro moves building to a dedicated button (RB), freeing the face buttons for piece selection without interrupting your movement or aim.
If you’re brand new to competitive, Combat Pro is easier to get started with. Switch to Builder Pro once your build controls feel natural.
| Button | Action |
|---|---|
| RT | Fire |
| LT | Aim (ADS) |
| RB | Build mode |
| LB | Switch material |
| R3 | Crouch |
| L3 | Sprint |
| A | Jump / Floor |
| B | Stairs |
| Y | Wall |
| X | Reload / Interact |
| D-pad up | Harvesting tool |
| D-pad down | Inventory |
| D-pad left/right | Slots 4 and 5 |
2. In-Game Controller Toggle Settings
These settings change how your layout performs in practice, not just on paper.
- Aim assist: On at 100%. It’s a feature built for the input. Don’t lower it.
- Edit mode aim assist: Off. During edits, aim assist locks onto targets and fights the tile selection you’re trying to make.
- Vibration: Off. Rumble creates micro-movement on the sticks during fights.
- Turbo Building: On. Hold the chain pieces; don’t tap each one.
- Auto-Sprint: On. Same logic as KBM, never hold a key just to run.
- Confirm edit on release: On for controller. The shorter window between input and confirm suits thumb movement better than it does finger movement.
Get these set before you touch sensitivity. An incorrect toggle will make your layout behave differently from what your numbers suggest.
3. Paddles and Back Buttons
The right thumb leaving the aim stick is the single biggest performance gap on the controller. Paddles close it.
Map Edit to one paddle, and Jump or Crouch to the other. Your right thumb never has to leave the stick for either action.
Controllers that support this natively include the Xbox Elite, SCUF, and Backbone Pro. If you’re on a standard pad, third-party clip-on paddle adapters work and cost a fraction of the price.
The difference isn’t subtle. Once you’ve edited without moving your thumb, going back feels broken.
Conclusion
A complete Fortnite pro settings setup gets built once, checked layer by layer, and then left alone. The real skill work starts after that: reading fights, building faster, making calls under pressure.
Get the hardware and OS layer right, and frame spikes stop stealing rounds. Get sensitivity and deadzone right, and your aim stays consistent across sessions.
Get binds right, and your hands stop having to think about where they’re going. Run through each layer in order, check it against what’s above, and then stop touching menus once it holds.
Ready to lock yours in? Work down the list section by section, starting with the hardware layer, and don’t skip it.
Frequently Asked Questions
What’s The Right Sensitivity For Fortnite On A Controller
Most competitive controller players use 8–14% look sensitivity, 35-45% targeting sensitivity, and a build/edit multiplier of 1.5–2.0× look sensitivity.
Start at 10% look sensitivity and adjust one point per session. Build and edit need higher values than aim because speed matters more than precision in those modes.
Does DPI Choice Actually Matter On Mouse
DPI on its own barely matters; eDPI, DPI multiplied by in-game sensitivity, is what actually sets crosshair speed. At 400 DPI with 0.15 in-game sensitivity, your eDPI is 60.
At 800 DPI with 0.075, it’s also 60. Most pros land between 48 and 80 eDPI. Pick 400 or 800 DPI, then calibrate in-game sensitivity until a 180° flick fits one comfortable arm sweep.
Why Does A 240Hz Monitor Still Feel Like 60Hz
Windows defaults to 60Hz regardless of the monitor’s maximum. Open Display Settings, go to Advanced display settings, and set it to your monitor’s maximum.
The monitor’s own on-screen menu settings do not change what Windows and Fortnite actually use.
Should I Use Surround Sound Software With Fortnite
No. Fortnite’s engine applies its own positional audio processing. Adding Windows Sonic, Dolby Atmos, or DTS on top creates two competing spatial layers that distort directional footstep audio.
Set your output to stereo with no additional processing for the most accurate sound positioning.