Your gaming PC may already have more performance hidden inside it than your current settings allow you to use.
You might blame the CPU, GPU, or RAM, but Windows defaults and background apps can quietly steal frames every session.
Learning how to optimize your PC for gaming is mostly about changing the right settings before spending money on new parts.
I will explain how to boost FPS, reduce stutter, fix Windows gaming settings, update drivers, and safely tune graphics options.
You will also see which changes actually matter, which ones to skip, and how to check if the results worked.
Before changing anything, let us first understand what PC optimization really does for gaming performance.
What Does PC Optimization for Gaming Actually Change?
Optimizing a PC for gaming means removing software overhead that steals resources from your game. It won’t add frames your hardware can’t produce, but it will recover the ones you’re already losing.
That matters just as much for a fully installed AAA title as it does for a browser-based platform like PlayMyWorld’s latest gaming updates, which lean on your local hardware more than people expect.
Most people skip straight to tweaks without understanding what they’re actually fixing. That’s why minor steps get ignored, and results end up disappointing.
Optimization clears overhead. It removes the CPU and GPU load caused by misconfigured settings and background processes running while you play. Your hardware stays the same; it just stops being held back.
Average FPS isn’t the whole story either. A game locked at 72 FPS feels smoother than one averaging 90 with random spikes. Several steps in this guide target that consistency directly.
One more thing worth knowing: results depend on your bottleneck. A CPU-limited system responds differently from a GPU-limited one. You’ll get more out of this guide once you know which one applies to you.
Now that you have learned the importance of optimizing our PC, let’s start with different ways to how to optimize your PC for gaming.
Step 1: Fix your Windows Settings
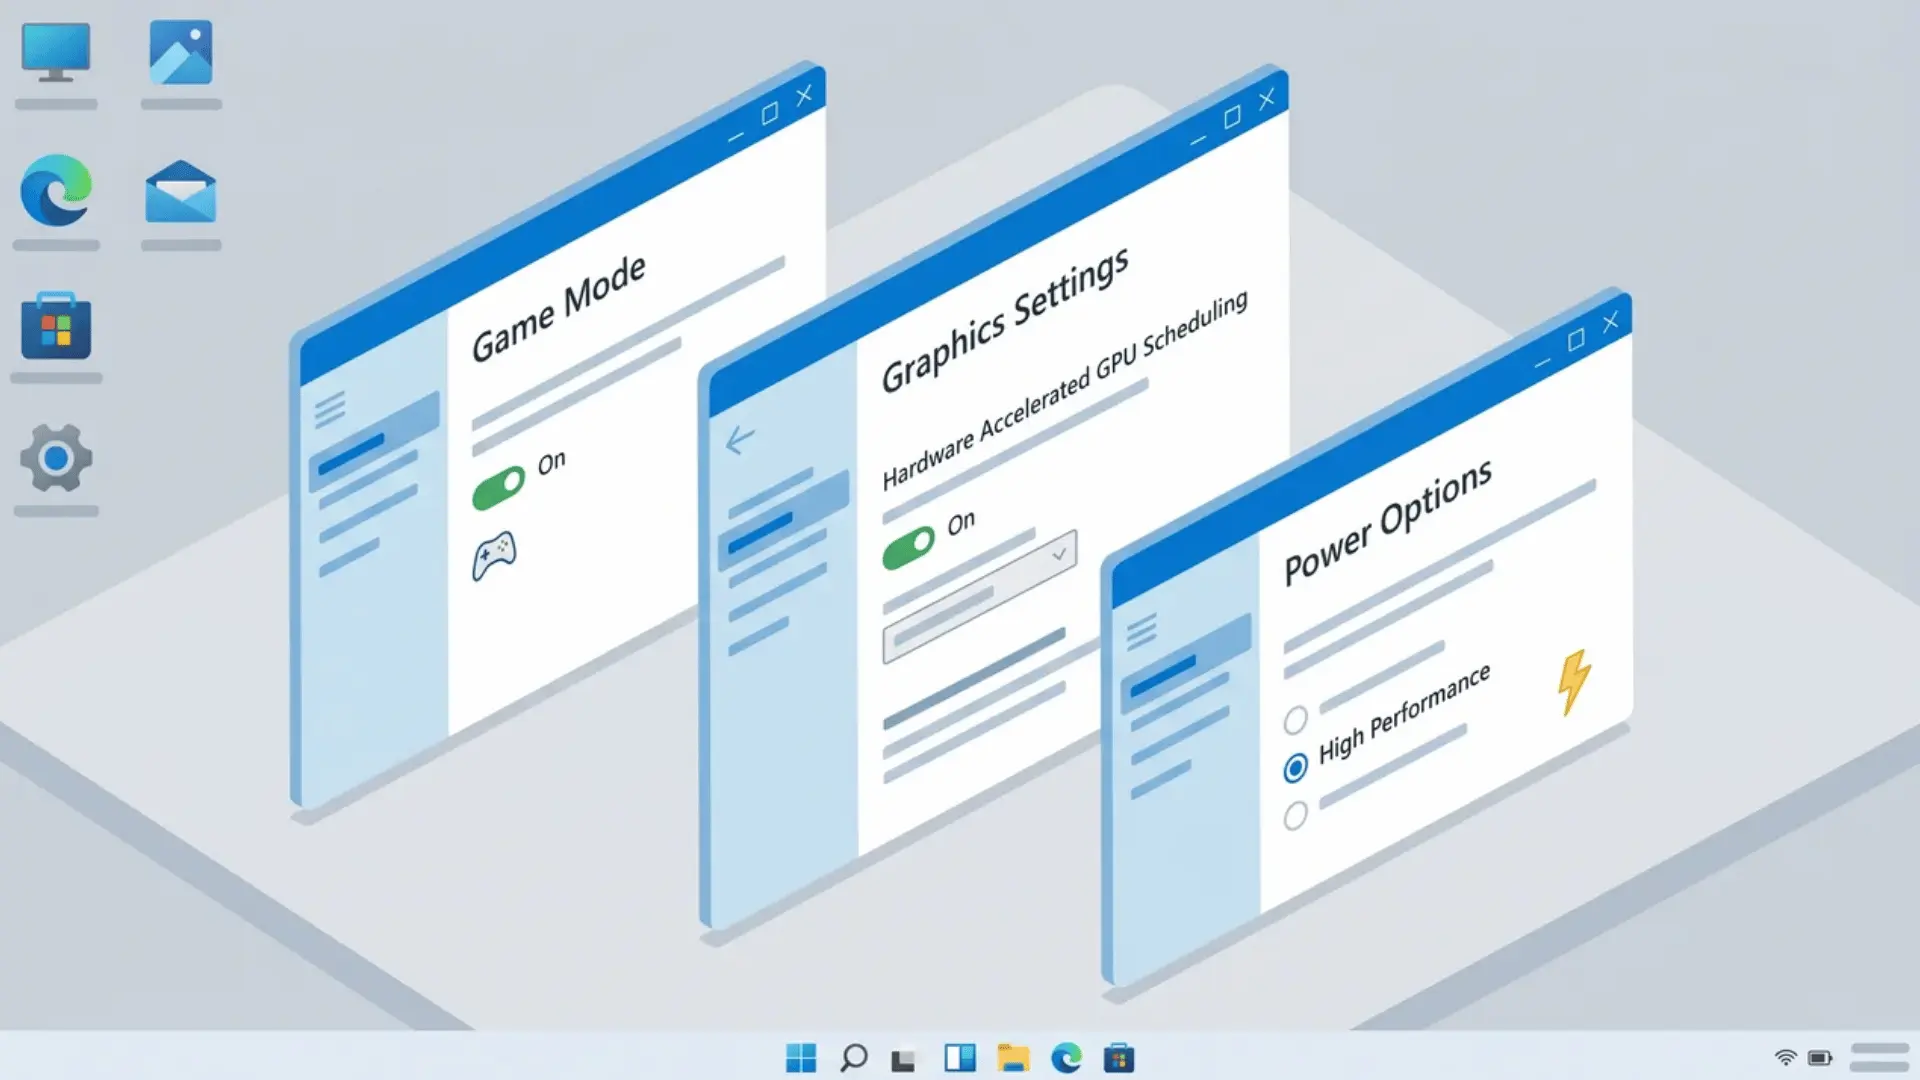
Windows runs several background systems that trade performance for battery life and visual polish. None of these four fixes needs third-party software, and all of them combined take under five minutes.
1. Turn on Game Mode
Game Mode reduces how often Windows interrupts your game to run background tasks.
Open Settings → Gaming → Game Mode and toggle it on. The impact is modest on high-end systems, but on mid-range hardware with tight CPU headroom, it noticeably smooths out frame delivery.
There’s no real downside to leaving it on permanently.
2. Enable Hardware-Accelerated GPU Scheduling
HAGS moves GPU scheduling work directly from your CPU to your GPU, cutting input latency in DirectX 12 and Vulkan titles.
Update your GPU drivers first, since outdated drivers can cause stuttering once this is on.
Then open Settings → System → Display → Graphics → Change default graphics settings, toggle Hardware-accelerated GPU scheduling on, and restart your PC for it to take effect.
3. Set Visual Effects to Best Performance
Windows runs fade animations, Window shadows, and taskbar thumbnails by default. None of them affect gameplay, and turning them off frees up a small amount of CPU and RAM.
Search for “Adjust the appearance and performance of Windows” in the Start menu, select “Adjust for best performance,” and click Apply.
4. Switch to a High-Performance Power Plan
Balanced power mode throttles your CPU during low-load moments, and that throttling tends to land right before a GPU-intensive spike rather than during steady load.
Open Control Panel → Power Options, then select High Performance.
For an even more aggressive option, Ultimate Performance removes additional micro-latency transitions that High Performance still allows during load spikes. To unlock it, open PowerShell as administrator and run:
powercfg -duplicatescheme e9a42b02-d5df-448d-aa00-03f14749eb61
Reopen Power Options, and Ultimate Performance will appear in the list. It’s worth enabling on any desktop where power draw isn’t a concern. On a laptop running off a battery, High Performance is the better call.
Step 2: Update Drivers and Configure Hardware
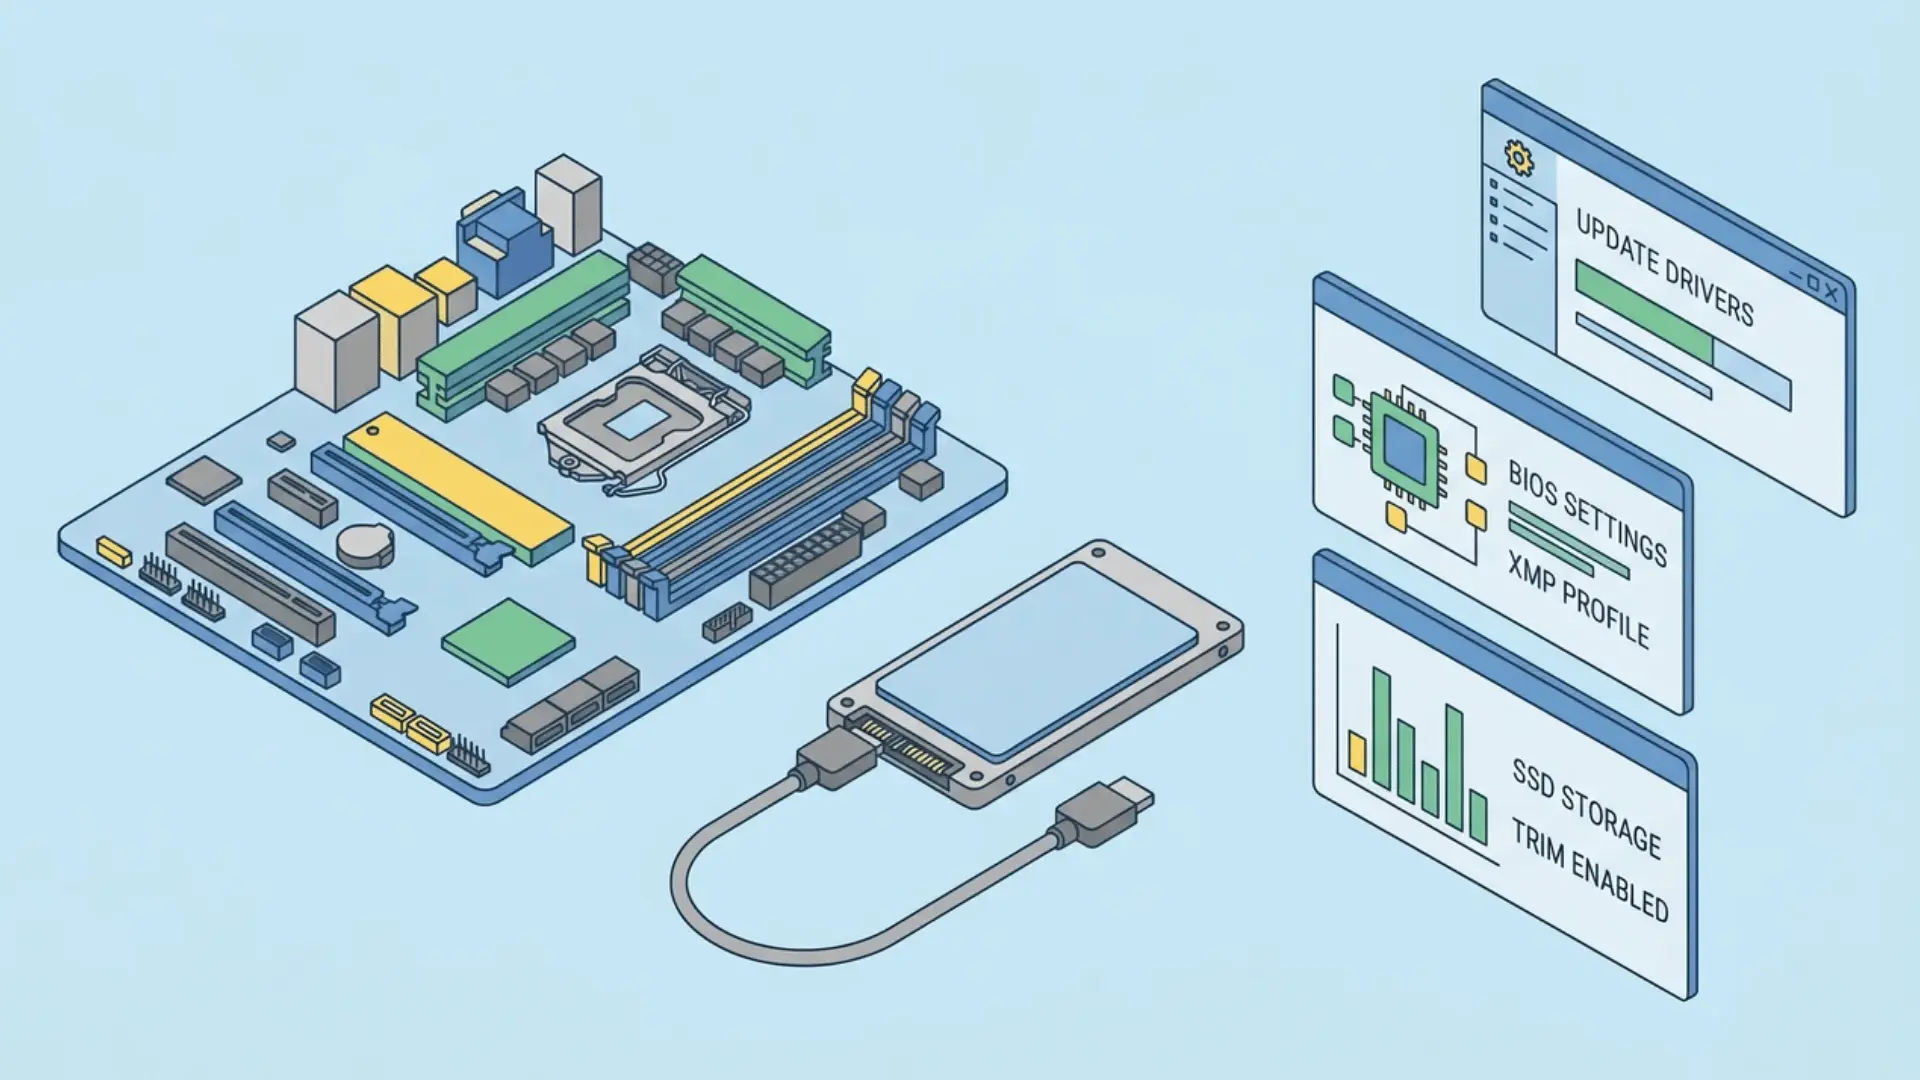
Several hardware settings that directly affect gaming performance are disabled by default. The most commonly missed one, your RAM’s speed profile, takes one BIOS change under two minutes to fix.
1. Install Game-Ready GPU Drivers
Windows Update lags behind game-ready driver releases, so go directly to the manufacturer instead.
NVIDIA users can download GeForce Experience and check the Drivers tab; AMD users can download Adrenalin Software the same way.
Game-ready drivers are tested on new titles before launch, so running outdated ones can miss performance patches that can meaningfully affect specific games.
2. Enable XMP or DOCP/EXPO to Run RAM at Full Speed
Manufacturers disable your RAM’s full-speed profile by default to guarantee stability across different system configurations, which means your RAM is likely running slower than what you paid for.
Enabling the profile isn’t overclocking; it’s just running your RAM at its rated speed.
Restart your PC and press Delete or F2 to enter BIOS (the exact key flashes briefly on screen during boot, so check there if you’re unsure).
Look for XMP on Intel systems or DOCP/EXPO on AMD systems, enable it, save, and restart. After Windows loads, open Task Manager → Performance → Memory to confirm the speed now matches your RAM’s rated frequency.
3. Keep Your SSD Under 85 to 90 Percent Capacity
Windows needs free space to manage write caching. Past the 85-90 percent mark, load times and transfer speeds start to drop.
Open Settings → System → Storage → Storage Sense and run it manually. Clearing temporary files and system cache first is the quickest win here with no risk to anything important.
Step 3: Disable Background Applications and Startup Programs
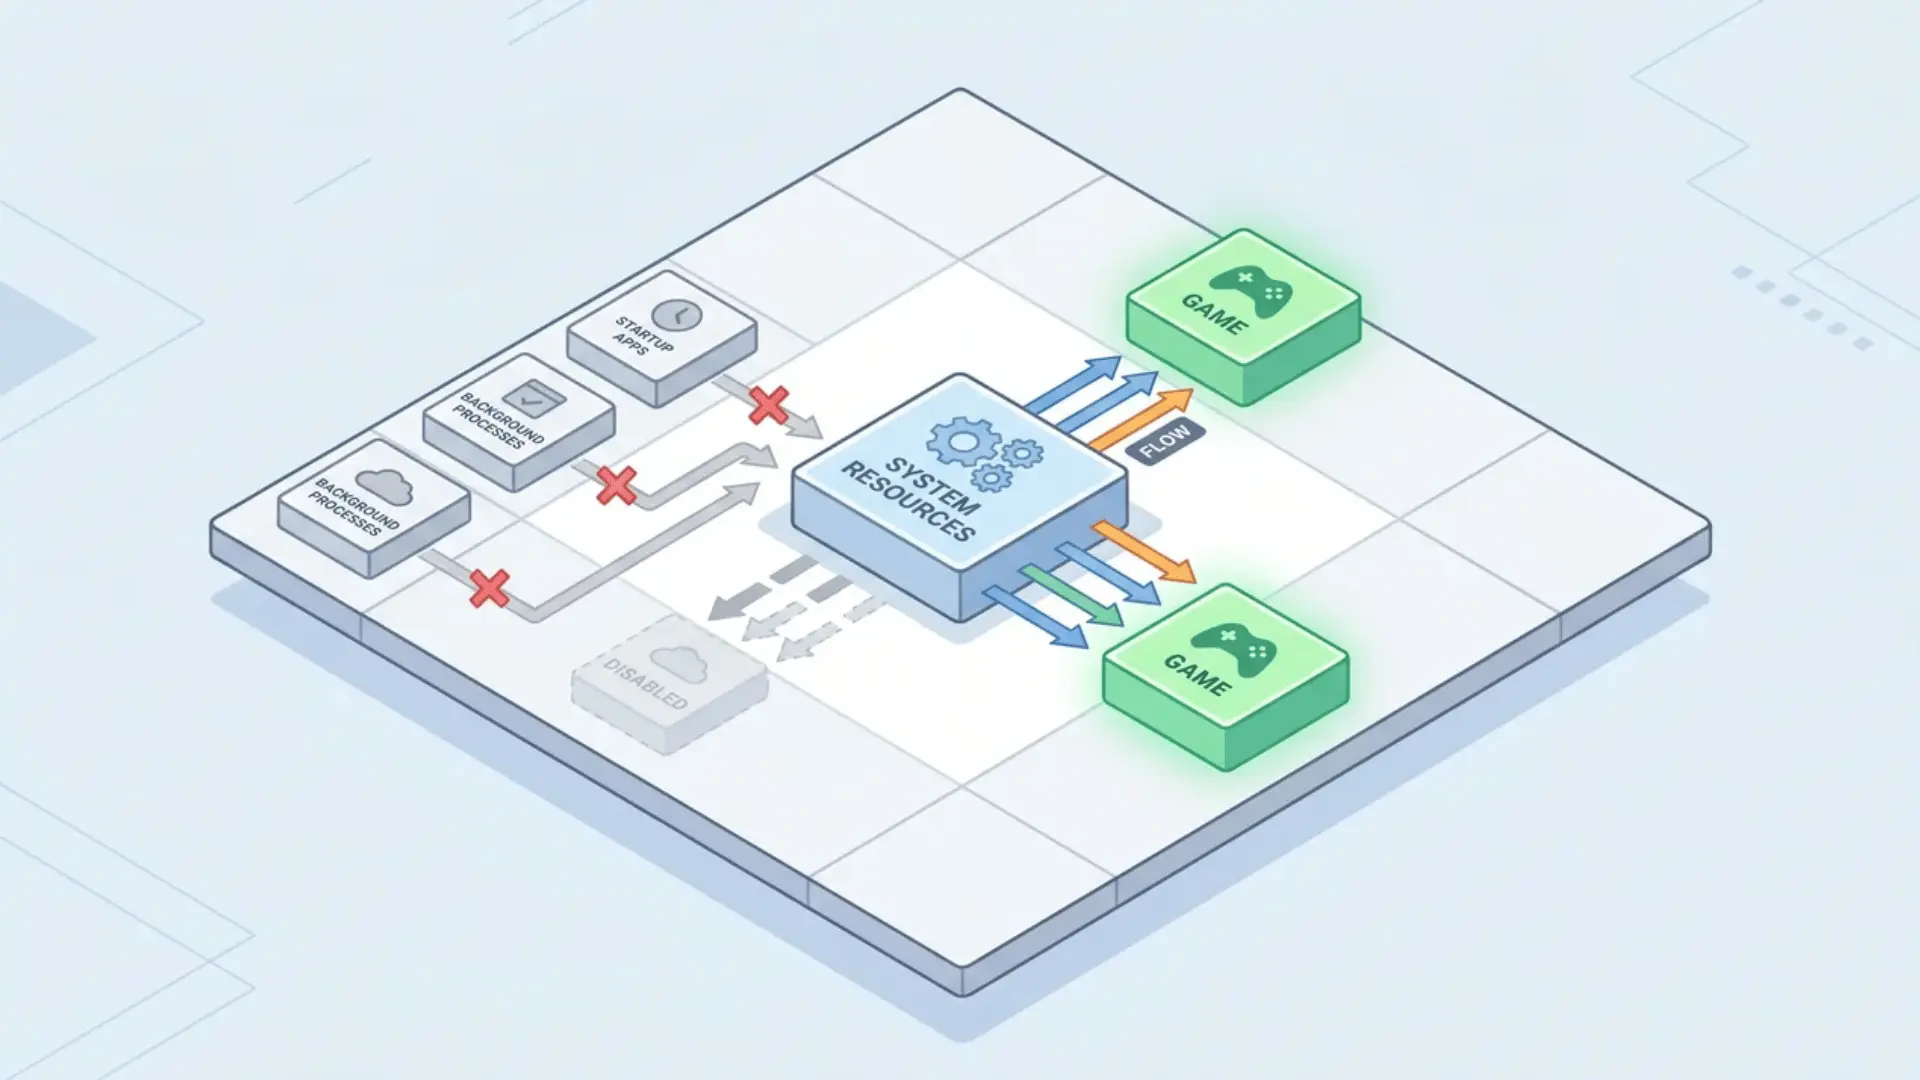
Background applications consume RAM and VRAM even when you’re not actively using them.
Clearing them out before launch gives your game the full resource pool rather than splitting it with apps running in the background.
1. Disable Unnecessary Startup Programs
Press Ctrl + Shift + Esc to open Task Manager and go to the Startup Apps tab.
Right-click anything that doesn’t need to run at boot, such as Spotify, Discord auto-launch, or browser updaters, and select Disable.
This doesn’t uninstall anything; it just stops them from loading until you open them manually, keeping that RAM free from the moment Windows starts.
2. Turn off Hardware Acceleration in Chrome and Discord
Chrome and Discord both use VRAM even when minimized, which directly competes with your game on systems with 8GB of VRAM or less.
In Chrome, go to Settings → System and untick “Use graphics acceleration when available.”
On Discord, go to Settings → Advanced and turn off Hardware Acceleration. Restart both apps afterward so the VRAM they were holding gets released immediately.
3. Check Idle CPU Usage Before Launching
Before opening any game, open Task Manager and look at the CPU column at idle. A sustained baseline above 15-20 percent indicates that something is still competing for resources.
Sort by CPU usage and close whatever sits at the top; that freed headroom goes directly toward stable frame delivery.
Step 4: Optimize Your GPU Control Panel
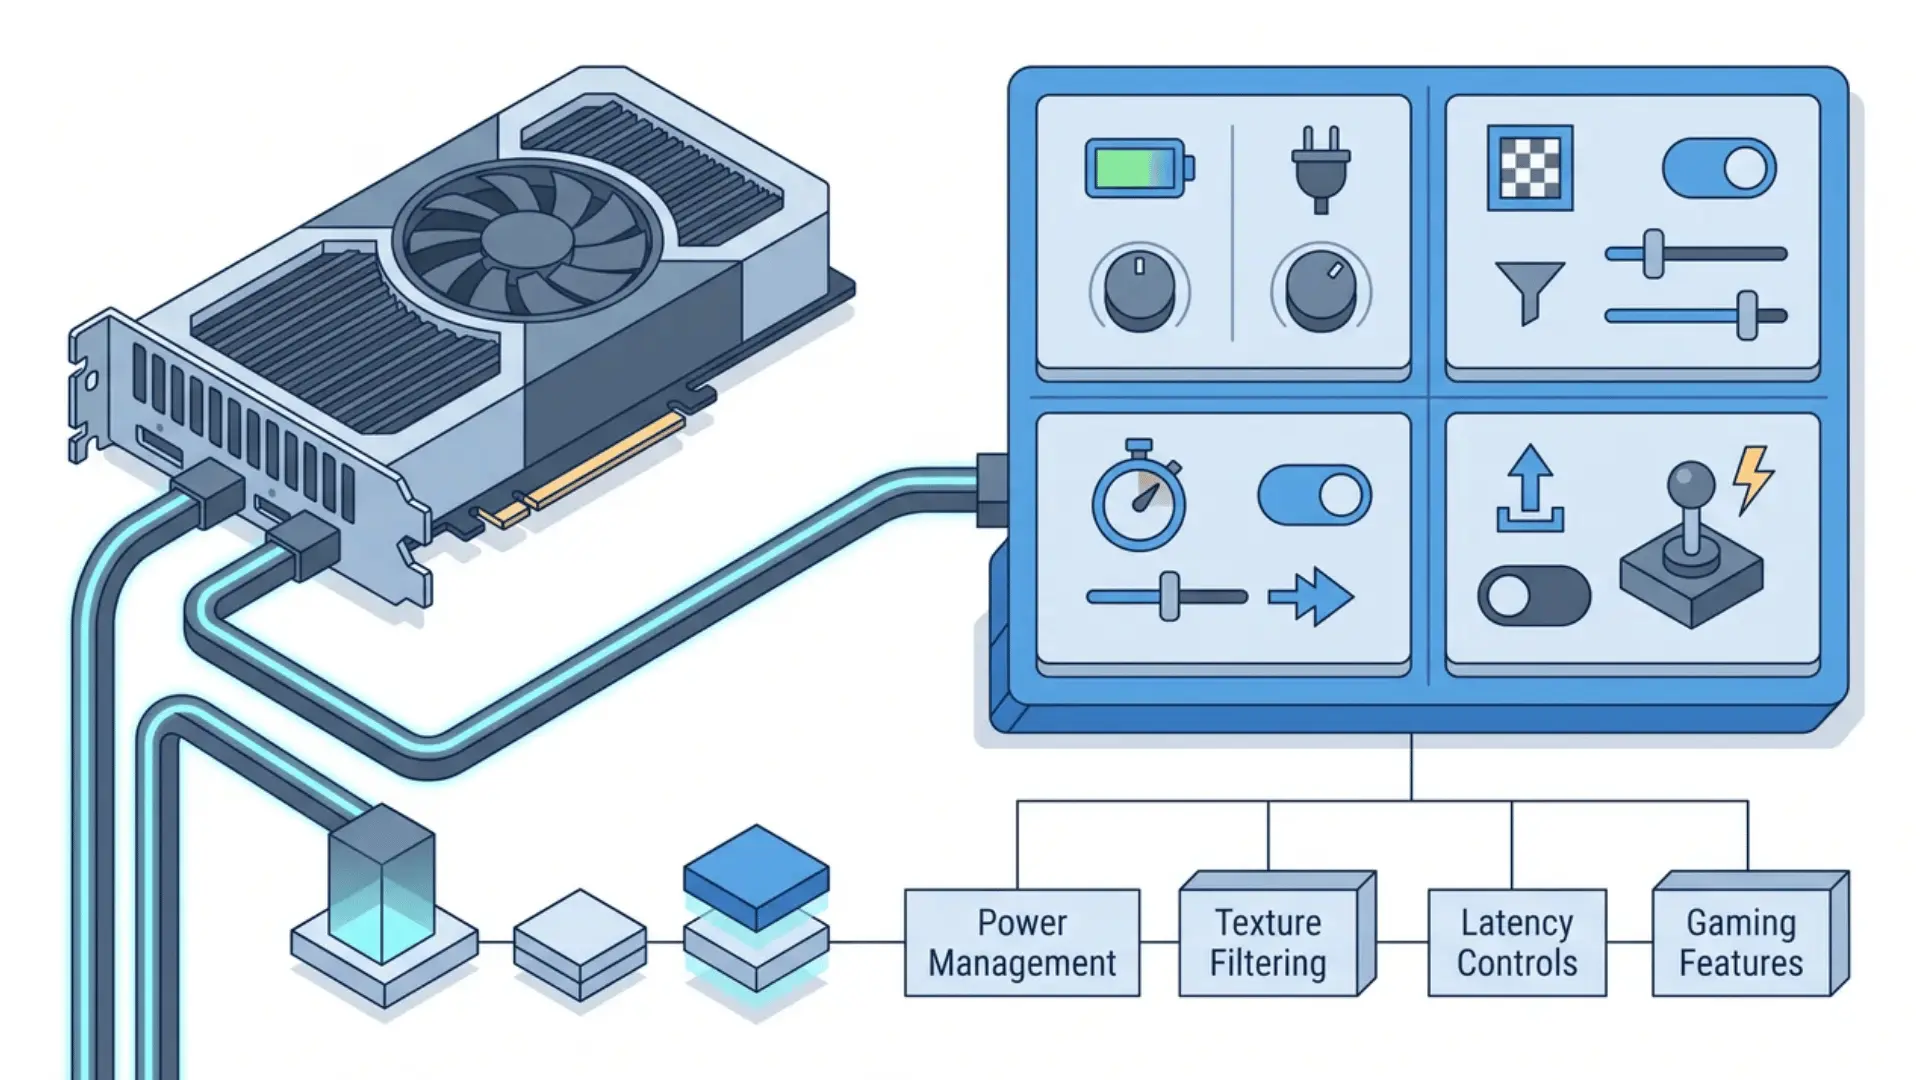
Your GPU’s control panel exposes latency and performance settings that Windows doesn’t surface anywhere else. These apply globally across all games and take under five minutes in total to set up.
NVIDIA Control Panel
Right-click your desktop and open NVIDIA Control Panel → Manage 3D Settings.
Set Power Management Mode to Prefer Maximum Performance to prevent the GPU from downclocking before scene transitions.
Set Texture Filtering Quality to High Performance, which has minimal visual difference in fast-moving scenes.
Set Low Latency Mode to Ultra to reduce input delay between your action and the on-screen response, but turn off any in-game frame limiter first, since running both together worsens frame pacing rather than improving it.
AMD Software
Open AMD Software → Gaming → Graphics. Set Texture Filtering Quality to Performance to match the tradeoff NVIDIA users get.
Turn Radeon Anti-Lag on for competitive titles, since it reduces input delay independently of your FPS. Turn Radeon Boost on, which slightly drops resolution during fast movement, when fine detail isn’t noticeable anyway.
Anti-Lag conflicts with in-game frame limiters, so disable the limiter before enabling Anti-Lag.
Step 5: Configure Your Network and Display
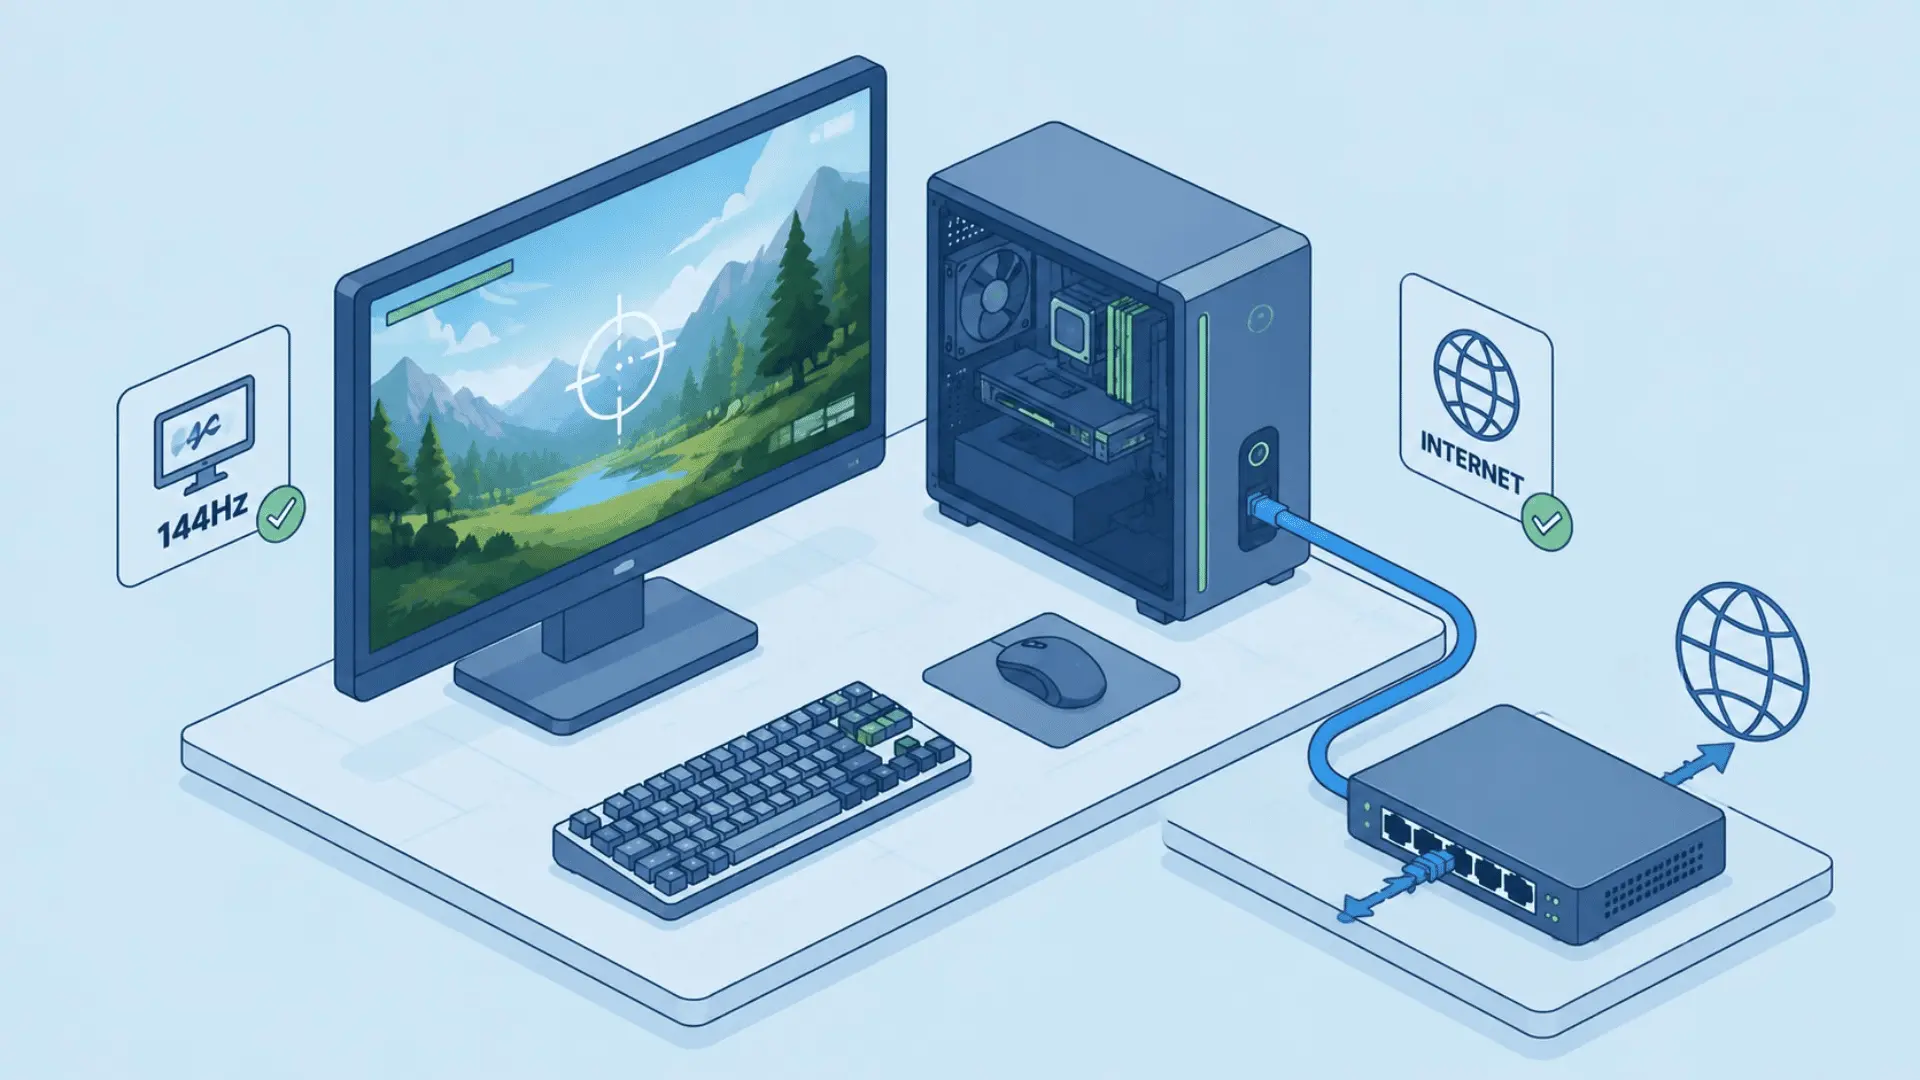
Windows sets your monitor to 60Hz by default even if it supports 144Hz or higher, and nothing in the interface flags this as wrong.
Both settings below are constantly missed because they look normal at a glance.
1. Set Your Monitor’s Native Refresh Rate
Go to Settings → System → Display → Advanced Display, and under Choose a refresh rate, select the highest value listed.
2. Switch to a Wired Connection
Ethernet reduces jitter, the variation in packet timing, not just the average ping, and jitter affects hit registration more than average latency does in most online titles.
The same logic applies to your mouse: its polling rate determines how often its position is reported to your system, and the gap between 125Hz and 1000Hz shows up the same way network jitter does.
If wired isn’t possible, a Wi-Fi 6 adapter on the 5GHz band is the next-best option, though it’s still less consistent than a wired connection.
3. Enable Sync Technology and Cap Your Frame Rate
Uncapped FPS on a 144Hz monitor without G-Sync or FreeSync causes screen tearing because the GPU pushes frames faster than the display can sync them.
Enable the matching sync technology through your GPU control panel (under Display in NVIDIA Control Panel, or Graphics in AMD Software), then cap your in-game frame rate to match your monitor’s refresh rate.
How to Check if Your Optimizations are Working?
The fastest way to confirm your optimizations worked is a performance overlay running inside the game. You don’t need to install anything extra to get started.
Windows Game Bar is the quickest option. Press Win + G, or enable it at Settings → Gaming → Xbox Game Bar. It shows live FPS and frame time with no installation and no meaningful overhead added.
For deeper analysis, use MSI Afterburner with RivaTuner Statistics Server. Download both from msi.com.
RivaTuner installs alongside Afterburner during setup. Together, they show GPU, VRAM, and CPU usage per core as an in-game overlay.
Once your overlay is running, here’s what to look for:
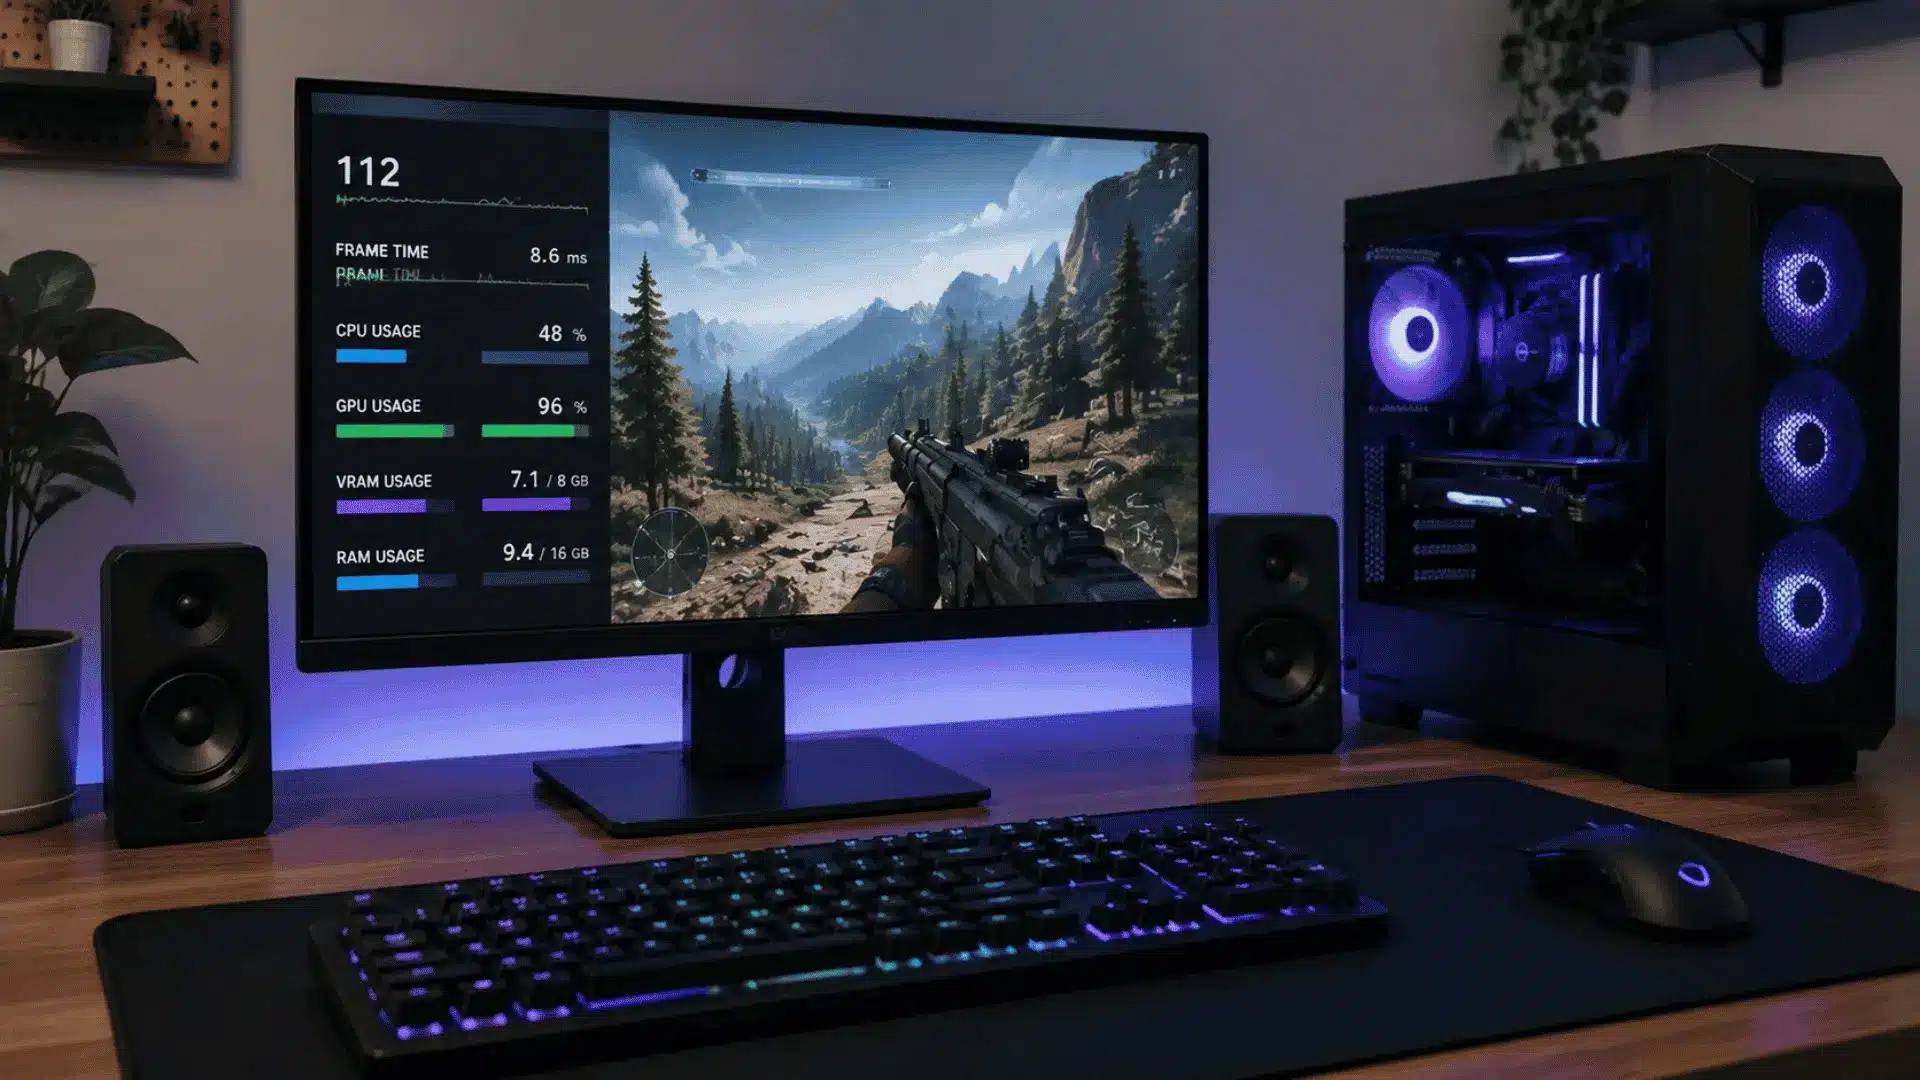
- GPU usage sitting at 95-98% means your hardware is fully utilized and nothing is holding it back. That’s the target after a full optimization pass.
- CPU usage above 80% with GPU usage below 80% confirms a CPU bottleneck. Software optimization alone won’t fully solve that; it’s a hardware limitation.
- Frame time spikes on an otherwise steady graph mean a background process is still interrupting. Go back to Step 3 and recheck your idle CPU usage before launching the game.
In-Game Graphics Settings Worth Adjusting
Three or four settings account for most of the GPU load difference between Ultra and High presets, and dropping just those is often invisible during normal gameplay.
Maxing everything out or dropping the whole preset is a blunt approach; tuning individual settings yields better performance without the visual hit of jumping from Ultra to Medium across the board.
Settings that Cost the Most for the Least
- Shadows can be set to Ultra, High, or Medium, since shadow detail degrades at distance and is rarely visible during fast gameplay.
- Ambient Occlusion can go to Medium or Off, as the depth shading it adds in corners and edges barely registers in motion.
- Volumetric Effects can drop to Medium, since fog, light shafts, and smoke are GPU-heavy and barely distinguishable one tier down.
- Ray Tracing is worth turning off entirely unless you have a high-end GPU, since the performance cost is steep and the visual gain is subtle in most titles.
Settings that are Safe to Leave High
- Texture Quality carries a high GPU memory cost but minimal processing load, so keep it at your VRAM limit.
- Anisotropic Filtering has near-zero performance impact, so leave it at 16x always.
- Anti-Aliasing set to TAA or DLSS costs less than MSAA and produces cleaner results in motion.
- Texture quality and filtering are what actually make a game look sharp at normal viewing distances, and dropping them saves almost nothing while costing the most visible image quality.
Conclusion
Knowing how to optimize your PC for gaming gives you a better chance of getting the performance your hardware can already deliver.
You should start with Windows settings, drivers, startup apps, GPU controls, refresh rate, and graphics options before blaming your parts.
I would also check FPS, frame time, CPU usage, and GPU usage because the numbers show what actually changed. Some systems gain more than others, but even small fixes can make games feel smoother and more stable.
Do the safe changes first, test one game you play often, then adjust only what improves your real results.
Which setting improved your gaming PC the most, and did your FPS or stutter change? Tell us, share with us in the comments below.
Frequently Asked Questions
Do Third-Party PC Optimizer Tools Actually Improve Gaming Performance?
Most replicate settings can be applied manually. They also add a background process that offsets gains; native changes work better with zero overhead.
Does Enabling Game Mode Make a Noticeable Difference?
Impact is modest on most systems. It helps most on lower-end hardware where CPU headroom is tight, but it has zero downside to enable.
How Often Should I Update My GPU Drivers for Gaming?
Update when a game-ready driver drops for a title you’re playing, or after a Windows update causes a performance drop.
What’s the Difference Between High-Performance and Ultimate-Performance Power Plans?
High Performance raises clock speeds and disables sleep states. Ultimate Performance removes the remaining micro-latency transitions, while High Performance still allows them during load spikes.