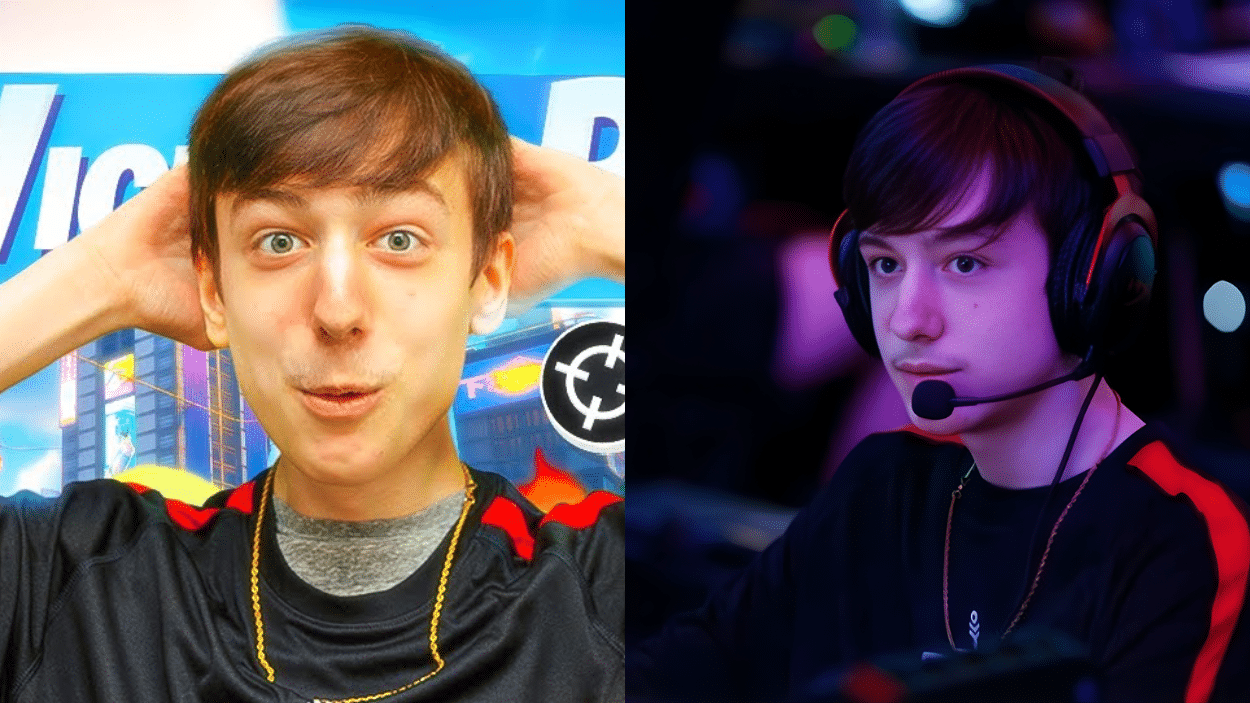
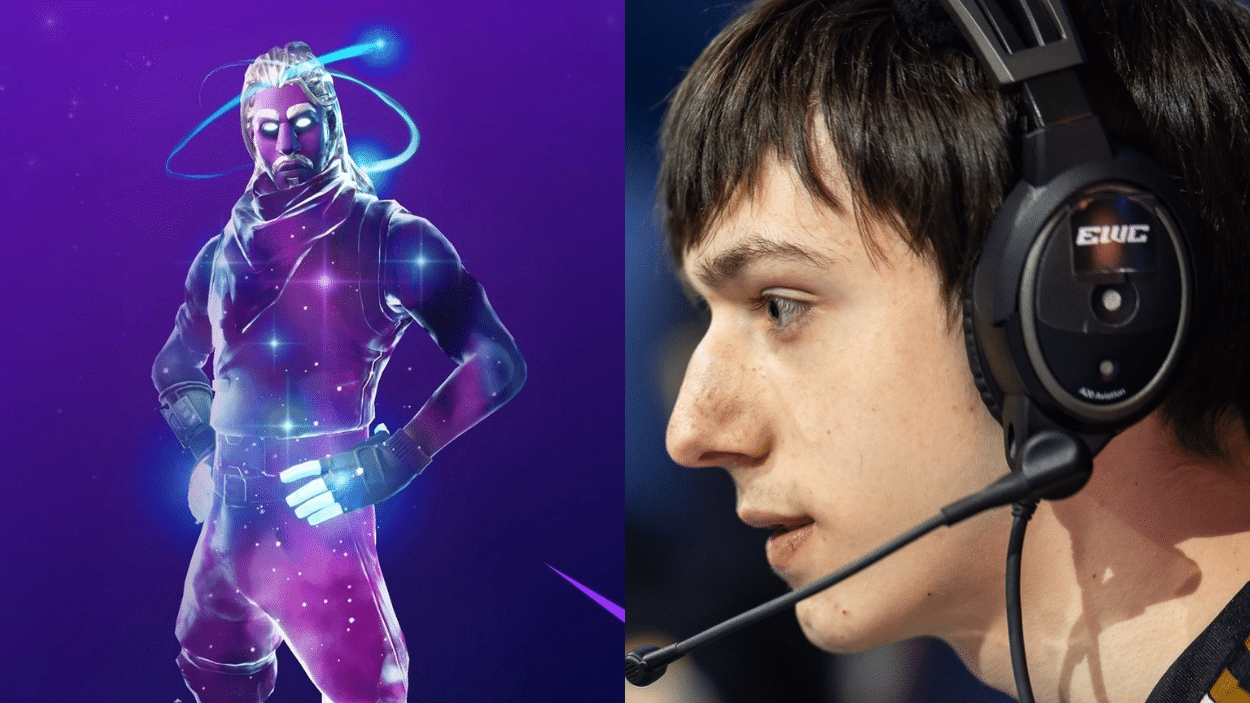
I’ve been watching Peterbot dominate lobbies for months now. His builds are fast. His edits are clean. And his aim? Nearly flawless.
You’re probably wondering what makes him so good. Is it just raw talent? Not entirely. His Peterbot settings play a huge role in his performance.
I spent hours digging through his streams and videos to find every detail. I’m talking about keybinds, sensitivity, and all the small tweaks that set good players apart from great ones.
Want to play like Peterbot? I’ll show you exactly how he has everything configured.
You might be surprised by how simple some of his choices are. Let’s get into it!
Peterbot’s Pro Gaming Setup & Hardware
Peterbot doesn’t mess around when it comes to his gaming gear. He uses a high-end PC that keeps his frames consistently above 240 FPS. That matters more than you think.
His monitor is a 240Hz display. This gives him butter-smooth visuals and reduces input lag. Every millisecond counts in competitive Fortnite.
For his mouse, he uses a lightweight gaming mouse weighing under 70 grams. It helps with quick flicks and precise tracking.
His mousepad is extra-large, giving him plenty of room for low-sensitivity movements.
He also uses a mechanical keyboard with linear switches. They’re quiet and super responsive. And don’t forget his gaming headset. Clear audio helps him hear footsteps and gunshots from every direction.
Good hardware won’t make you pro overnight. But it definitely helps.
Peterbot Settings – Mouse Sensitivity & DPI: Perfect Aim Setup
Peterbot doesn’t mess around when it comes to his gaming gear. He uses a high-end PC that keeps his frames consistently above 240 FPS. That matters more than you think.
His monitor is a 240Hz display. This gives him butter-smooth visuals and reduces input lag. Every millisecond counts in competitive Fortnite.
For his mouse, he uses a lightweight gaming mouse weighing under 70 grams. It helps with quick flicks and precise tracking.
His mousepad is extra-large, giving him plenty of room for low-sensitivity movements.
He also uses a mechanical keyboard with linear switches. They’re quiet and super responsive. And don’t forget his gaming headset. Clear audio helps him hear footsteps and gunshots from every direction.
Good hardware won’t make you pro overnight. But it definitely helps.
Peterbot Keybinds – Build Like a God
Peterbot’s keybinds are designed for speed and comfort. He keeps everything within easy reach of his movement keys. This lets him build without awkward finger stretches.
| Action | Keybind |
|---|---|
| Wall | Q |
| Floor | E |
| Ramp | Mouse Button 4 |
| Cone | Mouse Button 5 |
| Trap | T |
| Edit | F |
| Reload | R |
| Use | X |
| Crouch | Left Ctrl |
| Jump | Spacebar |
| Pickaxe | 1 |
| Weapon Slots | 2, 3, 4, 5, C |
Notice how his builds are split between keyboard and mouse? That’s intentional. It reduces finger fatigue during long sessions.
Video & Graphics Settings – Max FPS, Zero Distractions
Peterbot keeps his graphics settings low for maximum performance. He prioritizes frames over pretty visuals. Less visual clutter means better focus during fights. Here’s his exact setup:
- Window Mode: Fullscreen – gives the best performance and lowest input delay
- Display Resolution: 1920×1080 – native resolution for his monitor
- Frame Rate Limit: 240 FPS – matches his monitor’s refresh rate perfectly
- Quality: Low or off for most settings – reduces GPU load significantly
- View Distance: Far – the only setting he keeps higher to spot enemies at range
- Shadows: Off – removes distracting shadow movements completely
- Anti-Aliasing: Off – saves precious frames without much visual loss
- Textures: Low – keeps memory usage down for stable performance
- Effects: Low – minimizes explosion and visual spam
- Post Processing: Low – removes motion blur and other effects
Wrapping it Up
So there you have it. Every detail about Peterbot settings that helps him perform at the highest level.
Will copying his setup instantly make you a better player? Probably not. But it gives you a solid foundation to build on. The right keybinds and settings remove technical barriers. They let you focus on improving your actual gameplay.
Start by testing his keybinds in creative mode. Adjust what feels uncomfortable. Find your own sweet spot.
Your hardware matters too, but skill matters more. Keep practicing. Stay consistent.
Now go out there and put these settings to work. I’d love to hear how they work for you in the comments below.