You’ve watched Peterbot hit shots that don’t look real, and the first question that crosses your mind is whether his settings have something to do with it.
The honest answer is yes, they do, but not in the way most people expect when they go looking for a simple number to copy.
Peterbot settings cover everything from how his mouse sensitivity interacts with his stretched resolution to why his keyboard registers edits faster than a standard setup ever could.
I’ve pulled apart enough pro configs on my own bench to tell you the honest part upfront: half of what makes a setup like this work has nothing to do with the numbers themselves.
This breakdown covers every category, explains the reasoning behind each value, and shows you how to apply it to your own hardware without losing what already works.
Quick answer: Peterbot runs 800 DPI, 6.4% X and Y sensitivity, 45% targeting sensitivity, and 45% scope sensitivity, giving him a 512 eDPI. His build and edit sensitivity sit at 100%. He plays at 1780×1080 in windowed fullscreen, not stretched, with a 240 FPS cap and Performance rendering mode.
Peterbot: The Player Behind the Settings
Peter “Peterbot” Kata is an 18-year-old Hungarian-American Fortnite pro competing for Team Falcons. He started his competitive journey in 2020 and has since stacked an impressive list of FNCS titles across multiple chapters.
His biggest win came at the 2024 FNCS Global Championship, where he and his duo partner, Pollo, claimed the world title and $200,000 in prize money.
That run silenced every skeptic who questioned whether his online dominance would translate to a LAN stage
By mid-2026, Peterbot’s tracked Fortnite tournament earnings sat just under $910,000 across more than 110 events, putting him among the highest-earning Fortnite players of his generation.
What makes his settings worth studying isn’t just the résumé.
Every number he runs has been stress-tested at the highest level of competitive play, refined through real tournament pressure rather than casual experimentation.
Peterbot’s Sensitivity and Mouse Settings
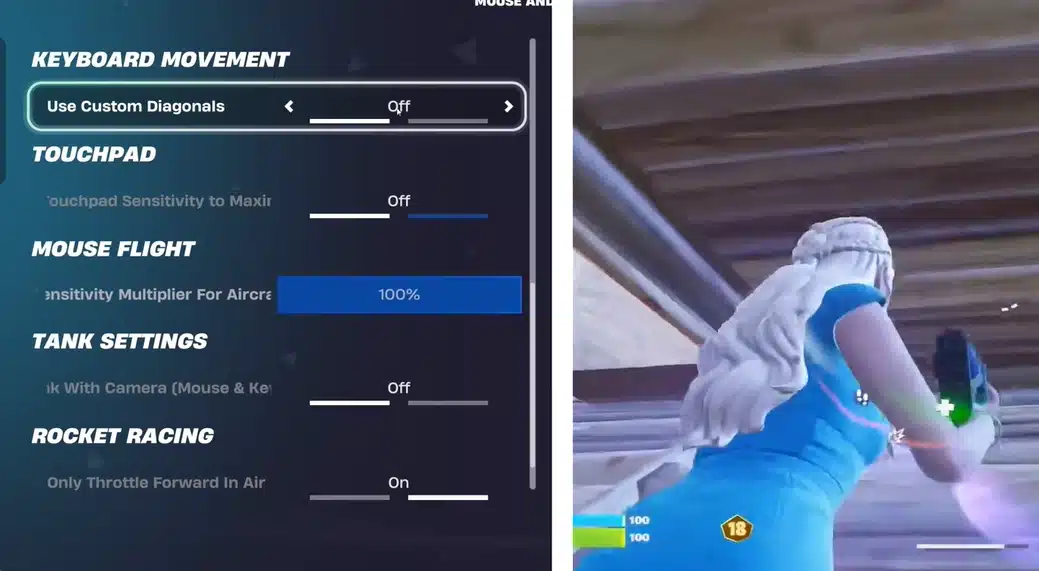
Peterbot runs 800 DPI with 6.4% X and Y sensitivity in-game, which gives him an eDPI of 512. His targeting sensitivity sits at 45%, and his scope sensitivity matches it exactly.
His build and edit sensitivity run at 100%, which is the piece most breakdowns skip entirely. Those two numbers sitting so far apart are not an accident.
What eDPI Actually Means?
eDPI is your DPI multiplied by your in-game sensitivity. It gives you one reliable number to compare across players, regardless of what hardware each person runs.
Peterbot’s 512 eDPI puts him in the lower-middle range for competitive Fortnite, where most top KBM players operate between 400 and 700.
Lower eDPI means your crosshair travels less distance per inch of physical mouse movement. That reduces overshoot on targets and makes small corrections easier to control under pressure.
Targeting and Scope Sensitivity
The gap between the 6.4% base and the 45% target is where his aim system actually lives. At 6.4%, general movement and building stays fast.
The moment he zooms or targets, sensitivity jumps sharply, giving him tighter control exactly when precision matters most.
Most players copy the base sensitivity and ignore the targeting ratio entirely.
Pairing that with 100% build and edit sensitivity is what keeps his structure placement instant while his aim stays controlled, and that pairing is the part worth copying together, not separately.
One thing to keep in mind: these figures hold at 800 DPI with his specific mouse and polling rate.
Change either variable on your own setup, and the feel shifts noticeably. Verify current figures before applying them, as Peterbot updates his config with chapter releases.
Peterbot’s Video and Display Settings
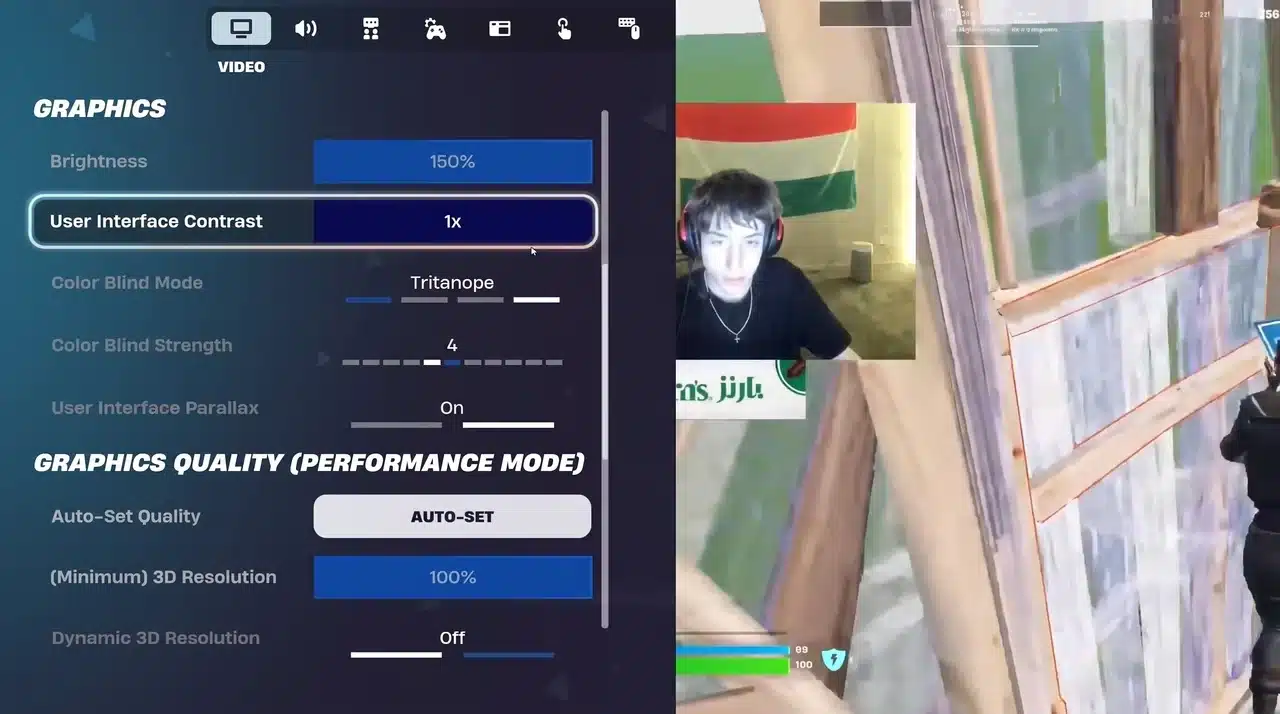
Peterbot’s video settings aren’t random preferences. They work as a connected system where each choice directly affects how the others perform. Here is every value he currently runs:
- Resolution: 1780×1080, windowed fullscreen, not fully stretched
- Rendering Mode: Performance, reducing GPU overhead and tightening frametimes at high refresh rates
- 3D Resolution: 100%, paired specifically with Performance mode to maintain image clarity
- Frame Rate Limit: 240 FPS, matched to his monitor’s refresh headroom
- Brightness: 150%, pushing visibility in darker areas of the map
- Colourblind Mode Strength: 4, improving contrast on enemy builds and materials
Standard aspect ratio at native resolution keeps his target sizing consistent with what he sees on stream, which is part of why his settings translate cleanly when other players copy them.
Performance mode only comfortably supports 100% 3D resolution on higher-end hardware.
On a mid-range GPU, dropping 3D resolution to 85% or 90% while keeping Performance mode active will often produce cleaner frametimes than copying his exact values.
The resolution and rendering mode must always be tuned together, not set independently.
Peterbot’s Keybinds and Keyboard Settings
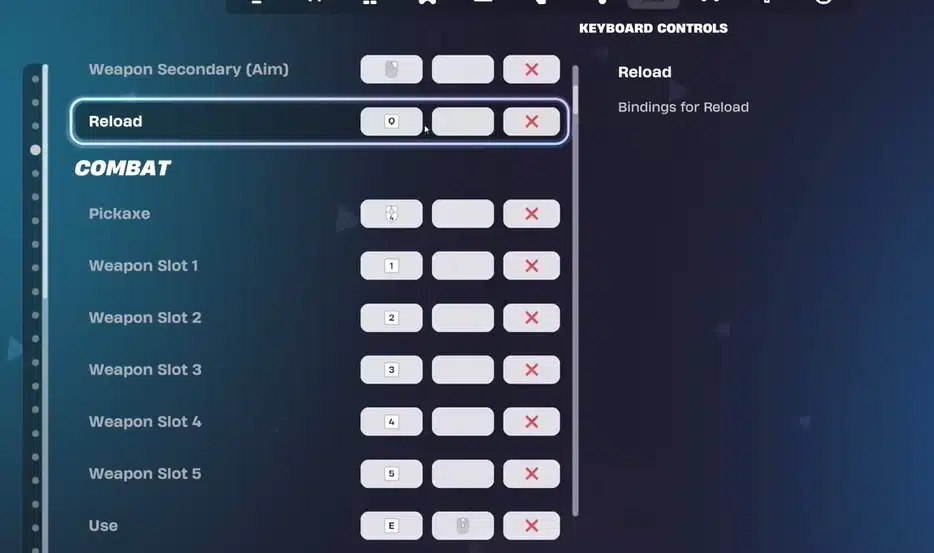
Peterbot’s keybind layout is built around speed and consistency under pressure. Every key placement reduces the distance your fingers travel between actions.
Here are his current bindings:
- Wall: T
- Floor: Y
- Stairs: F
- Roof: V
- Trap: R
- Edit: G, or Mouse Wheel Down
- Crouch: C
- Pickaxe: Mouse Button 4
This layout keeps his primary building pieces on a tight row across the keyboard rather than spread across letter and mouse-side buttons, which is a different tradeoff than reach-based layouts and worth understanding before you copy it.
The part most players miss is his keyboard’s actuation point. A lower actuation point means each key registers earlier in the press, before the key physically bottoms out.
That reduced travel time is the mechanical reason his edits appear faster than players running standard keyboards at identical keybind layouts.
I’ve timed edit resets on a fixed-actuation board against an adjustable one at the same key travel, and the gap holds up under a stopwatch, not just in theory.
Peterbot’s PC Setup and Gear
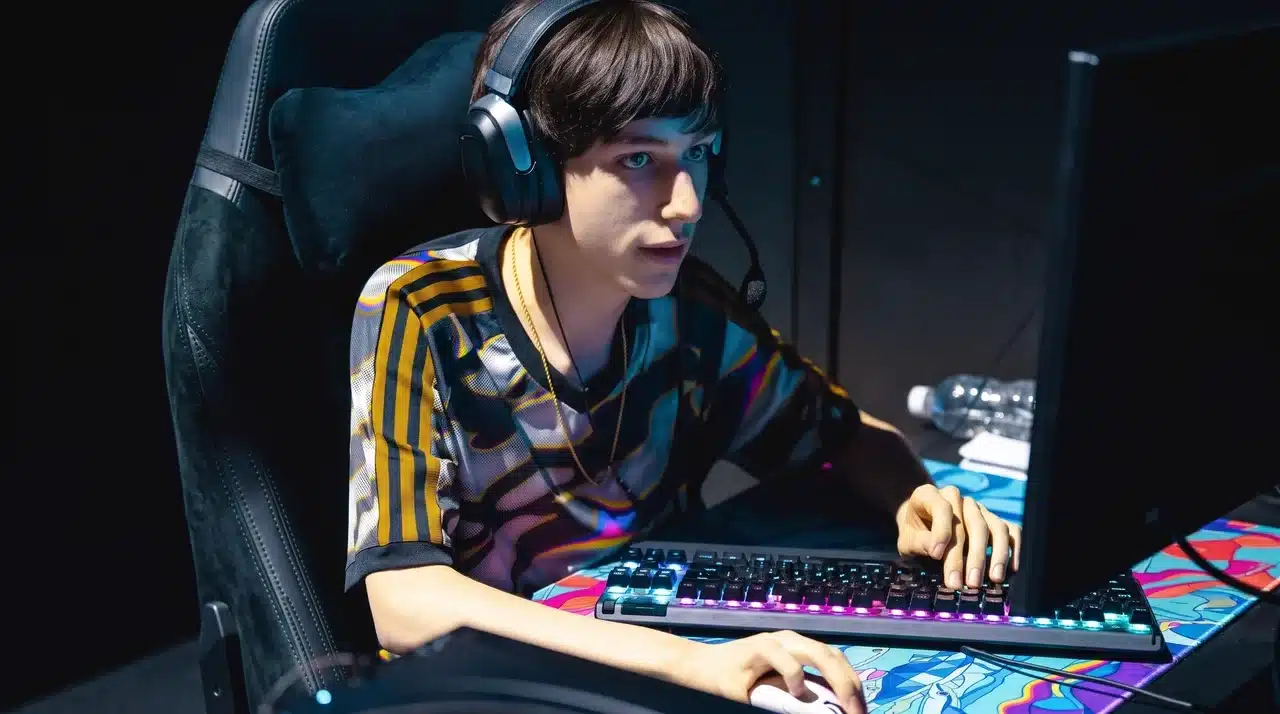
Every setting covered so far only performs the way Peterbot intends it on hardware that can actually sustain it. His gear is built to remove every hardware bottleneck between input and output.
| Component | Peterbot’s Gear | Budget Alternative |
|---|---|---|
| Monitor | BenQ ZOWIE XL2566K | BenQ MOBIUZ EX251 |
| Mouse | Logitech G Pro X Superlight 2 | Logitech G203 |
| Keyboard | SteelSeries Apex Pro TKL | Redragon K552 |
| Mousepad | GameSense Radar II | SteelSeries QcK Heavy |
| Headset | HyperX Cloud II | HyperX Cloud Stinger 2 |
His monitor runs at 360Hz, which is the direct reason his Performance mode and 100% 3D resolution pairing hold up without frametime drops.
On a 144Hz panel with a mid-range GPU, that same combination will behave differently and likely needs adjustment.
The SteelSeries Apex Pro TKL is also worth noting specifically. Its adjustable actuation point makes the editing speed discussed in the keybinds section physically possible at the hardware level.
How to Adapt Peterbot’s Settings to Your Own Playstyle?
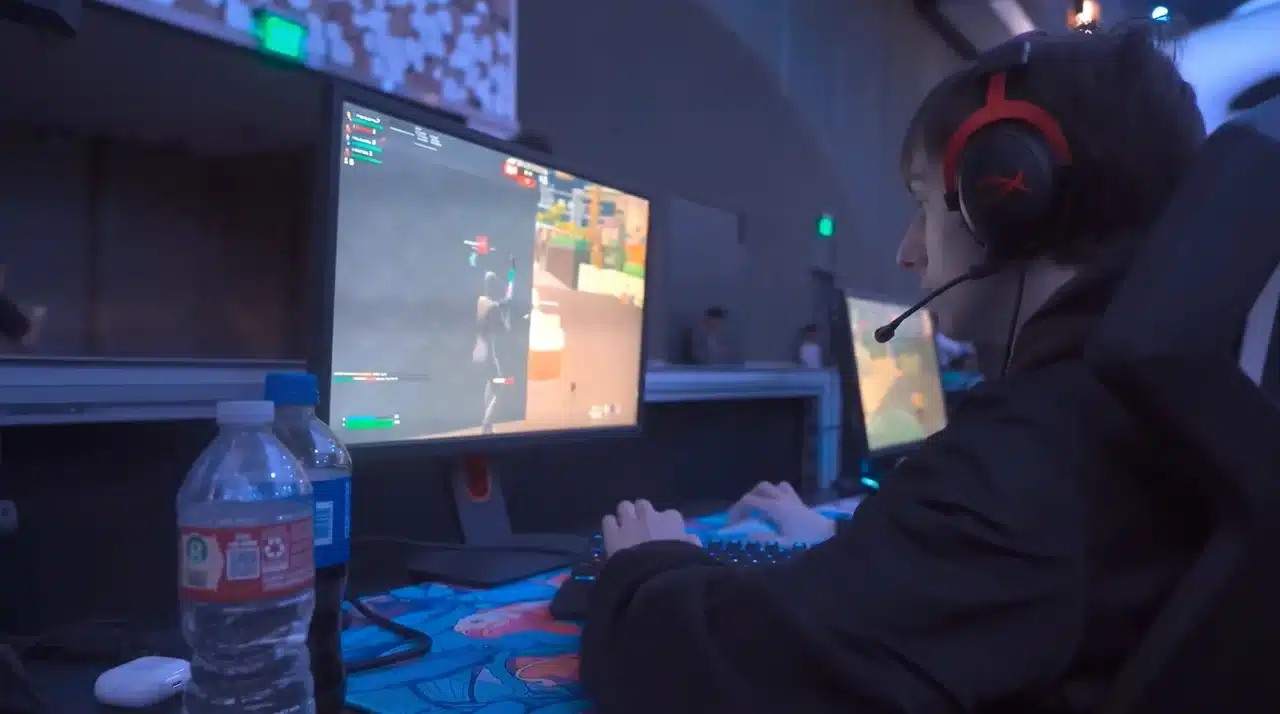
Copying Peterbot’s config verbatim is a starting point, not a solution. Every number he runs is calibrated to his hardware, his muscle memory, and years of competitive repetition. Here is how to adapt intelligently rather than copy blindly.
- Sensitivity: Start at his 512 eDPI and run it through a full week of deathmatch before judging. If you consistently overshoot targets, drop by 50 eDPI increments. If wide flicks feel sluggish and slow, nudge it upward by the same amount. I dropped mine from 600 to 480 over about ten days before it stopped feeling twitchy on tracking shots.
- Video Settings: Test Performance mode at 100% 3D resolution for one session and watch your frametimes. If they spike inconsistently, pull 3D resolution down to 85% before touching anything else.
- Keybinds: His build and edit placements are worth adopting directly. Double movement is universally beneficial. Actuation point depends entirely on your keyboard model, so check what your hardware actually supports before assuming you can match his edit speed.
If you’re still deciding on a full setup rather than just his sensitivity, our breakdown of Fortnite pro settings across the current top players is a useful next stop for comparing configs side by side.
Conclusion
Peterbot settings are useful because they show how sensitivity, keybinds, display choices, and hardware work together.
His 512 eDPI supports controlled aim, while his build and edit setup keeps fast actions within reach.
The biggest lesson is not to copy every number blindly. Your mouse, monitor, keyboard, and comfort level can change how the same settings feel in game.
I would test one category at a time, keep it for a full week, then adjust only what feels wrong.
Try his sensitivity or keybind setup in your next match. Did it improve your aim or edits? Tell us, share with us in the comments below.
Frequently Asked Questions
What is Peterbot’s eDPI in Fortnite?
Peterbot runs at 800 DPI with a 6.4% in-game sensitivity, resulting in an eDPI of 512. Multiply your own DPI by your sensitivity to see exactly where you land relative to his setup.
Does Peterbot Play on Stretched Resolution?
No. Peterbot plays at native 1780×1080 in windowed fullscreen. He does not run a stretched aspect ratio, which is a common misconception carried over from older pro settings write-ups.
Why Is Peterbot’s Targeting Sensitivity So Much Higher Than His Base?
The gap between the 6.4% base and the 45% target is intentional. It keeps general movement fast while slowing aim precisely when he needs controlled accuracy during edits and close-range engagements.
How Does Peterbot Edit so Fast in Fortnite?
His keyboard’s adjustable actuation point registers each keypress earlier in the physical travel. Combined with optimized edit keybinds, inputs reach the game faster than on standard keyboards with fixed actuation.