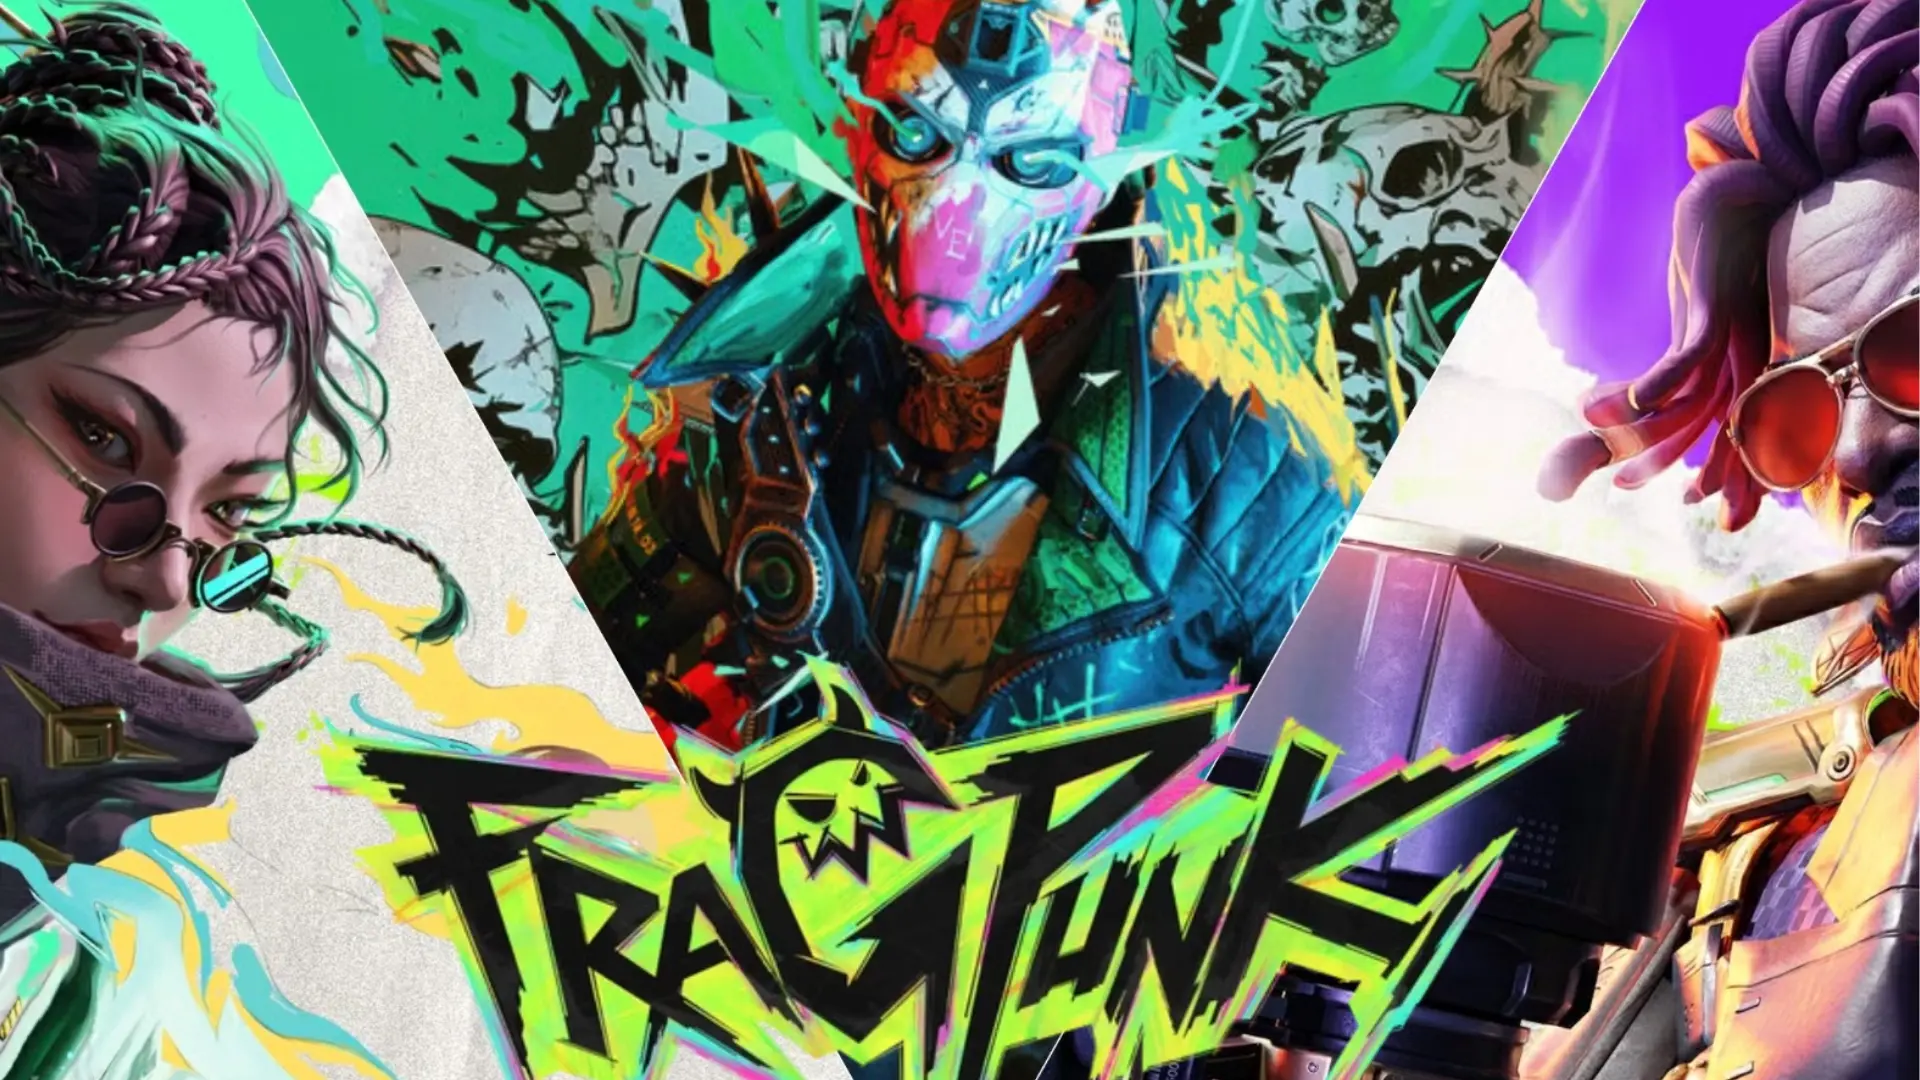
FragPunk can feel confusing the first time you reach character select.
The roster is busy, every Lancer looks different, and you have only a short moment to choose before the match begins.
The easiest way to understand fragpunk characters is to stop looking at them as random picks and start grouping them by role.
Some Lancers create space, some reveal enemies, some support teammates, and others punish bad positioning with speed or damage.
This guide breaks down every current Lancer, their abilities, their role, and how they fit into a team so you can pick with more confidence.
What are Lancers in FragPunk?
Lancers are FragPunk’s playable characters, and each one comes with a fixed set of abilities that defines how they contribute during a match.
When you choose a Lancer, that ability kit stays with you across modes such as Shard Clash, Deathmatch, and Arcade.
What changes is how frequently certain abilities can be used, depending on the mode and round structure. A Lancer’s kit is also separate from two other systems:
- Weapon loadout: Controls the guns and equipment you bring into combat.
- Shard Cards: Team-drafted modifiers that change the rules or conditions of a round.
Your Lancer determines your personal abilities, while Shard Cards affect the wider match. Understanding that difference makes team composition and character selection much easier.
Every Lancer also falls into one of four broad roles, and knowing the role before you scan the full list makes it much faster to find a fit:
- Attack and Damage Lancers
- Support and Sustain Lancers
- Control and Disruption Lancers
- Mobility and Flank Lancers
A Lancer’s role can shift slightly depending on loadout choices, even though their base function stays fixed.
All FragPunk Lancers and Their Abilities
FragPunk’s roster is easier to scan when every Lancer gets a dedicated entry. The list below focuses on role, named abilities, and what each skill does.
I put together a similar full-roster breakdown for the Clair Obscur Expedition 33 cast.
1. Broker

Broker is an aggressive damage Lancer who combines explosive rockets, smoke control, and delayed traps to pressure enemies and disrupt positioning.
Role: Damage, Vision Control, Trap
Abilities:
- Goddard’s Vengeance: Equips a shoulder-fired rocket launcher that deals heavy explosive damage and knocks enemies back.
- Smokestack Lightning: Throws a device that creates smoke around its path, cutting enemy sightlines.
- Cherry Bomb: Scatters delayed energy explosives that trigger when enemies approach.
2. Nitro

Nitro controls space with deployable defenses, using a tactical drone, temporary shield walls, and an automated turret to secure key areas.
Role: Defense, Trap, Area Control
Abilities:
- Chug Chug: Deploys a remotely controlled tactical drone for scouting and combat.
- The Wall: Places three connected shield panels that provide temporary cover.
- Mr. PewPew: Throws an automated turret that fires at enemies entering its sightline.
3. Hollowpoint

Hollowpoint excels at long-range pressure, combining a charged railgun, revealing smoke, and tracking traps to expose and punish distant enemies.
Role: Damage, Detection, Vision Control
Abilities:
- Meteora: Equips a charged railgun designed for precise, high-damage long-range shots.
- Smoke Screen: Sends smoke forward while revealing enemies caught inside it.
- Paparazzi: Places a tracking trap that attaches to nearby enemies and exposes their position.
4. Jaguar

Jaguar specializes in detection and vision control, using electrical traps, obscuring fields, and forward scanning to reveal nearby vulnerable enemies.
Role: Vision Control, Detection, Trap
Abilities:
- Live Wire: Places an electrical trap that damages and slows nearby enemies.
- Electric Avenue: Creates an electrical field that blocks enemy vision.
- I Can See For Miles: Detects enemies ahead, identifies vulnerable targets, and boosts Jaguar while active.
5. Chum

Chum uses a robotic companion to scout and attack, then supports it with explosives and mobile smoke for flexible area pressure.
Role: Trap, Damage, Vision Control
Abilities:
- Chomper: Releases a robotic companion that patrols an area and attacks nearby enemies.
- Explosive Bait: Creates a sticky explosive or turns Chomper into an explosive attacker.
- Smoking Bait: Produces smoke or lets Chomper move around while continuously releasing it.
6. Corona

Corona is built for aggressive entry, using rapid dashes, damaging zones, and a charged blind to break through defended enemy positions.
Role: Mobility, Frontal Assault, Area Control
Abilities:
- Fast Lane: Dashes quickly in a chosen direction to engage or escape.
- Ashes to Ashes: Creates a damaging zone that also grants Corona defensive and movement benefits.
- Hothead: Charges briefly before blinding enemies looking toward Corona.
7. Serket

Serket disrupts enemy movement through teleport mobility, slowing dust tornadoes, and a pulling device that drags opponents into dangerous positions.
Role: Mobility, Area Control, Disruption
Abilities:
- Station to Station: Places a beacon that Serket can teleport toward while gaining information around its location.
- Gold Dust Woman: Sends a moving dust tornado forward that slows enemies.
- Dilemma: Throws a device that pulls nearby enemies toward its center.
8. Pathojen

Pathojen supports teammates with healing fields and defensive walls while controlling space through poison traps and complete immunity to poison damage.
Role: Healing, Defense, Trap
Abilities:
- Emotional Rescue: Creates a healing field that restores health to allies standing inside.
- Shroom Wall: Builds a destructible fungus wall for cover or to control pathways.
- Killer Queen: Places a poison trap that damages enemies over time.
- Chemical Romance: Passive ability that makes Pathogen immune to poison damage.
9. Zephyr

Zephyr focuses on stealth and flanking, using temporary invisibility, a supportive stealth zone, and a recall beacon for safer repositioning.
Role: Stealth, Mobility, Flanking
Abilities:
- Midnight Rambler: Makes Zephyr invisible temporarily while restricting her offensive options.
- Fade Away: Creates a zone that supports and extends her stealth play.
- Get Back: Places a beacon that Zephyr can teleport back to when needed.
10. Kismet

Kismet blends reconnaissance and survival, scanning enemies, throwing cover-penetrating explosives, and becoming briefly invisible and invulnerable when escaping danger safely.
Role: Detection, Damage, Survival
Abilities:
- Hello, Goodbye: Scans enemies ahead and exposes those caught within its range.
- Misery Angel: Throws an explosive that can damage enemies even through intervening cover.
- Walk On The Wild Side: Makes Kismet invisible and invulnerable temporarily, but prevents her from seeing other Lancers.
11. Axon
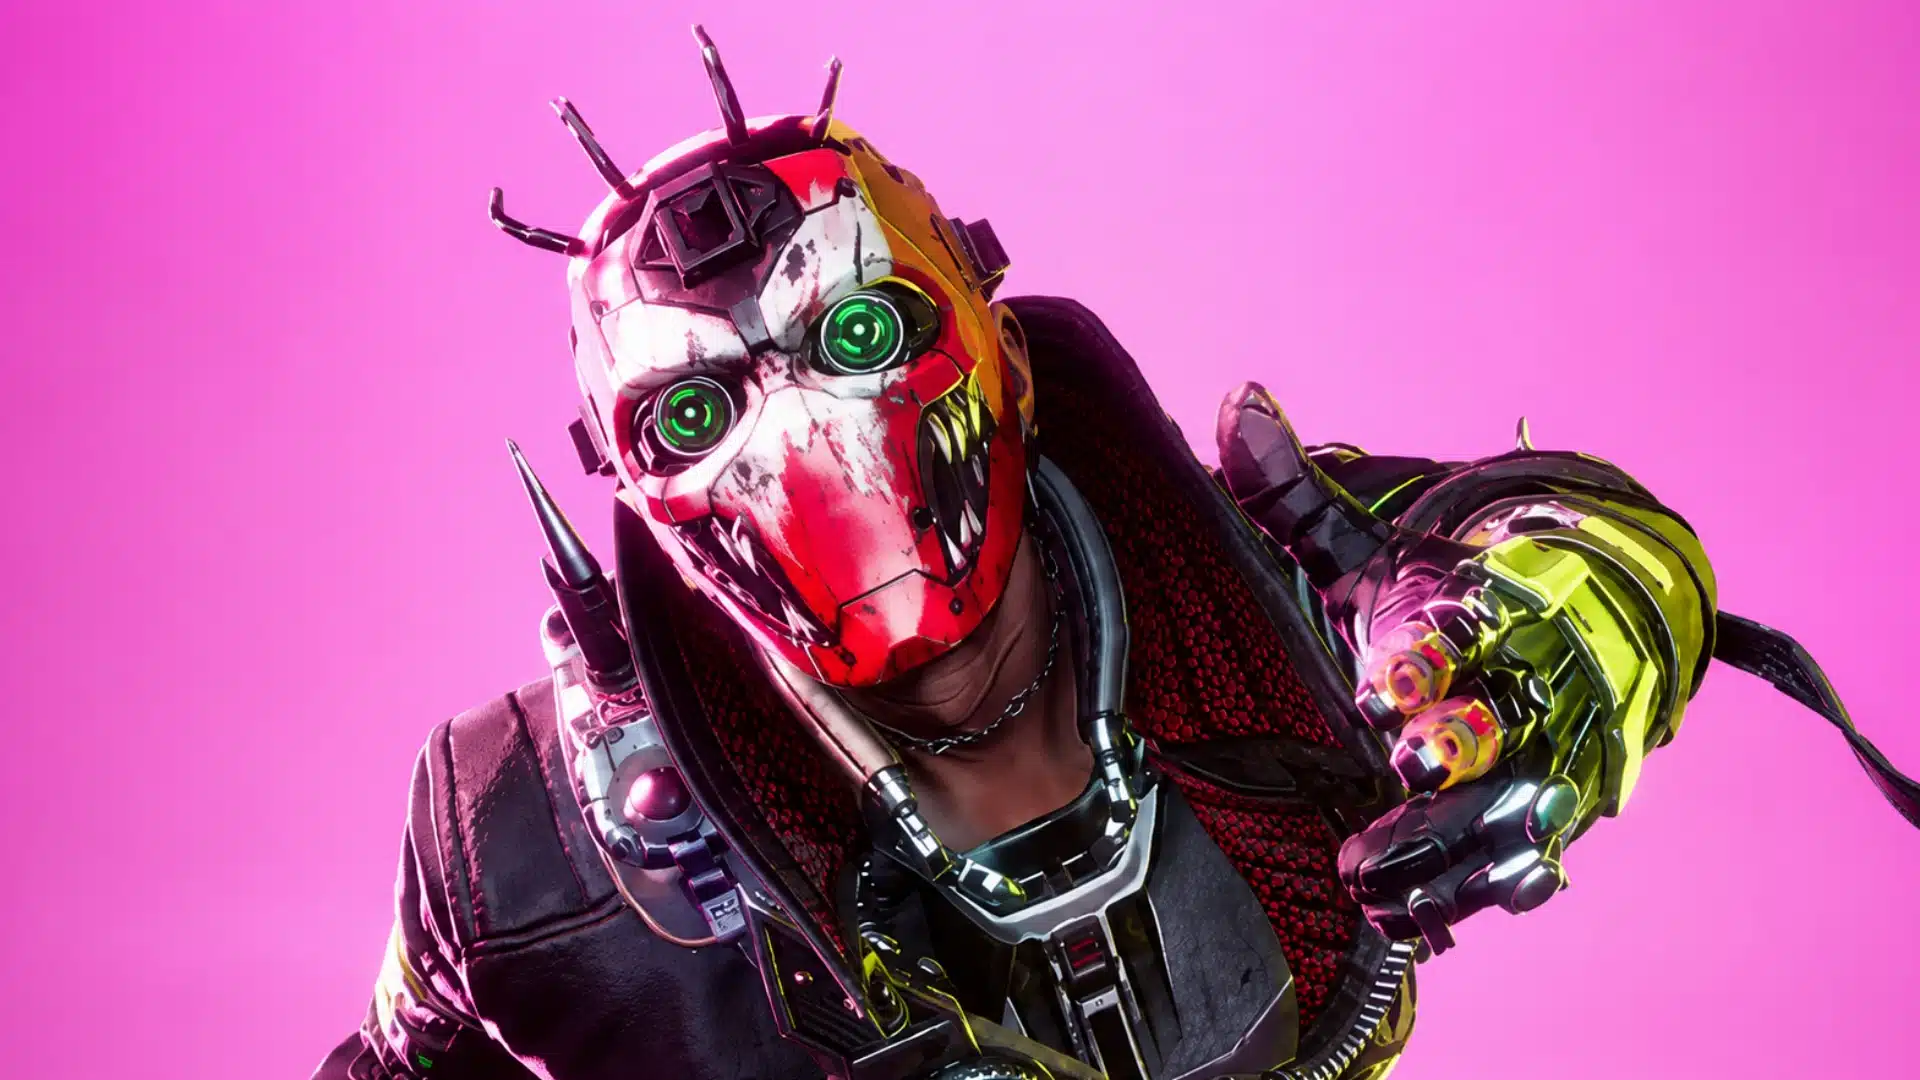
Axon thrives in close-range fights with a guitar shotgun, sticky bouncing grenades, and temporary immunity to blinding effects during aggressive pushes.
Role: Damage, Frontal Assault
Abilities:
- Electric Guitar: Equips a close-range guitar shotgun and allows aggressive sliding during fights.
- Sticky Fingers: Throws bouncing grenades that stick to enemies or detonate after a delay.
- Super Freak: Temporarily makes Axon immune to blinding effects.
12. Spider
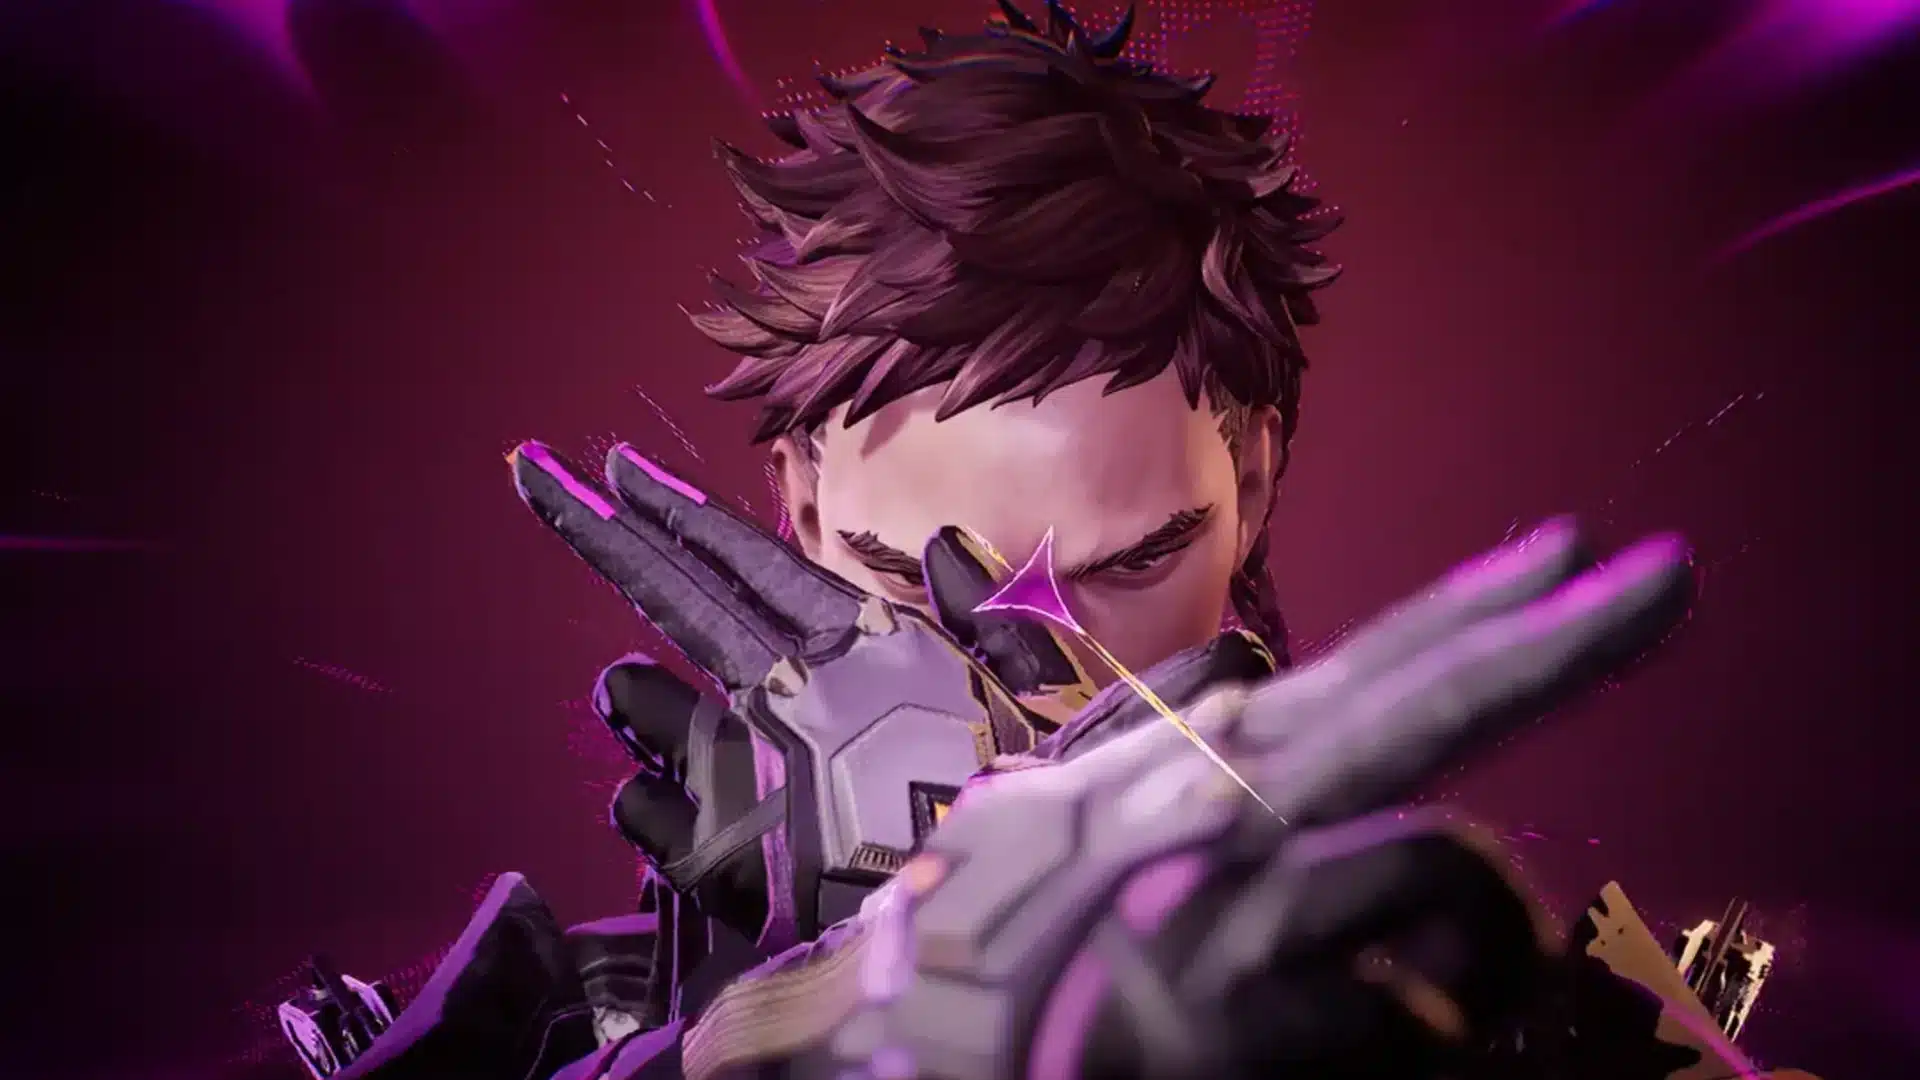
Spider controls movement with personal teleport points and disruptive traps that relocate, slow, disorient, and reveal enemies caught in their effects.
Role: Mobility, Trap, Disruption
Abilities:
- Teleporter: Places teleport points that Spider can use to move between locations.
- Spirited Away: Throws a trap that relocates affected enemies after activation.
- Spider Web: Places a trap that slows, disorients, and reveals enemies who trigger it.
13. Sonar
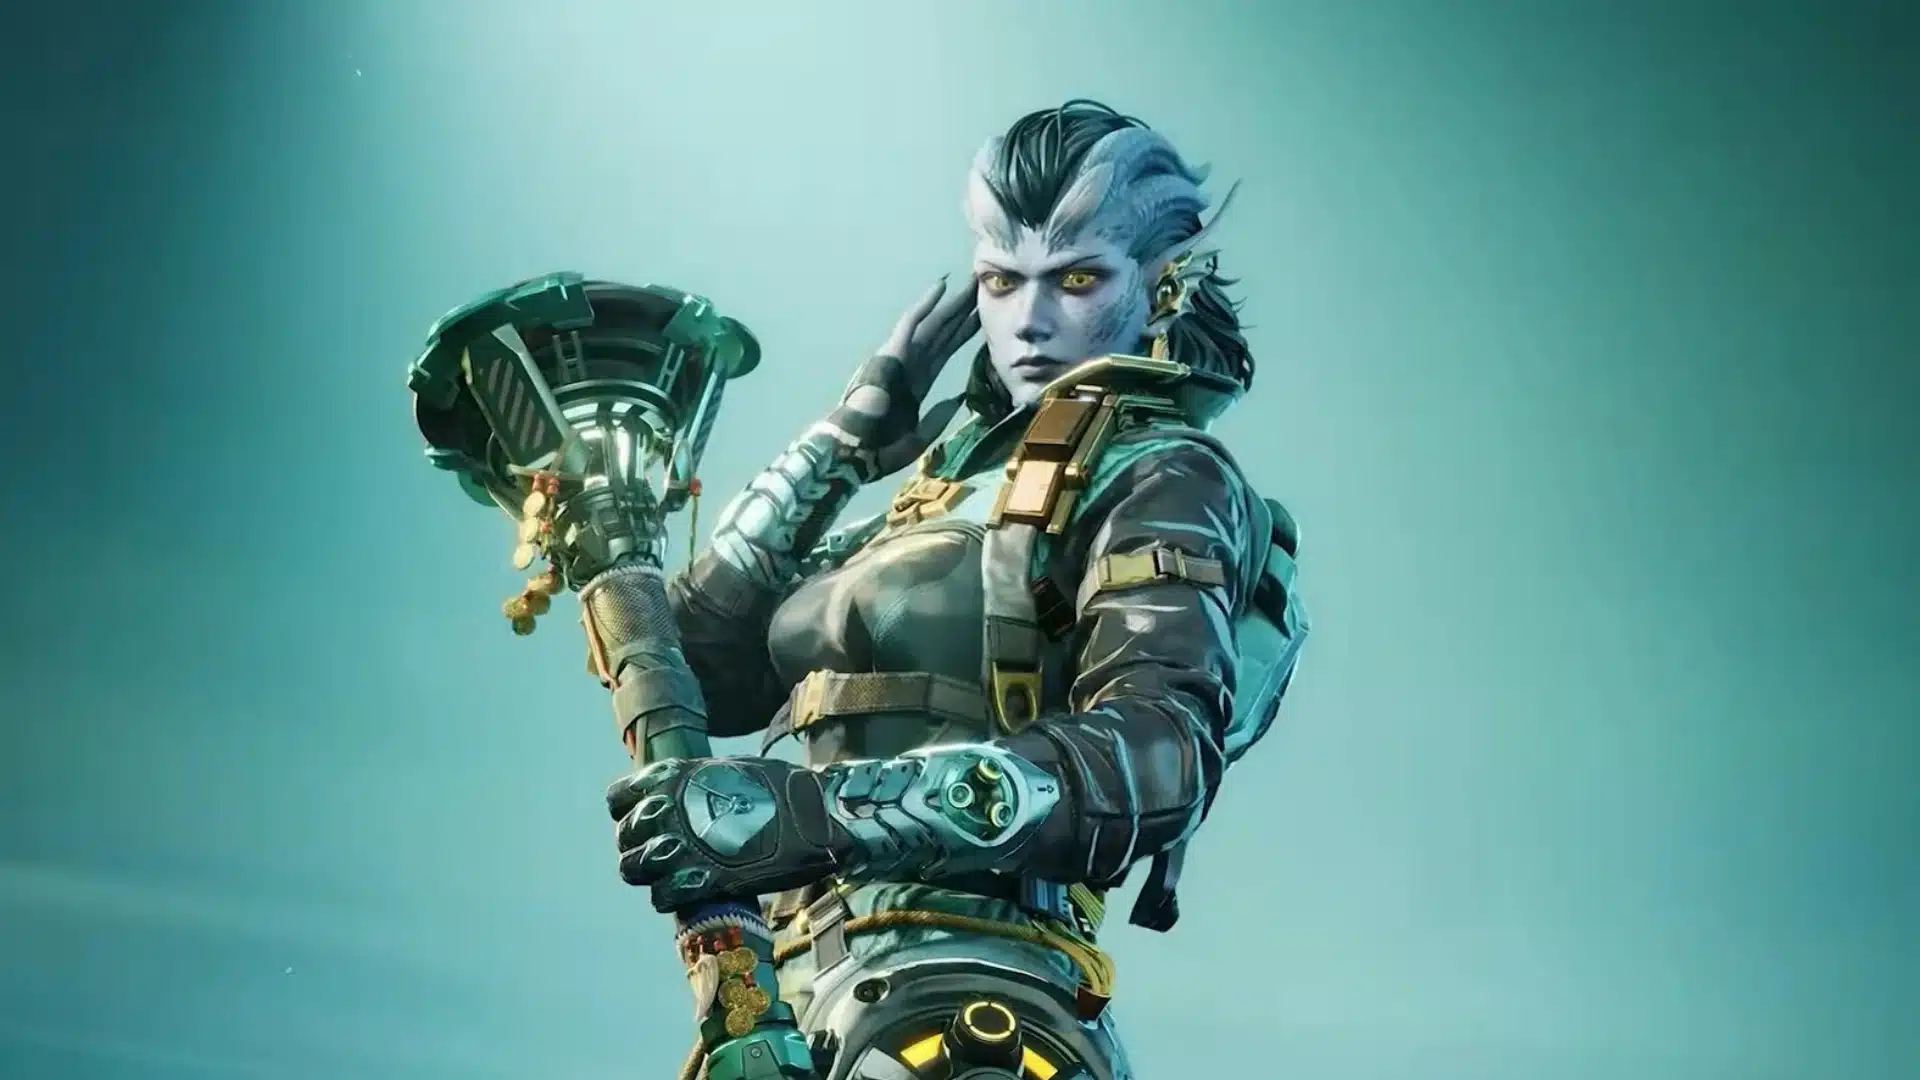
Sonar provides team information and protection by revealing movement, sending disruptive sonic waves, suppressing footsteps, and restoring nearby allied health.
Role: Detection, Team Utility, Area Control
Abilities:
- Echolocation: Places a device that periodically reveals nearby enemies when they move.
- Sonic Surge: Fires a sonic wave that exposes enemies before producing a delayed disruptive blast.
- Sound of Silence: Suppresses allied footsteps, protects against certain scans, and now restores health to affected teammates.
14. Dex
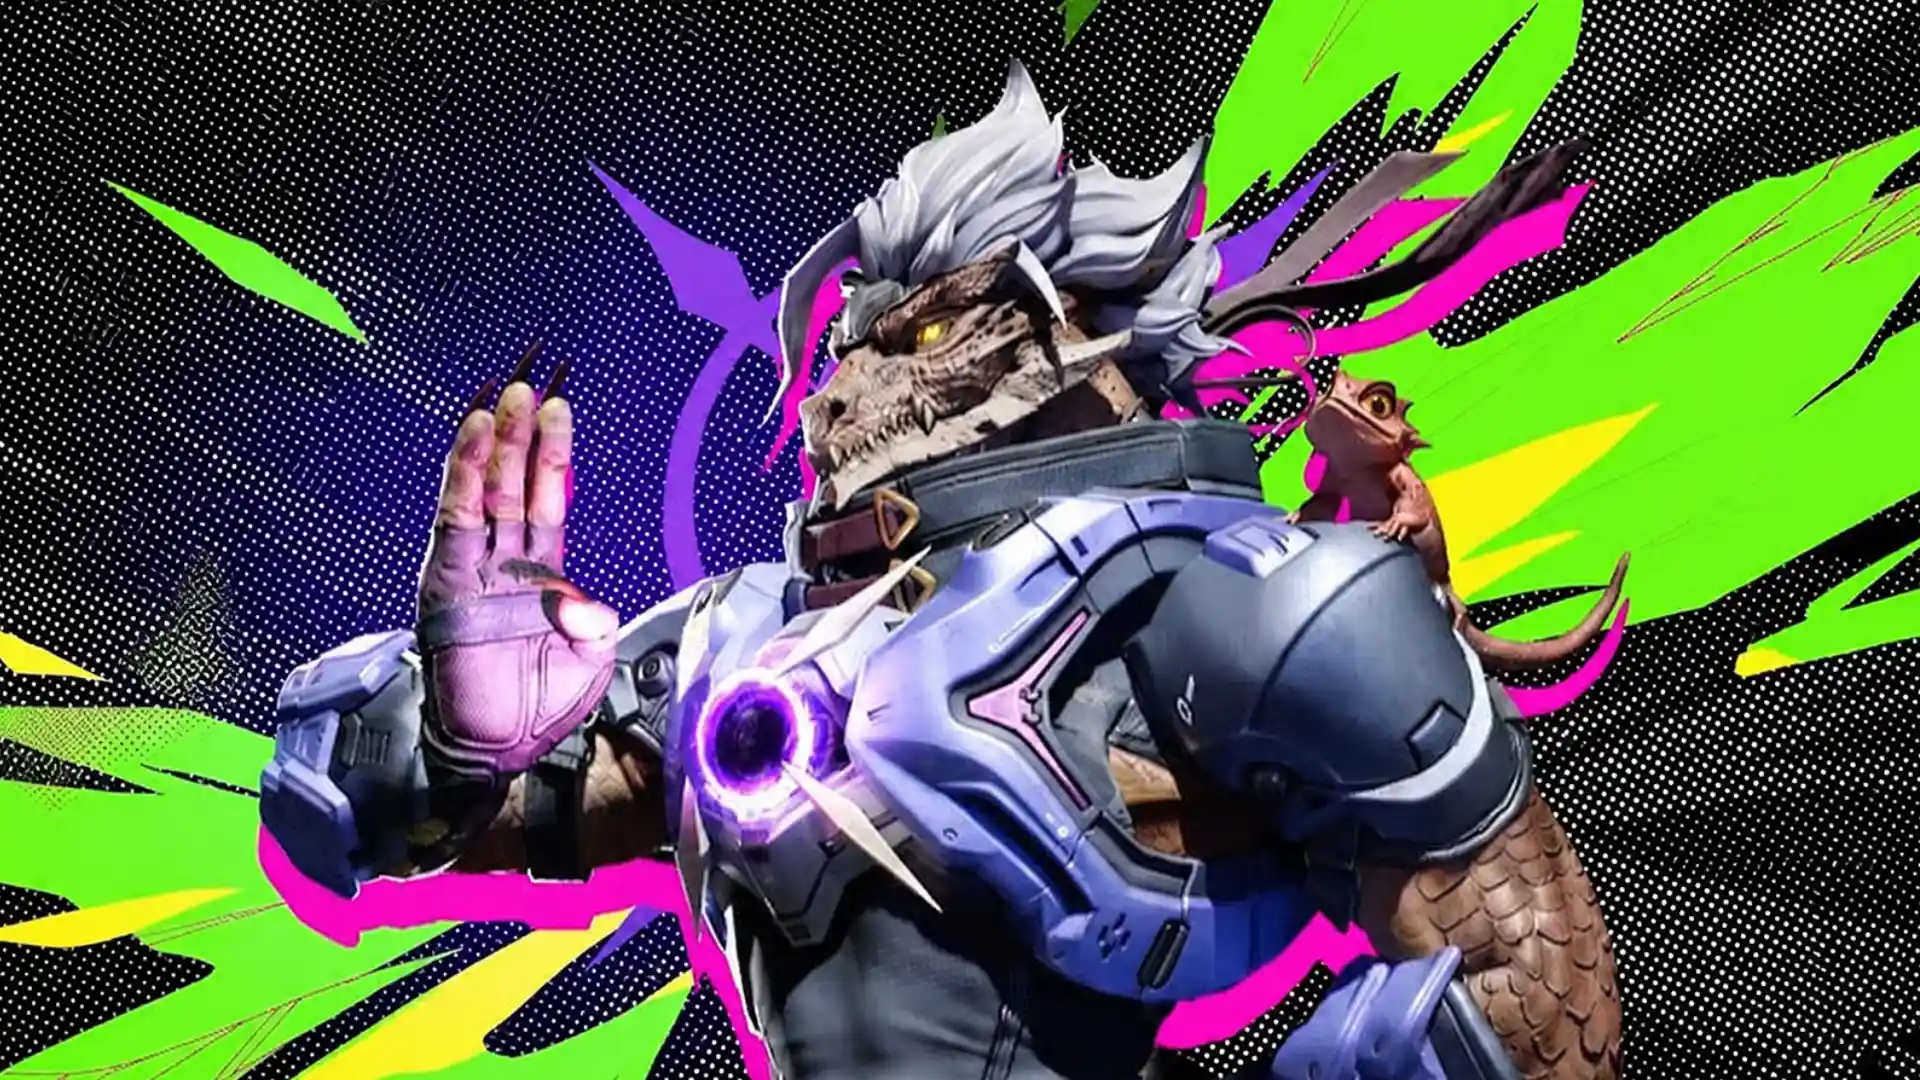
Dex uses deception and scouting through a controllable clone, a revealing damage trap, and protective scales that absorb limited incoming damage.
Role: Deception, Scouting, Defense
Abilities:
- Cloning Incarnation: Creates a controllable duplicate that can fight in Dex’s place.
- Mimic Trap: Places a deceptive trap that damages and exposes enemies who trigger it.
- Shield Scales: Blocks a limited amount of incoming damage, helping Dex survive a dangerous exchange.
15. Aura

Aura is a dedicated support Lancer who possesses allies, increases their health, and sends waves that detect enemies and boost teammates.
Role: Healing, Support, Buffing
Abilities:
- Soul Beacon: Lets Aura possess an ally while supporting them with healing and additional firepower.
- Soul Guardian: Raises health for Aura and the teammate she is supporting.
- Harmonic Tide: Sends a wave through obstacles that detects enemies, slows foes, and speeds allies.
16. Ixchel
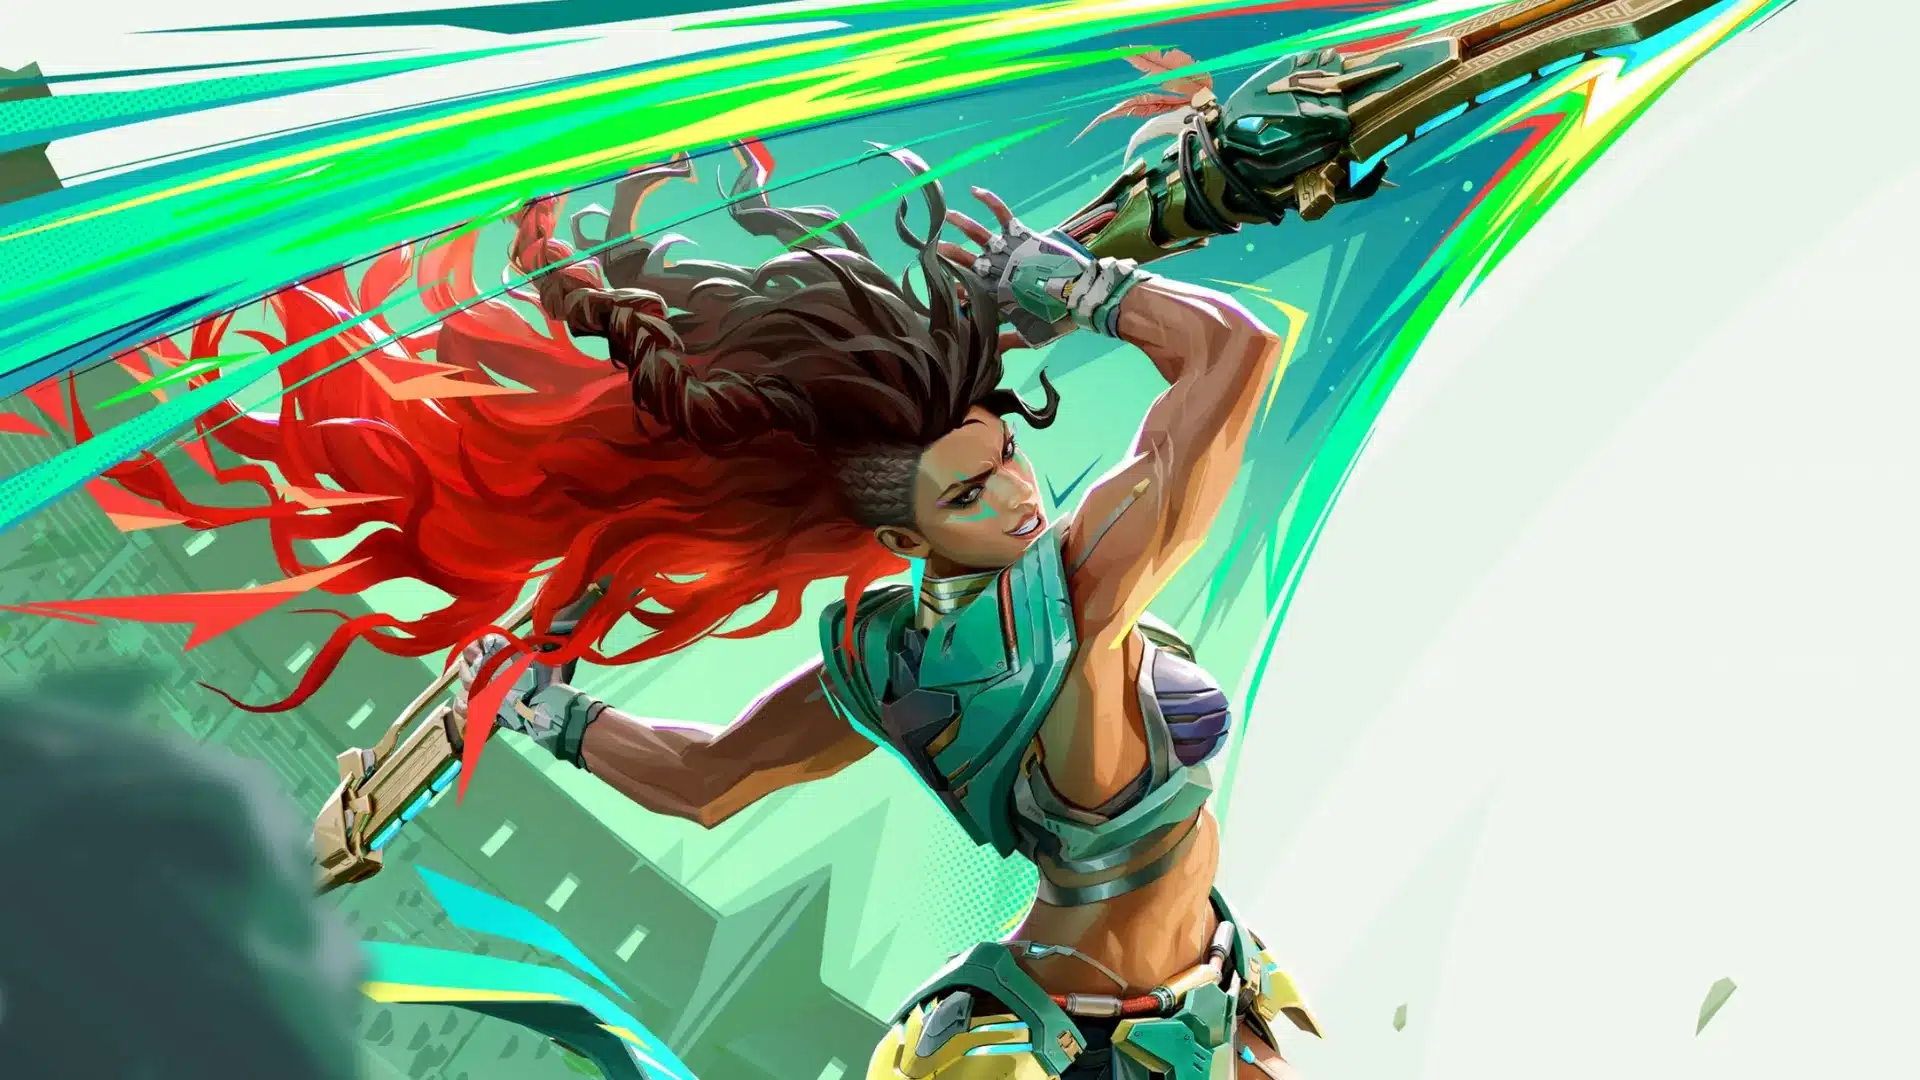
Ixchel controls close engagements with a bulletproof arena, faster weapon handling, improved survivability, and a spear that disrupts enemy positioning.
Role: Damage, Sustain, Area Control
Abilities:
- Fight In a Cage: Creates a bulletproof arena that restricts combat to a controlled space.
- Gladiator: Improves Ixchel’s fire rate and reload speed while also supporting her survivability.
- Spear of Kukulkan: Throws a spear that disrupts enemy positioning and applies a combat debuff.
17. Counterfeit
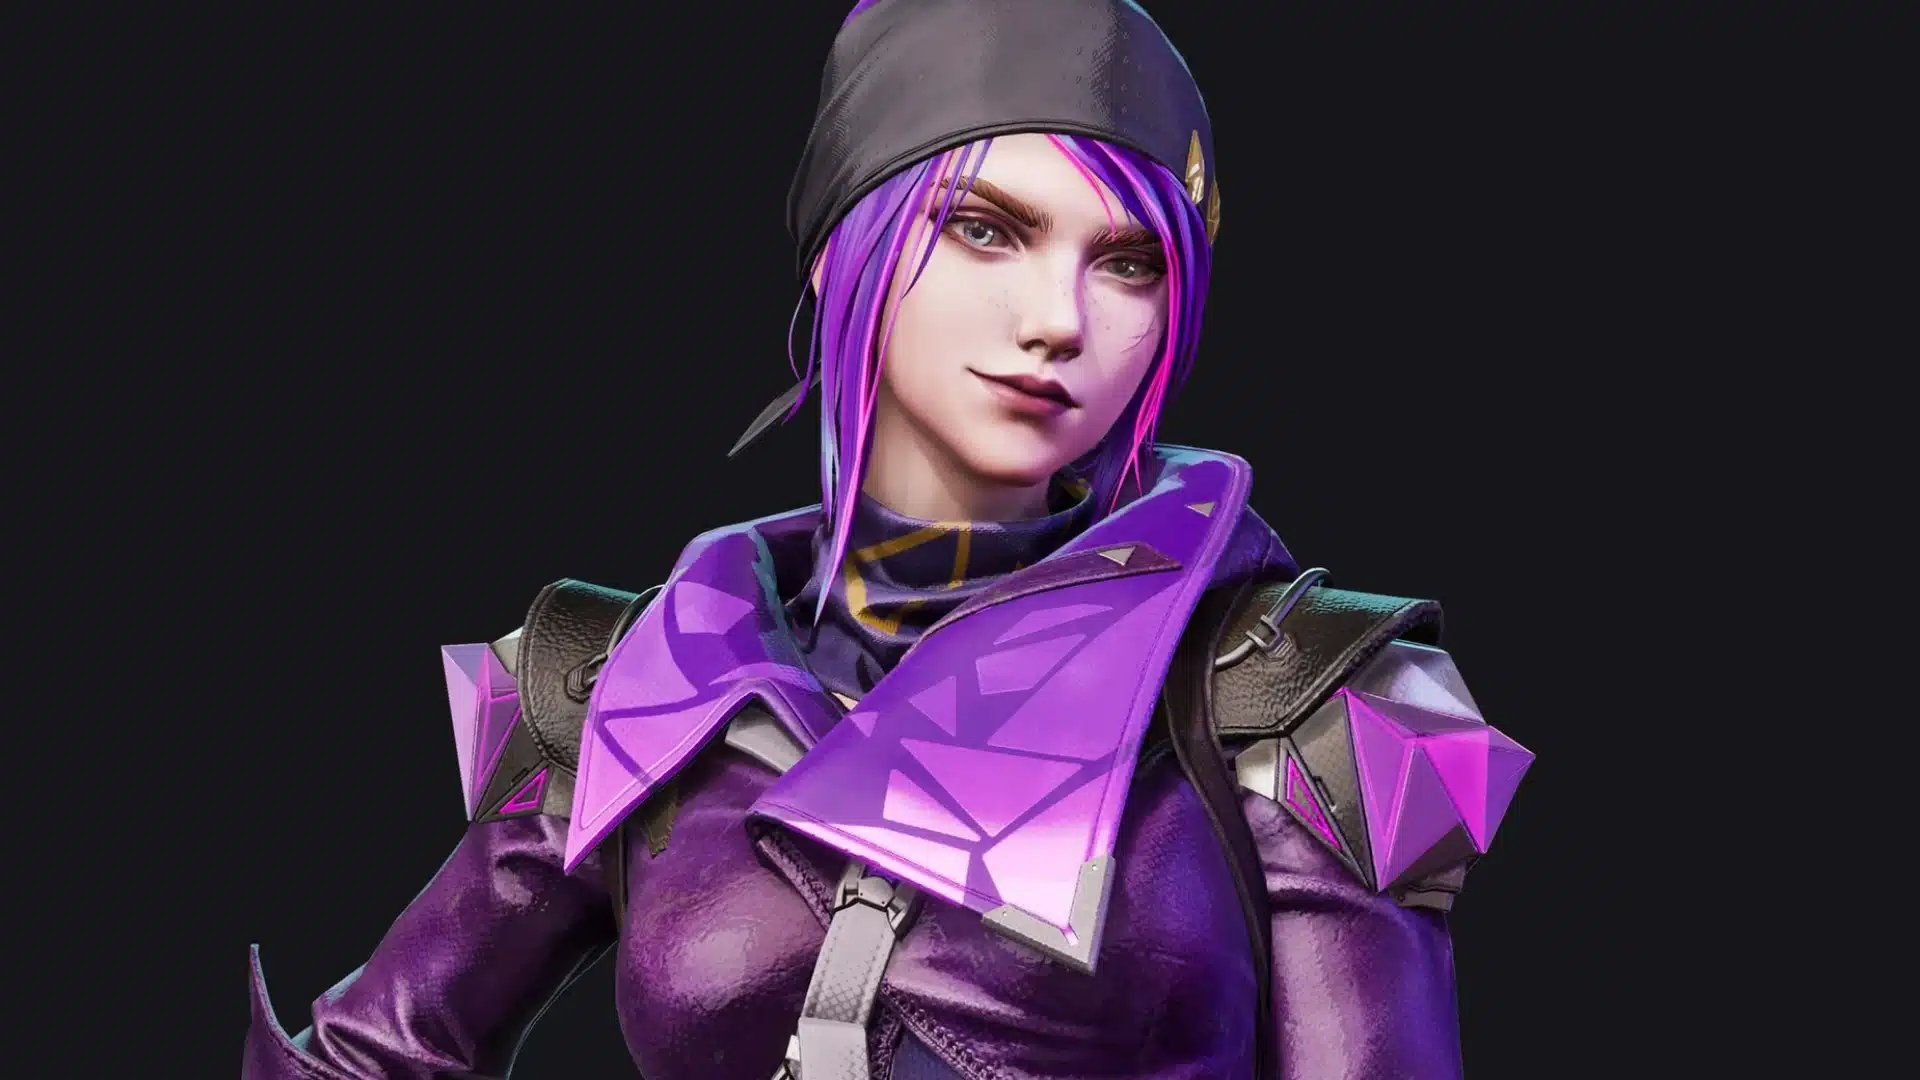
Counterfeit relies on deception and disruption, creating revealing mirages, gaining temporary invulnerability, and setting surprise attacks that damage and stun enemies.
Role: Deception, Reconnaissance, Disruption
Abilities:
- Thieves Like Us: Creates a convincing mirage that can mislead enemies and reveal their location.
- Shadowplay: Makes Counterfeit temporarily invulnerable, letting her cross dangerous areas safely.
- Boom Boom: Sets up a surprise attack that damages and stuns enemies caught by it.
18. Windwalker

Windwalker combines mobility and defense, dashing into enemies, launching damaging wind blades, and creating a moving shield that deflects bullets.
Role: Mobility, Frontal Assault, Defense
Abilities:
- Blowin’ in the Wind: Dashes forward and stuns enemies around Windwalker.
- Blade of Broken Dreams: Sends damaging wind blades forward after a slash.
- Gimme Shelter: Creates a moving wind shield that deflects incoming bullets.
19. Wildstyle
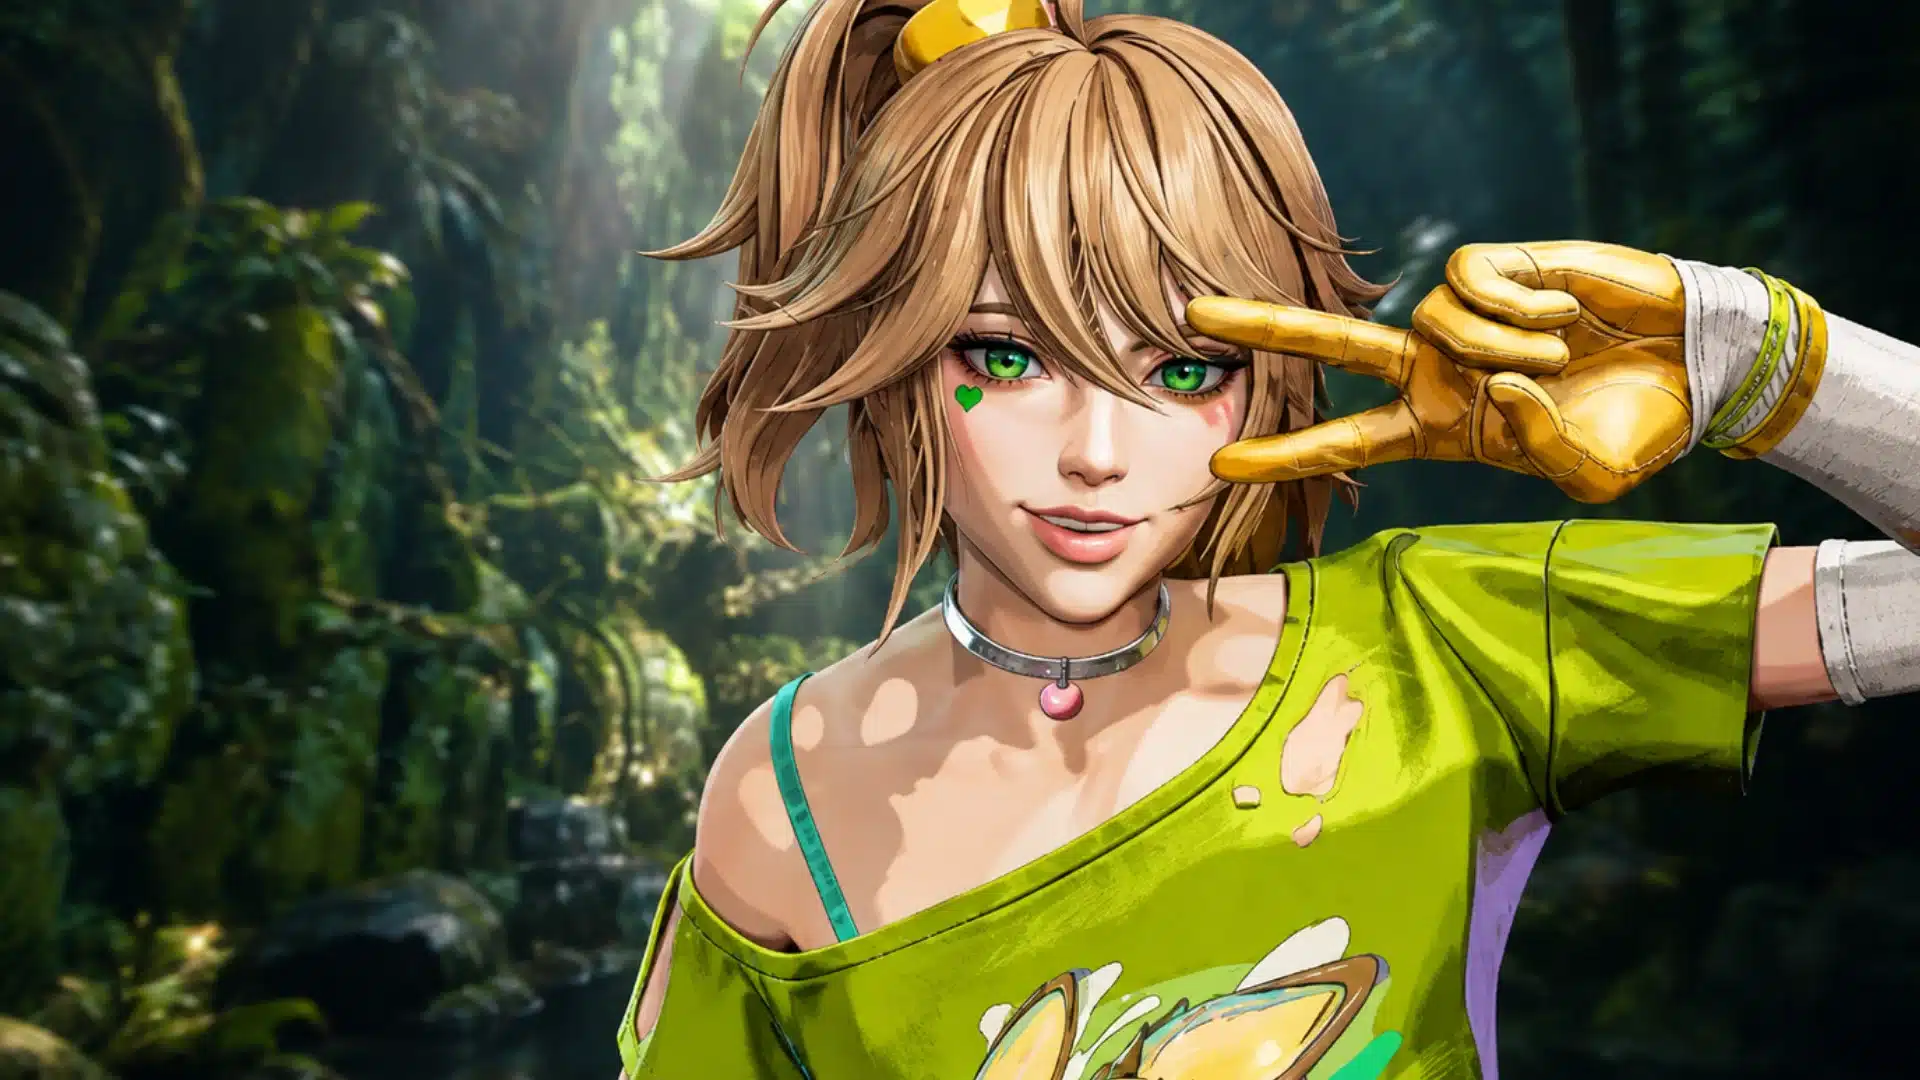
Wildstyle supports area control by slowing and exposing enemies with paint, creating one-way cover, and granting regenerating extra health to allies.
Role: Vision Control, Support, Area Denial
Abilities:
- Spray Paint: Covers an area with paint that slows, exposes, and weakens enemies who cross it.
- Wonderwall: Creates one-way vision cover that stains enemies passing through.
- Coat of Many Colors: Grants regenerating extra health to Wildstyle or an ally.
20. Knossos
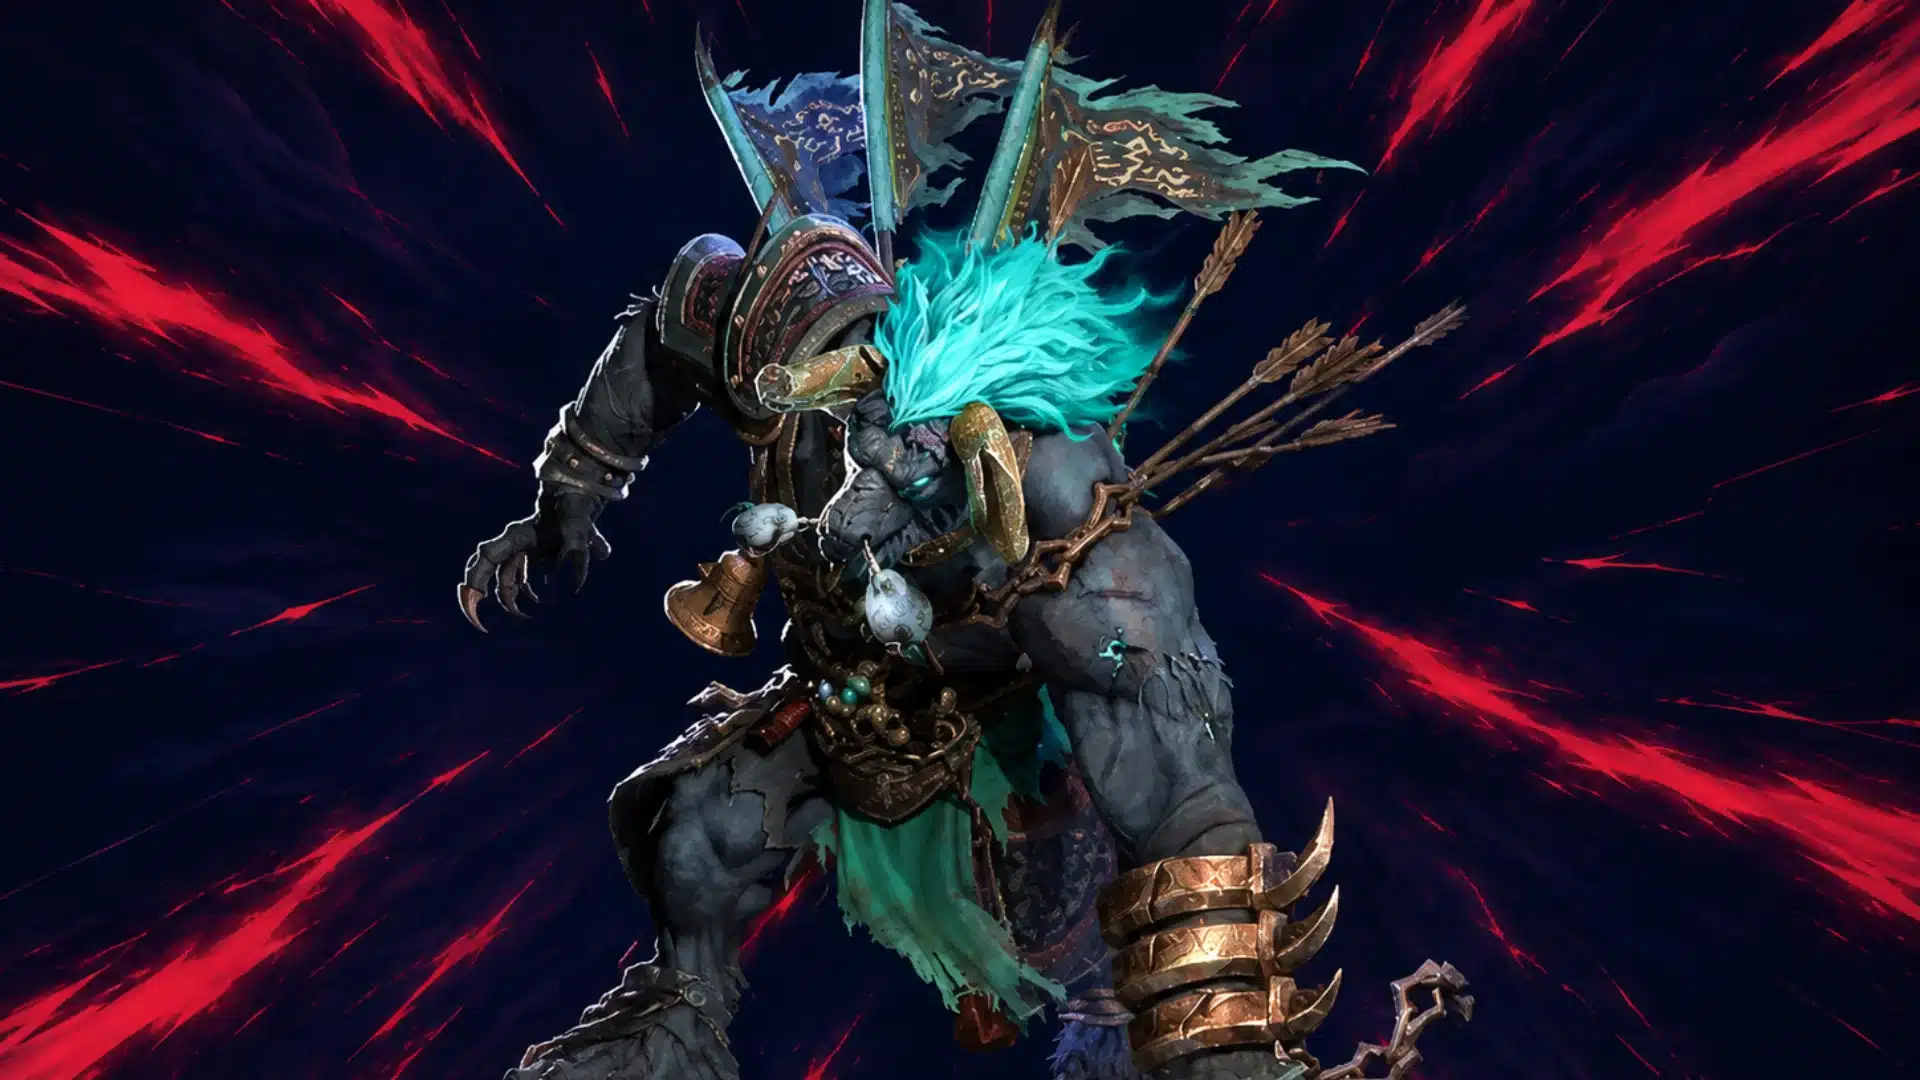
Knossos leads aggressive team pushes with a charging knockback attack, a protective movement banner, and a passive that accelerates banner availability.
Role: Support, Frontal Assault, Team Buffing
Abilities:
- Bulldozer: Charges forward and knocks enemies aside, helping break defensive positions.
- Fighting Spirit: Plants a banner that grants nearby allies damage reduction and increased movement speed.
- Uprising: Passive effect that helps Fighting Spirit become available faster when buffed allies take damage.
21. Calamity
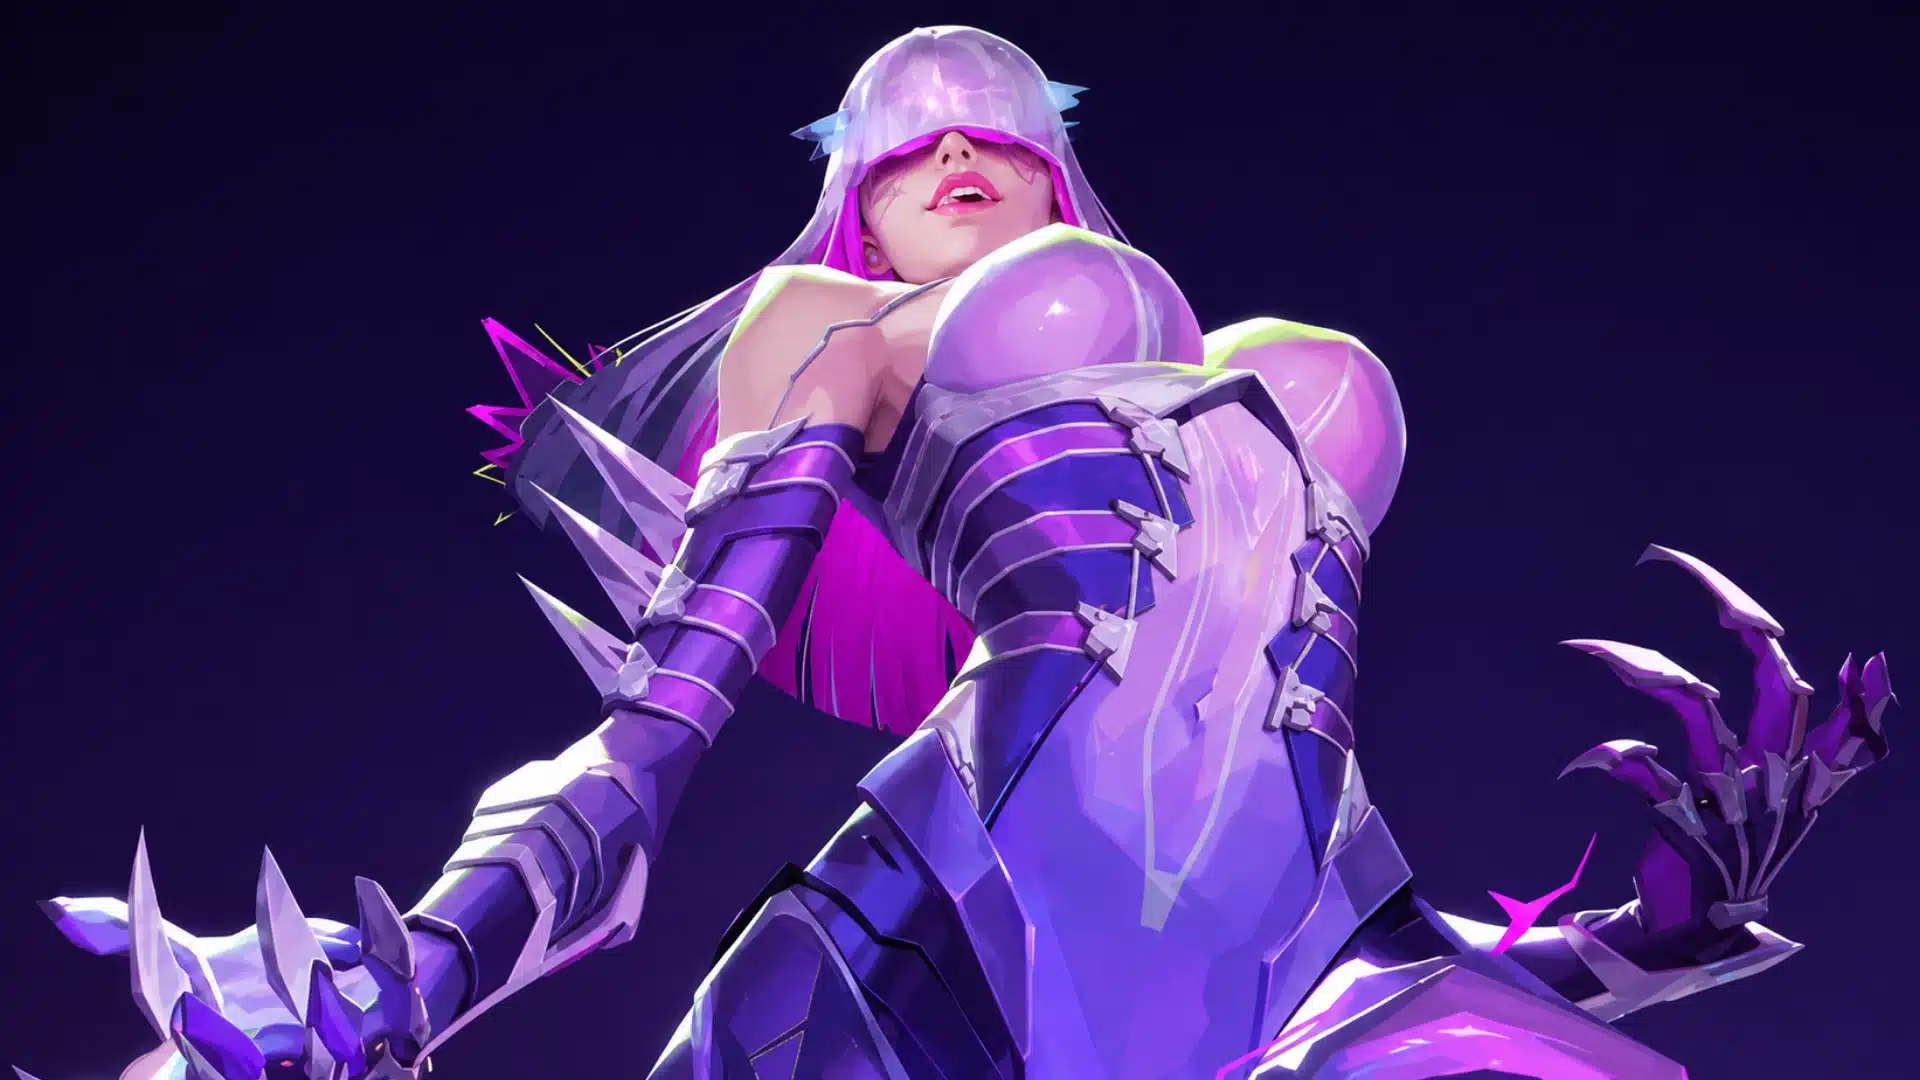
Calamity converts offensive pressure into survival, storing damage as Bloodbane, healing with it, and sacrificing health for brief invulnerability when needed.
Role: Damage, Sustain, Survival
Abilities:
- Bloodbane: Stores a portion of the damage Calamity deals and grants a stronger effect when the resource reaches its limit.
- Sympathy for the Devil: Consumes stored Bloodbane to restore Calamity’s health.
- Angel of Death: Trades health for a brief period of invulnerability, allowing Calamity to cross hazardous areas safely.
22. Hurricane
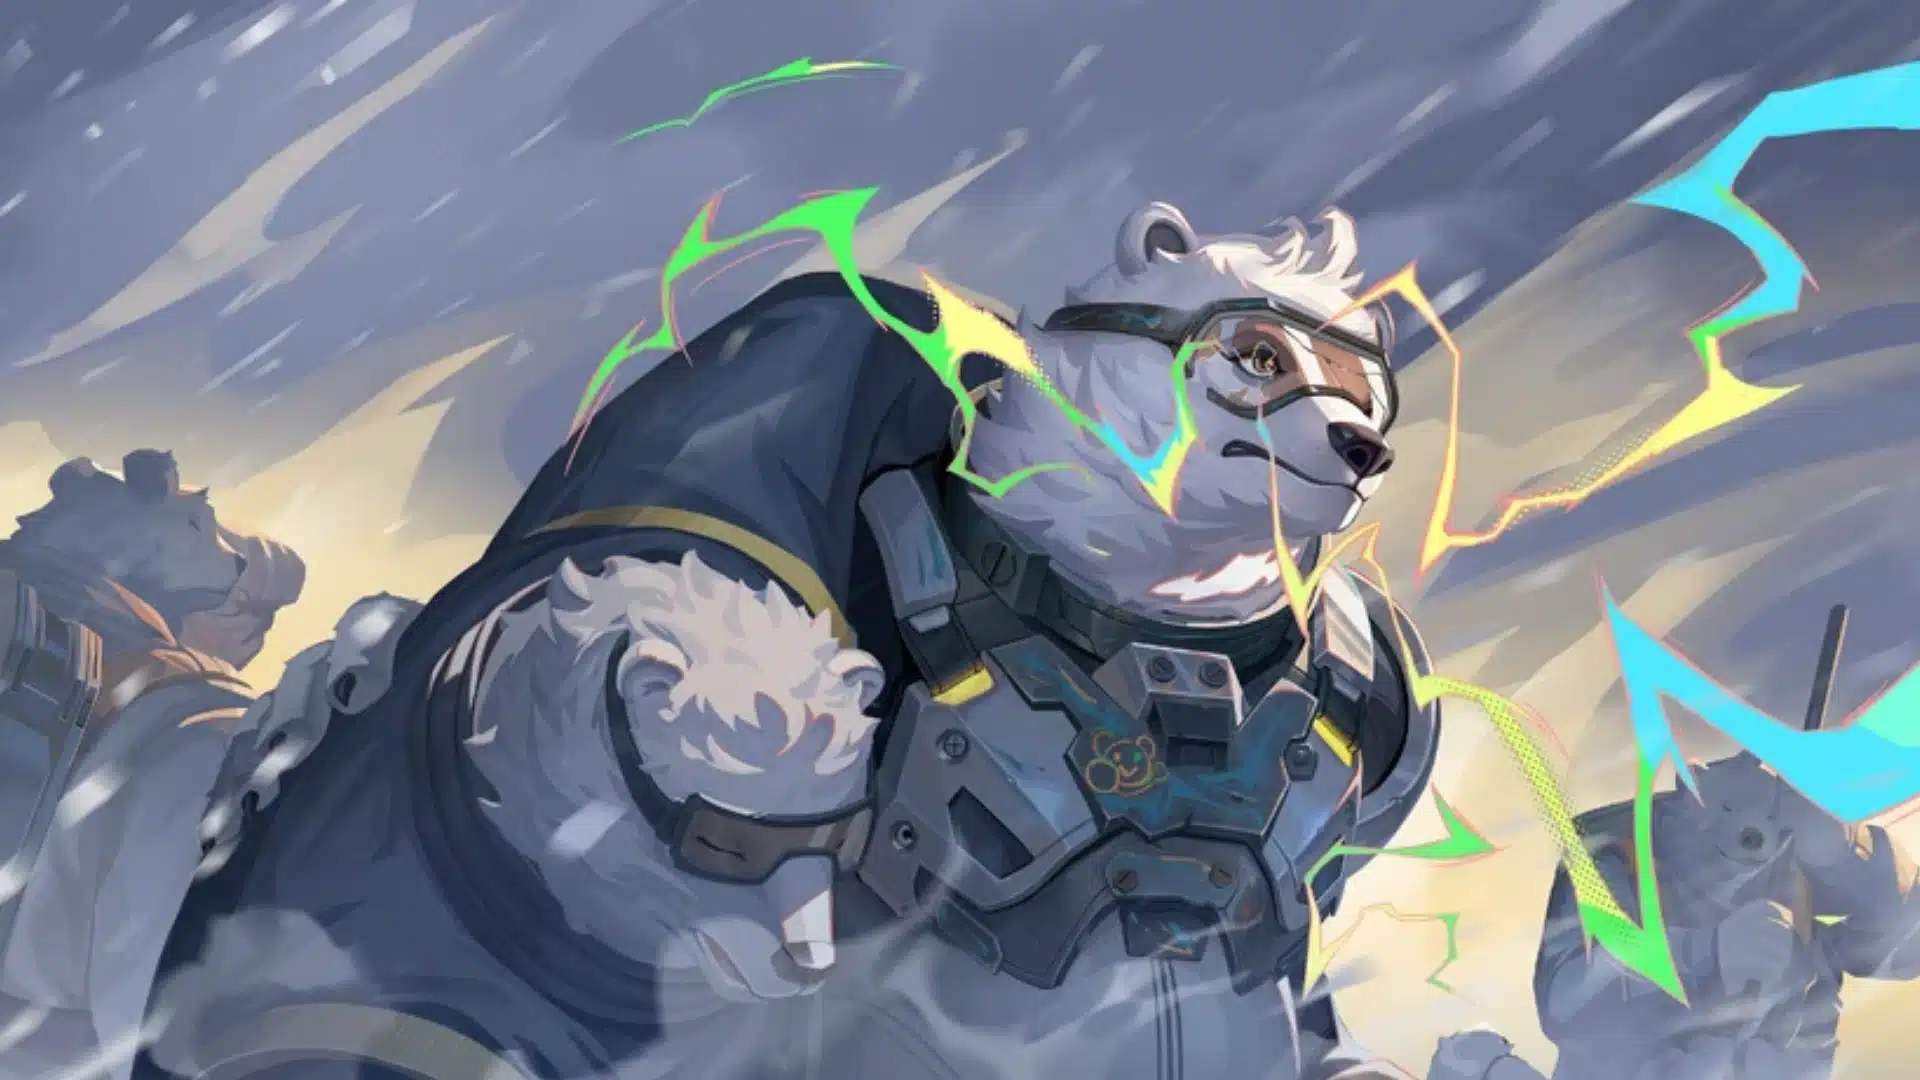
Hurricane combines vision denial and aggressive mobility, creating cyclones, blinding enemies with lightning, and speeding forward while making opponents more vulnerable.
Role: Vision Control, Mobility, Frontal Assault
Abilities:
- Cyclonic Storm: Creates a large cyclone that blocks enemy sightlines and controls an area.
- Branching Lightning: Launches an electrical attack capable of strongly blinding affected enemies.
- Heroic Onslaught: Increases Hurricane’s movement speed while making enemies more vulnerable during an aggressive push.
FragPunk keeps adjusting Lancer abilities through balance patches, so exact cooldowns, charges, health values, and damage numbers can change between chapters. The named kits above are more useful as a lasting reference than fixed numerical values.
Are These Characters the Same as Their Skins?
Skins never change which Lancer you’re playing. They only change how that Lancer looks. A skin swaps the outfit and color scheme. Abilities, role, and name all stay exactly the same.
Some skins go further, though. A few change silhouette or texture enough to throw off quick recognition mid-fight.
That split-second hesitation matters when you’re trying to read a threat. You’re still fighting the same Lancer. It just looks unfamiliar.
This same confusion shows up outside matches too. Someone spots an unusual skin and assumes a new character joined the game.
This is the actual reason roster counts get misreported online. A reskinned Pathogen is still Pathogen, not a new Lancer.
I have seen the same mix-up play out in Marvel Rivals skins, so it is not just a FragPunk thing.
Lancers vs. Shard Cards: What FragPunk Characters Don’t Control
Lancers and Shard Cards affect matches differently, and understanding that split makes it easier to know which choices belong to your character or team strategy.
| Feature | Lancer | Shard Card |
|---|---|---|
| What it is | Your playable character | A round modifier |
| Selection | Chosen before the match | Drafted each round |
| Abilities | Fixed character kit | Does not add character abilities |
| Who it affects | Mainly your character | Usually the whole team |
| Changes each round | No | Yes |
| Example | Broker’s rocket ability | Extra explosive damage |
| Main purpose | Defines your playstyle | Changes round conditions |
Shard Cards can strengthen parts of a Lancer’s kit, but they never become part of that character’s permanent abilities.
Remember, your Lancer defines the abilities you personally bring, while Shard Cards change round conditions for everyone and never directly replace a character’s fixed kit.
How Do Lancer Choices Affect Team Composition?
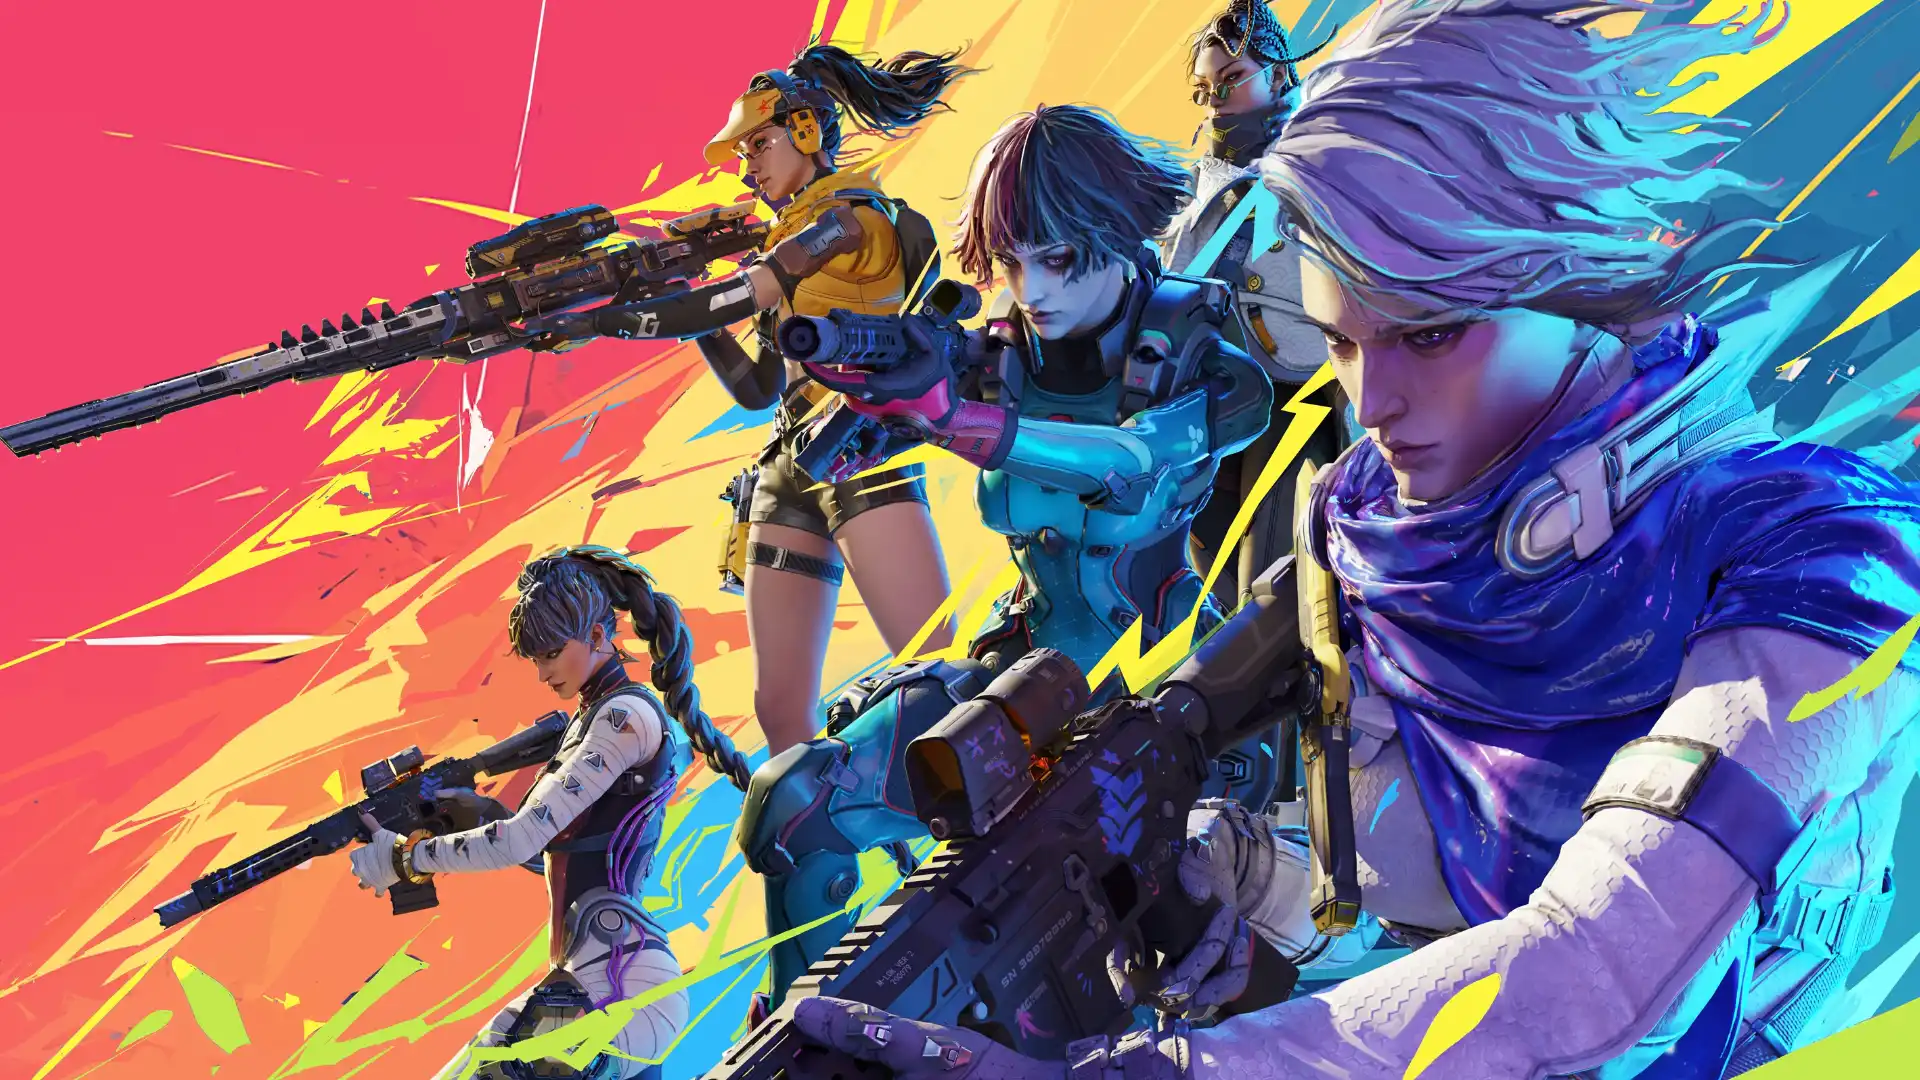
Your Lancer choice affects more than your own playstyle, because every pick changes how much damage, information, support, and flexibility your team can bring.
- Cover the core roles: Try to include damage, vision control, and support so the team can handle more situations.
- Avoid stacking duelists: Five aggressive picks may win early fights, but the team can struggle without healing, scouting, or utility.
- Choose flexibility in solo queue: Self-sufficient Lancers are safer when teammates are unpredictable, and communication is limited.
- Save dependent picks for coordinated teams: Some Lancers work best when another player can support their setup, timing, or follow-up.
- Watch for missing utility: If nobody can reveal enemies, heal teammates, or control space, fill that gap before doubling down on damage.
In my own guide testing across ranked queues, sticking with one flexible, self-sufficient Lancer while you learn the game climbs faster than chasing whichever pick looks strongest that patch.
A stronger team usually comes from covering missing roles, not simply choosing five individually powerful Lancers and hoping their abilities work together naturally.
I broke down similar trade-offs in a Marvel Rivals tier list, worth a look if you are still weighing your comp.
Conclusion
The best way to understand fragpunk characters is to focus on roles before names.
A strong team usually needs damage, vision control, support, mobility, and utility instead of five players chasing the flashiest Lancer.
Start with one simple damage pick, one support option, and one information-based Lancer so you can fill gaps when your team needs balance.
Also remember that Lancers and Shard Cards are separate. Your Lancer gives you fixed abilities, while Shard Cards change the round.
Once that difference clicks, choosing a character feels much easier.
Which FragPunk Lancer are you starting with first? Share your pick in the comments.
Frequently Asked Questions
How Many Lancers are Currently in Frag Punk?
The roster has grown well past its 2025 launch size of 13 Lancers, with developer Bad Guitar Studio adding a new one nearly every season or chapter since. Because the count keeps climbing with each update, check the official FragPunk patch notes or the in-game roster screen for the exact current total before you commit to a pick.
Are All FragPunk Lancers Free to Play?
Most Lancers, including new releases, become available to every player right away at no extra cost. A smaller number of older or event-tied Lancers ask for a certain account level or a limited-time challenge first, though none sit permanently behind a paywall, so a patient free-to-play player can eventually unlock the entire current roster.
What’s the Difference Between a Lancer and a Shard Card in FragPunk?
A Lancer is the fixed character you select before a match, with a set kit of abilities. A Shard Card is a round-based modifier your whole team drafts together, changing that round’s rules. Shard Cards can interact with a Lancer’s kit, but never replace or add new abilities to it.
Which FragPunk Lancer is Best for Beginners?
Instead of one universal best pick, beginners generally do better starting with a straightforward, self-sufficient Lancer that does not demand heavy ability timing or constant team coordination. Nitro and Broker are common starting picks for exactly this reason. Branch into role-specific or partner-dependent Lancers only once the game’s core systems feel familiar.