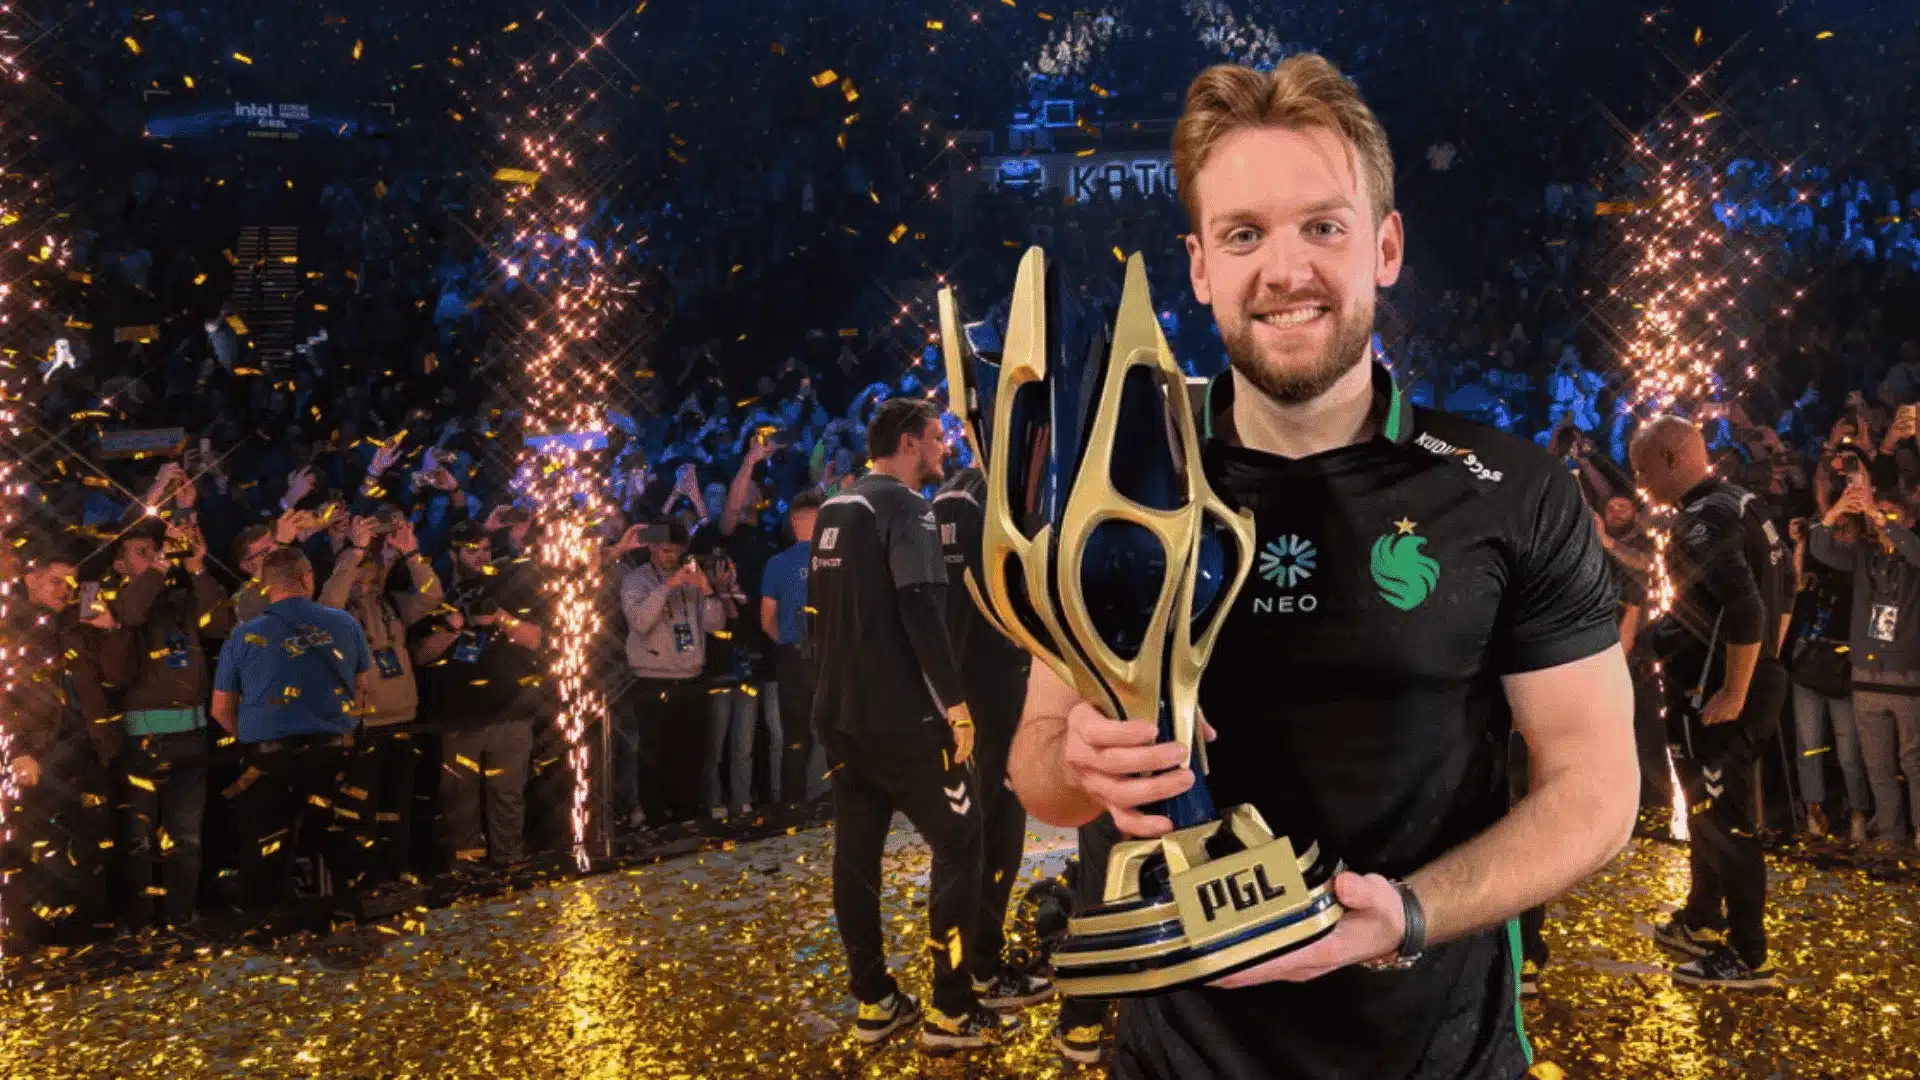
NiKo has spent over a decade at the top of competitive Counter-Strike, and his CS2 settings are among the most referenced configs in the entire pro scene.
Every value he runs, from his 560 eDPI to the 600Hz panel he now competes on, has been tested and refined through years of high-level tournament play and daily practice.
I have copied a good chunk of this config onto my own mouse over the past few months, and the numbers below are the ones that actually held up once the novelty wore off, not just what looks good on a spec sheet.
If you have ever wondered what actually sits behind one of the cleanest aims in CS2 history, everything you need is laid out right here.
NiKo CS2: The Player Behind the Settings
Nikola “NiKo” Kovač is a professional CS2 rifler from Bosnia and Herzegovina, competing for Falcons Esports. Born in 1997, he has a career spanning CS 1.6, CS:GO, and CS2.
He is widely regarded as one of the most mechanically gifted players ever. His aim, game sense, and adaptability across roles make him nearly impossible to counter consistently.
He finally broke through for his first Major title at IEM Cologne 2026, where Falcons swept FURIA 3 to 0 in the grand final after his 17th Major appearance.
I watched that final live, and it is a big part of why this settings breakdown needed a second look rather than just a copy edit.
His cousin huNter is also a pro player, and NiKo serves as an official Razer brand ambassador.
NiKo’s Mouse Settings and eDPI
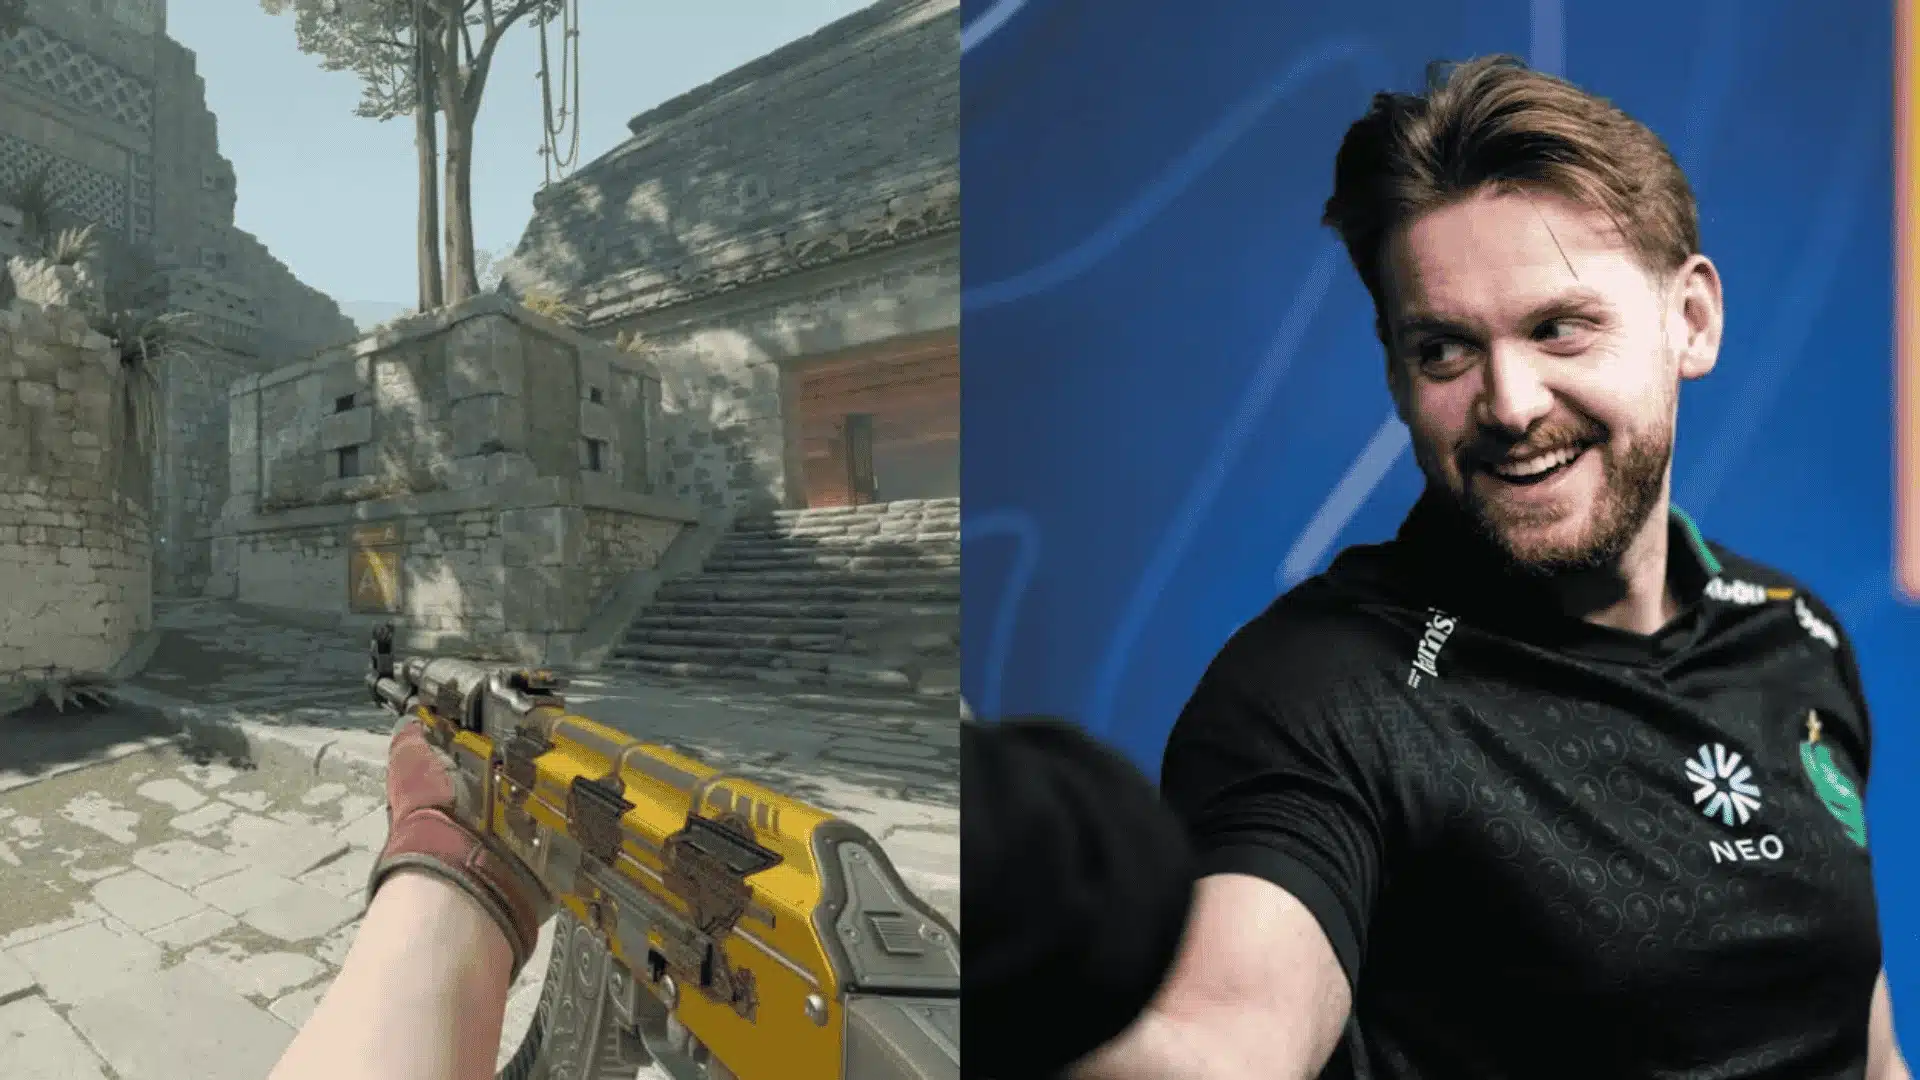
One of the most studied aspects of NiKo’s config, his mouse settings reflect years of refinement built around precision, consistency, and aggressive rifling at the highest level.
- Mouse and DPI: He runs a Razer DeathAdder V4 Pro at 800 DPI with 0.7 in-game sensitivity, resulting in an eDPI of 560 at a 1000Hz polling rate.
- Why 560 eDPI: His 560 eDPI sits in the medium-low zone, offering precise control for spray transfers and tapping without sacrificing the speed aggressive entry play demands.
- What eDPI Actually Means: eDPI equals DPI multiplied by in-game sensitivity, making it the most reliable number for comparing sensitivities across players running completely different hardware setups. If the math feels abstract,plug in your own DPI and sensitivity into an eDPI calculator to see exactly where you land relative to his 560.
- The Logic Behind Low eDPI: Lower eDPI means more physical movement per rotation degree, reducing overshoot and improving micro-corrections. Most pro riflers comfortably sit between 400 and 800 eDPI.
- Raw Input: Raw Input must stay on for these numbers to hold. Without it, Windows adds its own acceleration curve, quietly breaking the consistency his muscle memory depends on entirely.
The first week I ran 560 eDPI, it felt oddly slow on wide flicks, and it took closer to ten days of deathmatch before my wrist stopped overcompensating.
That adjustment window is normal, so do not judge the sensitivity after a single session.
These settings are not accidental. Every number NiKo runs has been tested and adjusted over the years, making his mouse config one of the most reliable blueprints a rifler can start from.
NiKo’s Crosshair Settings
NiKo runs a classic static crosshair in light green (RGB: 0, 255, 145), offering sharp contrast across most CS2 maps. No dot, no movement, no T-style.
Crosshair Share Code:CSGO-m89VO-6zPDr-53TJ9-OySAJ-V8Y2Q
To import: CS2 → Settings → Game → Crosshair → Import Crosshair Code → paste the code.
Once imported, the crosshair applies instantly with no restart needed. If it feels too small at first, give it a few deathmatch sessions before deciding.
| Setting | Value |
|---|---|
| Style | Classic Static |
| Color (RGB) | 0 / 255 / 145 |
| Gap | -4 |
| Length | 1 |
| Thickness | 1 |
| Outline / Dot / T-Style | All Off |
Pro Tip: Alpha at 255 means full opacity, no transparency. Paired with the light green color, this crosshair stays visible even on bright surfaces like Mirage mid or Dust2 tunnels.
Want to Build Your Own?
NiKo’s crosshair is tiny and precise, built for pre-aiming. Newer players or sprayers may benefit from a slightly wider gap (-2 or -1) for easier target tracking.
- CS2 Crosshair Generator-Total CS: find crosshairs, from new designs to professional ones.
- ProSettings Crosshair Generator: full pro database with builder
- CS2 Crosshair Share Code Decoder: breaks down any share code into raw values
Crosshair choice ultimately comes down to comfort and consistency. Start with NiKo’s code, experiment using the tools above, and stick with whatever keeps your aim feeling natural.
NiKo’s CS2 Setup: Everything He Uses and Why It Works
In a rare behind-the-scenes session, NiKo walked through his entire CS2 setup from scratch, covering everything from desk arrangement to in-game configs and communication preferences.
Worth flagging up front: this walkthrough is from an older interview, so a few of the exact numbers below have since moved on.
1. Gear Placement and Physical Setup
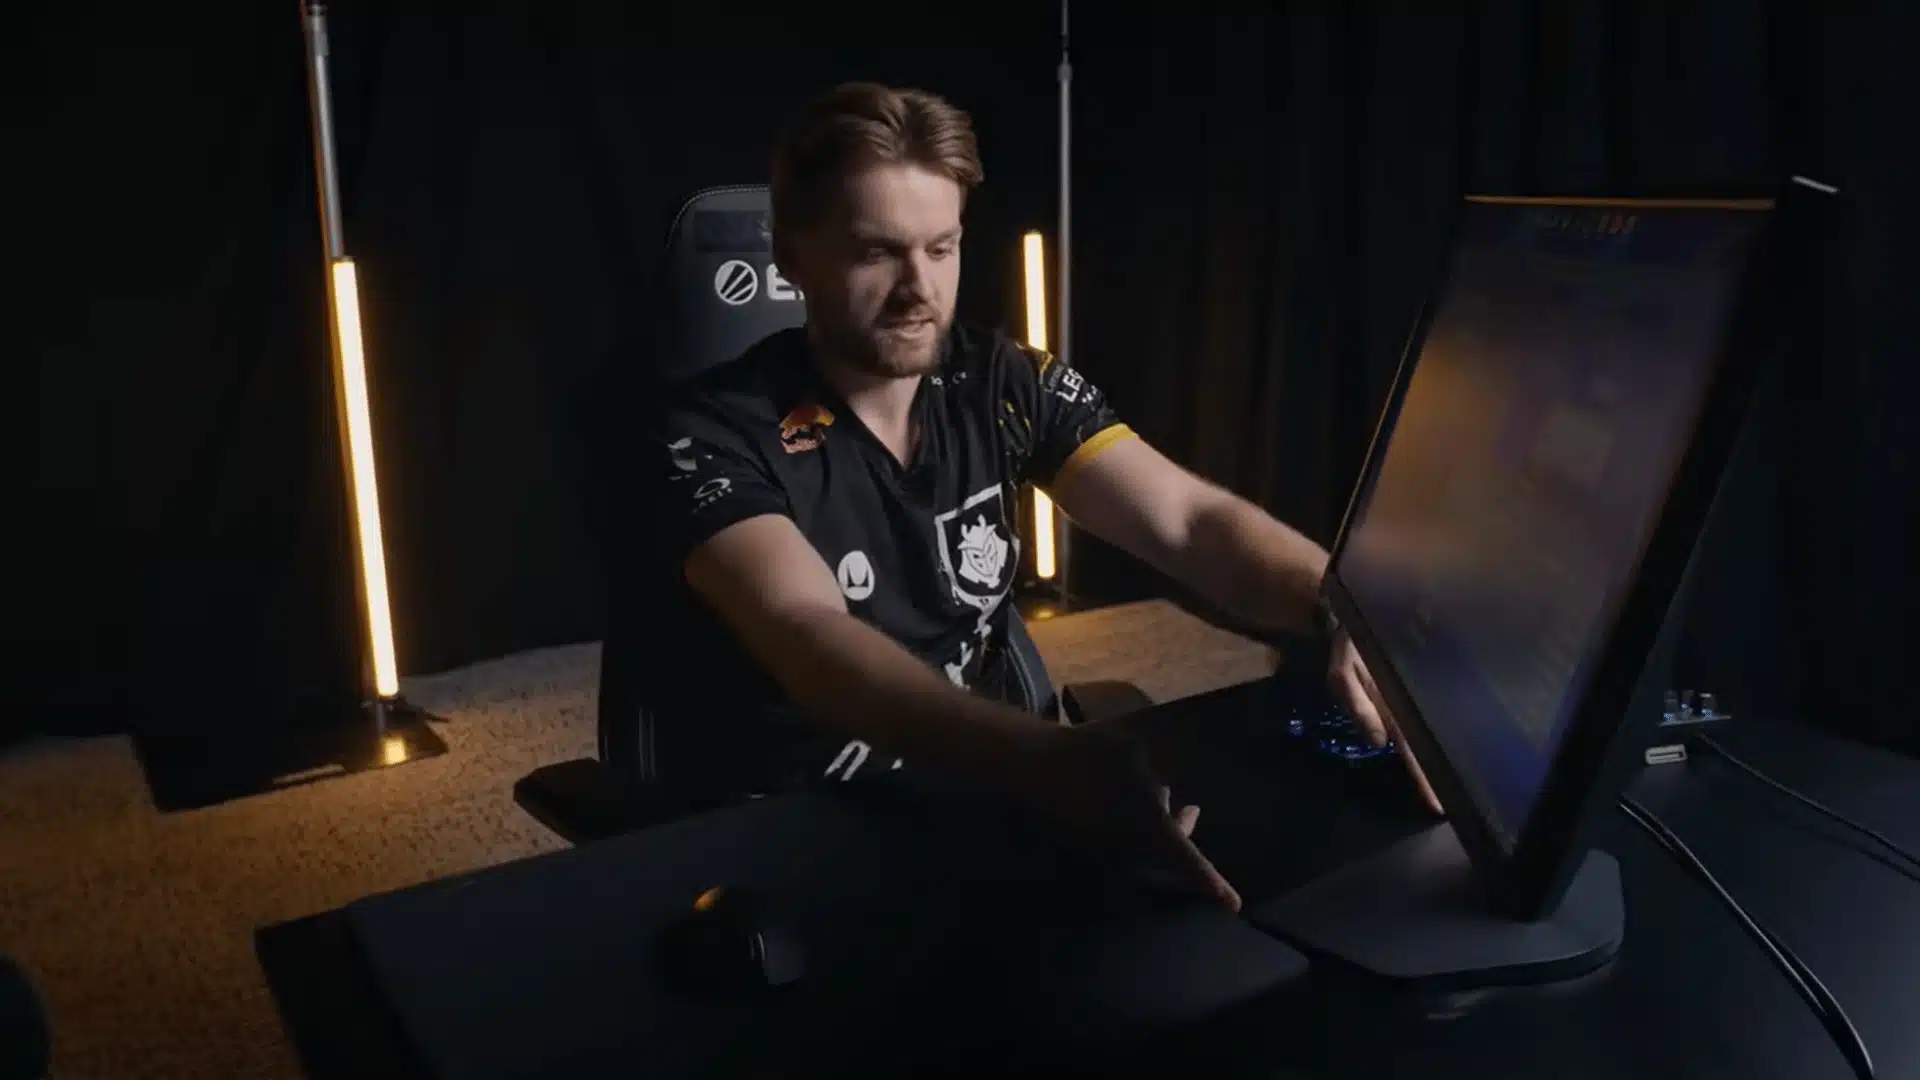
NiKo positions his mousepad flush with the edge of the desk, using it as a direct reference for monitor placement. Screen distance gets dialed in purely by feel, no measurements involved.
Rather than pointing his monitor stand straight ahead, he tilts it sideways to free up space and give his mouse arm room to move. The keyboard stays anchored far left, a habit from cramped PC cafe days.
Best for: Players wanting more mouse room without a bigger desk. The Corsair MM200 runs around $15, while the SteelSeries QcK Heavy sits at $35 for a noticeable quality step up.
2. Chair and Desk Height
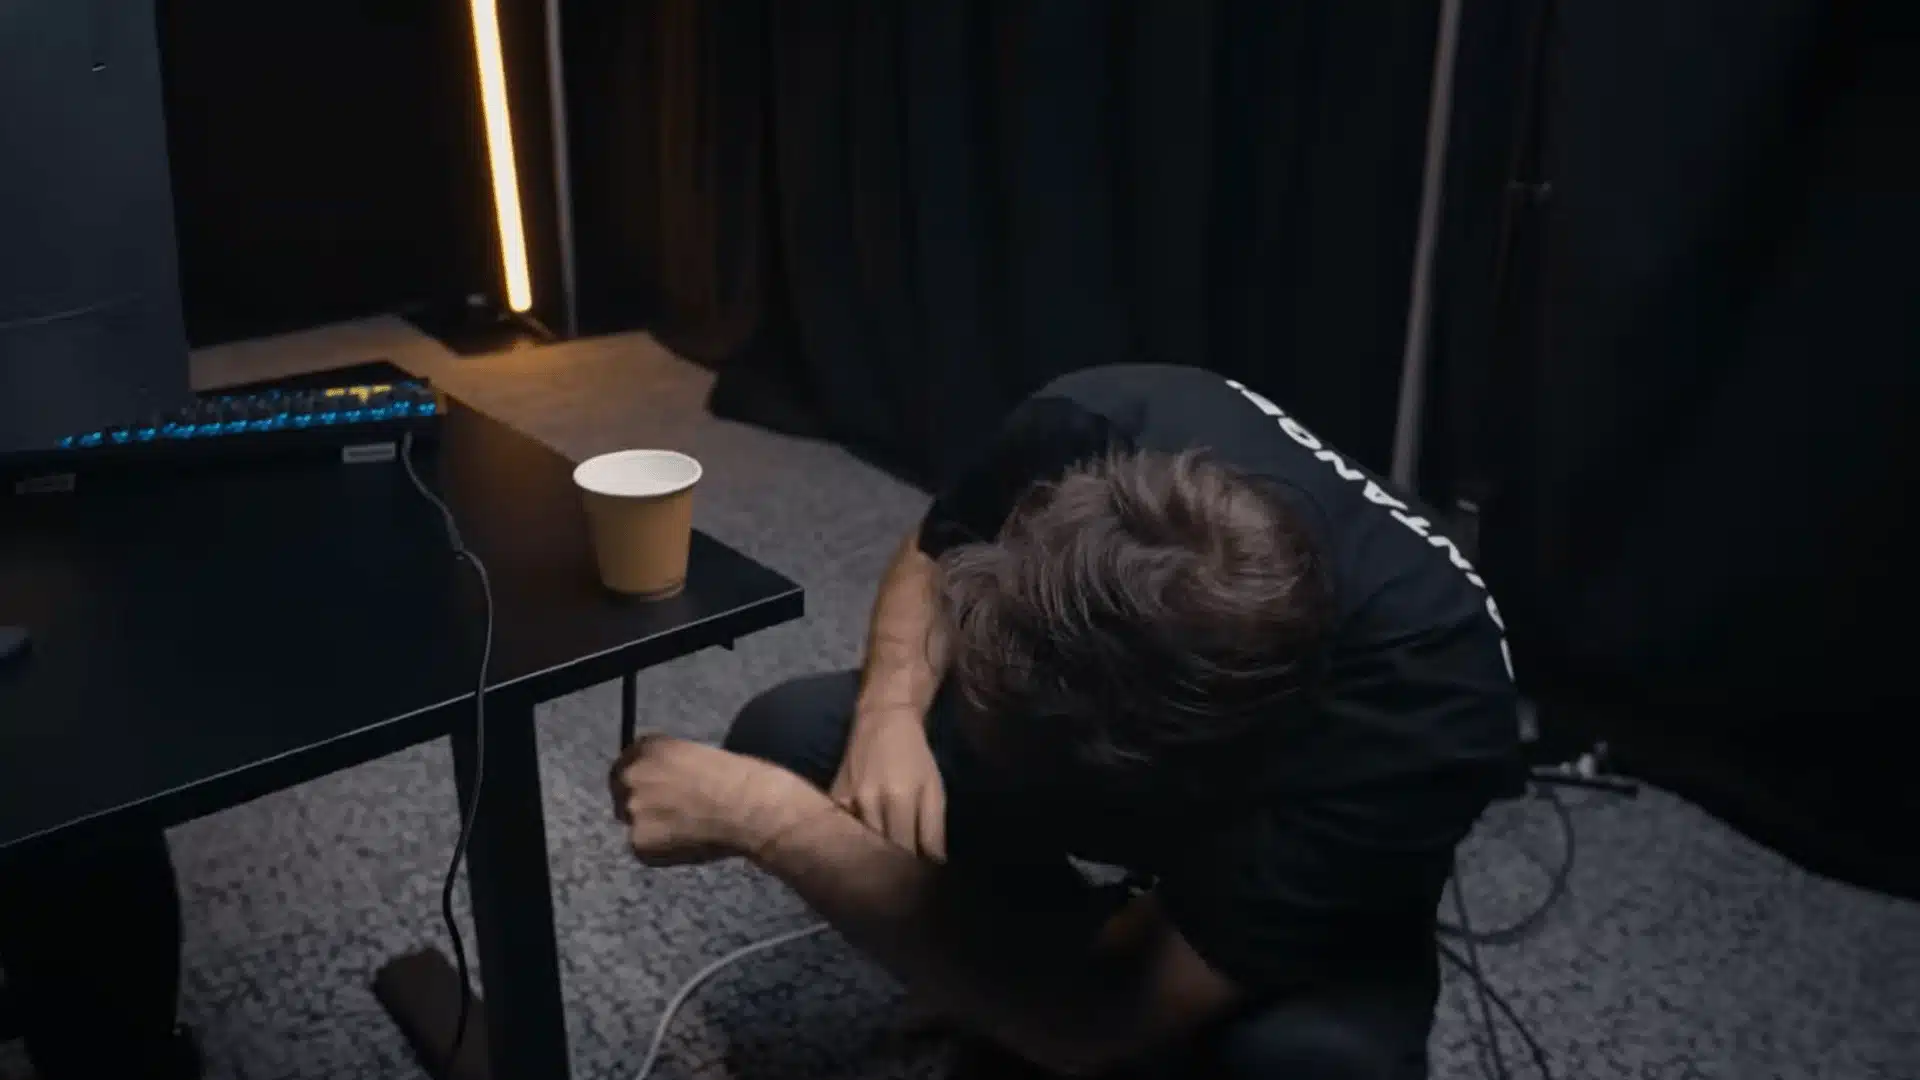
The chair drops to its absolute lowest first, then NiKo cranks it up exactly two turns from there. At powered desks, his preferred height consistently lands around 71 centimeters.
During tense rounds, he occasionally puts one leg up as a deliberate mental reset, keeping him loose without disrupting his rhythm or breaking focus at critical moments.
Worth trying for: Players who stiffen under pressure. The Razer Iskur X runs around $400, but the Hbada Ergonomic Chair at $120 or the Secretlab Titan Evo at $279 offer comparable support without the flagship price.
3. Monitor Settings
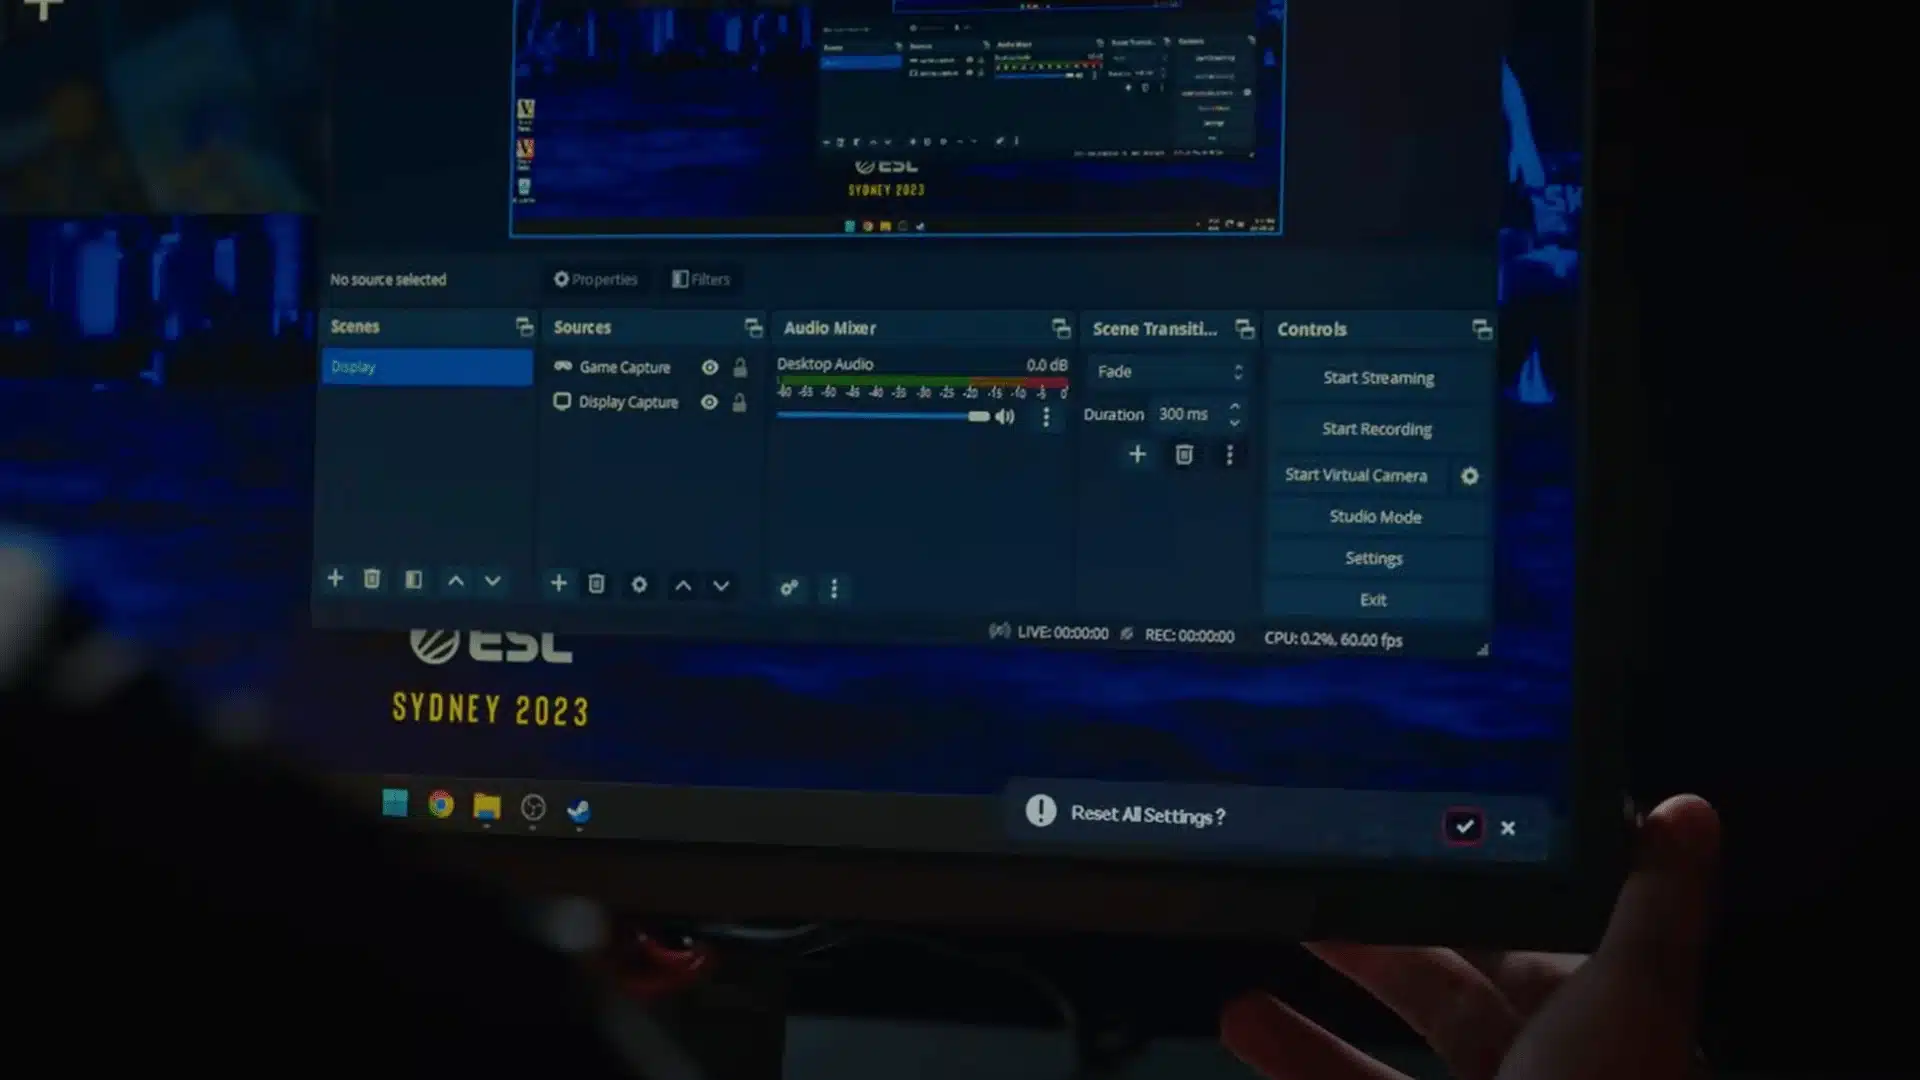
Every session starts with a full factory reset on his BenQ Zowie before custom values go in. Black Equalizer sits at 15, Vibrance at 20, Low Blue Light at 5, and Gamma at 4.
He runs color temperature on the user-defined mode with Red at 93, Green at 88, and Blue at 98. Brightness lands at 80, contrast at 40, and sharpness gets pushed all the way to maximum.
Ideal for: Players on any BenQ Zowie display wanting a proven starting point. His XL2566K runs around $700 at 360Hz but the XL2411K at $180 delivers the same foundation at 144Hz for most competitive players.
4. Windows and NVIDIA Settings
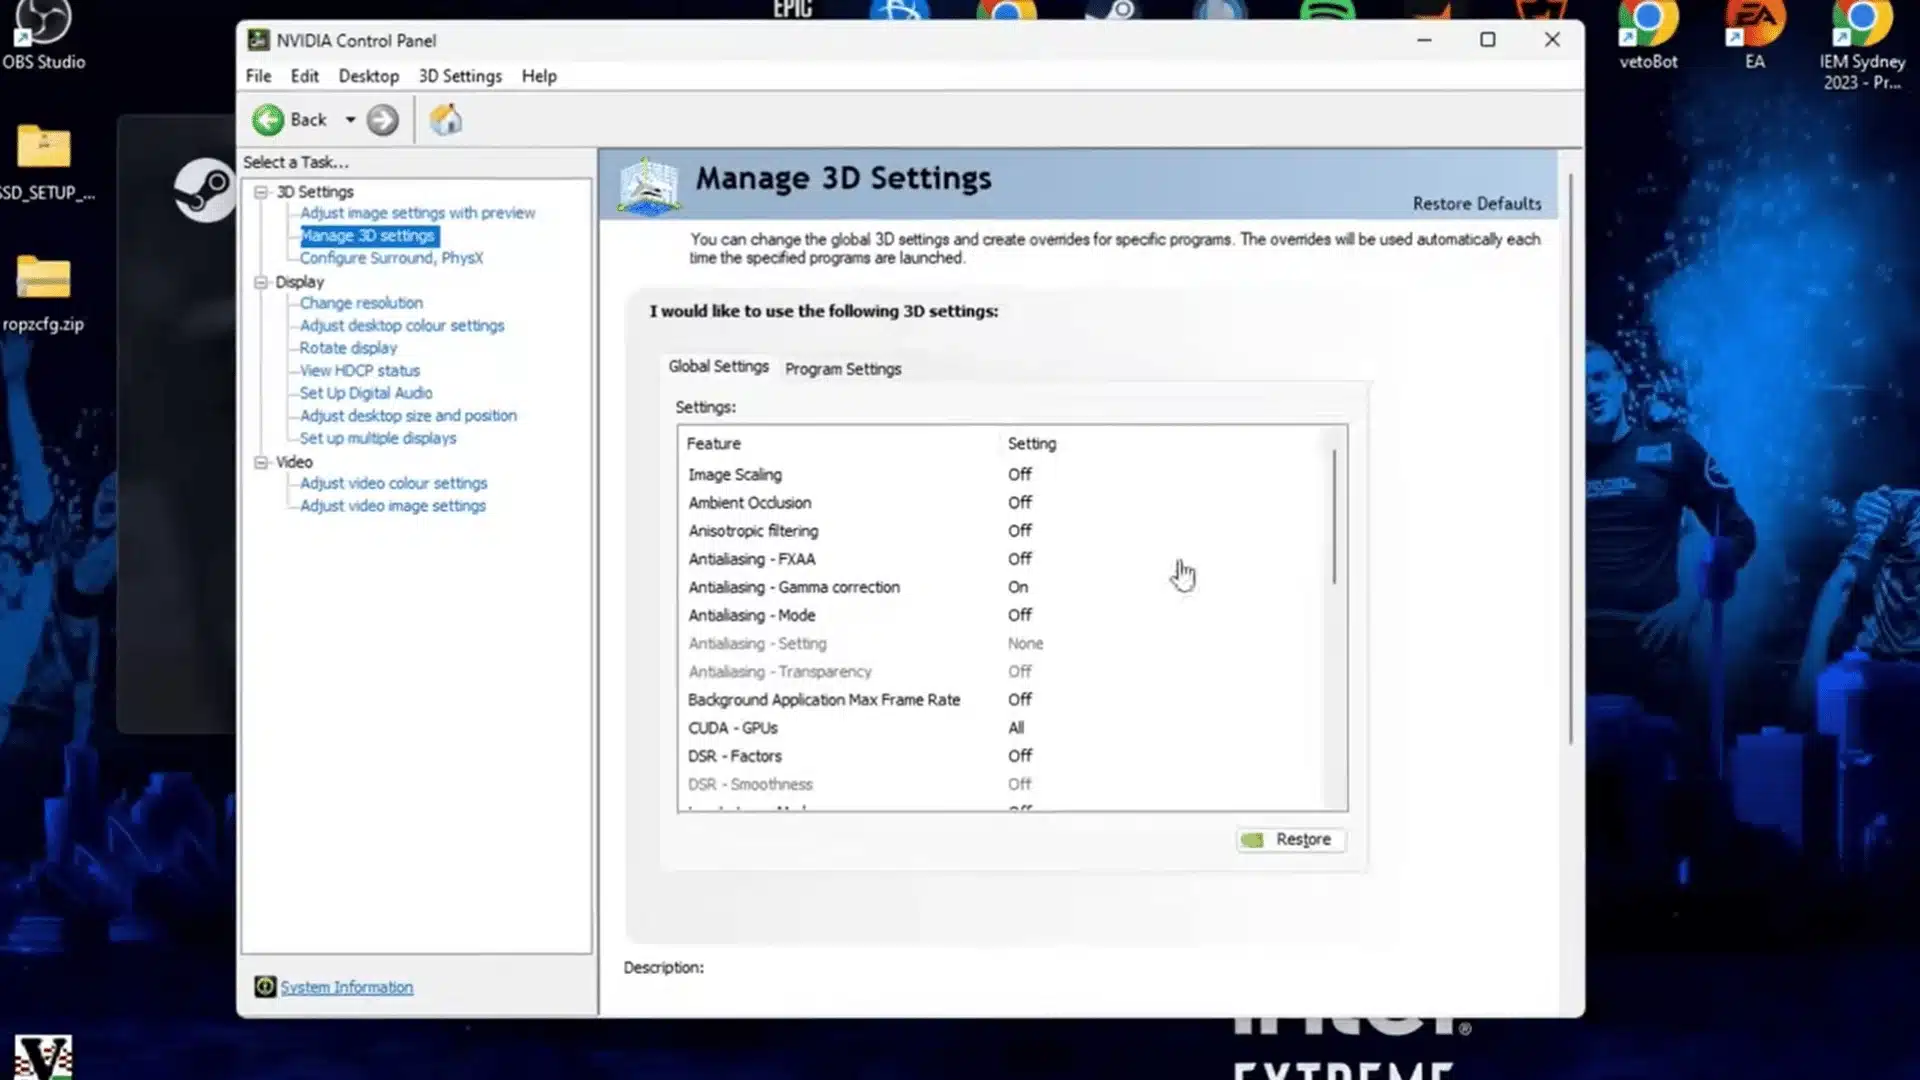
Inside the NVIDIA control panel, NiKo sets power management to maximum performance and texture filtering to high performance. Vertical sync stays permanently off on his end without exception.
He swaps display scaling for GPU scaling after display mode felt inconsistent inside CS2.
Digital Vibrance gets maxed out in NVIDIA settings, noticeably increasing color contrast over default values on screen.
A solid starting point: Any NVIDIA GPU user chasing sharper visuals and lower input lag. GPU scaling plus maxed Digital Vibrance takes under two minutes to set up. An RTX 3060 at around $280 handles this comfortably.
5. Mouse and Windows Sensitivity
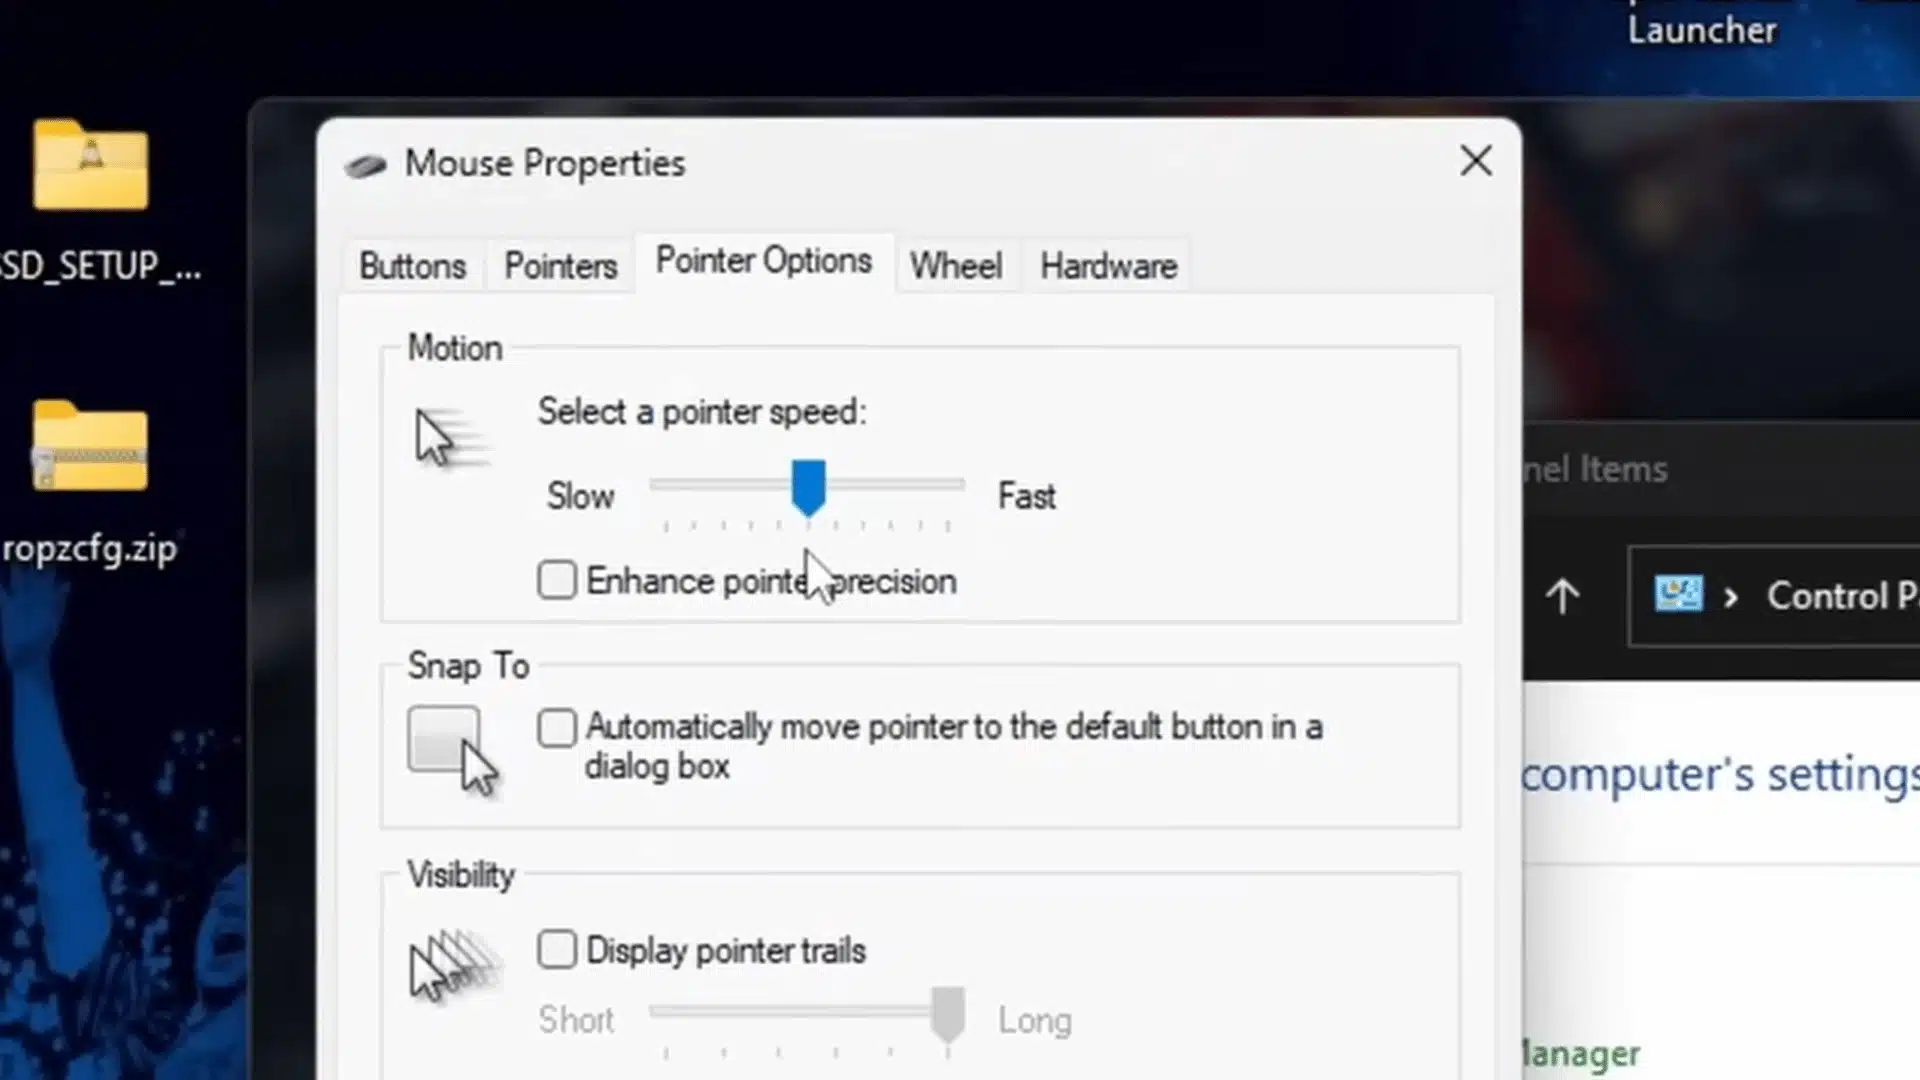
NiKo keeps mouse acceleration fully disabled in Windows with pointer speed locked at six out of eleven. That number has stayed consistent since moving up from five during his CS 1.6 days.
Six is the universally accepted neutral baseline among CS2 professionals for good reason. Running elsewhere without raw input enabled quietly introduces an acceleration curve that breaks consistency across longer sessions.
Best for: Every CS2 player before touching anything else. His Razer DeathAdder V4 Pro NiKo Edition costs around $160 but the Logitech G203 at $30 or G Pro X Superlight 2 at $130 deliver the same accuracy daily.
6. Launch Options and Game Settings
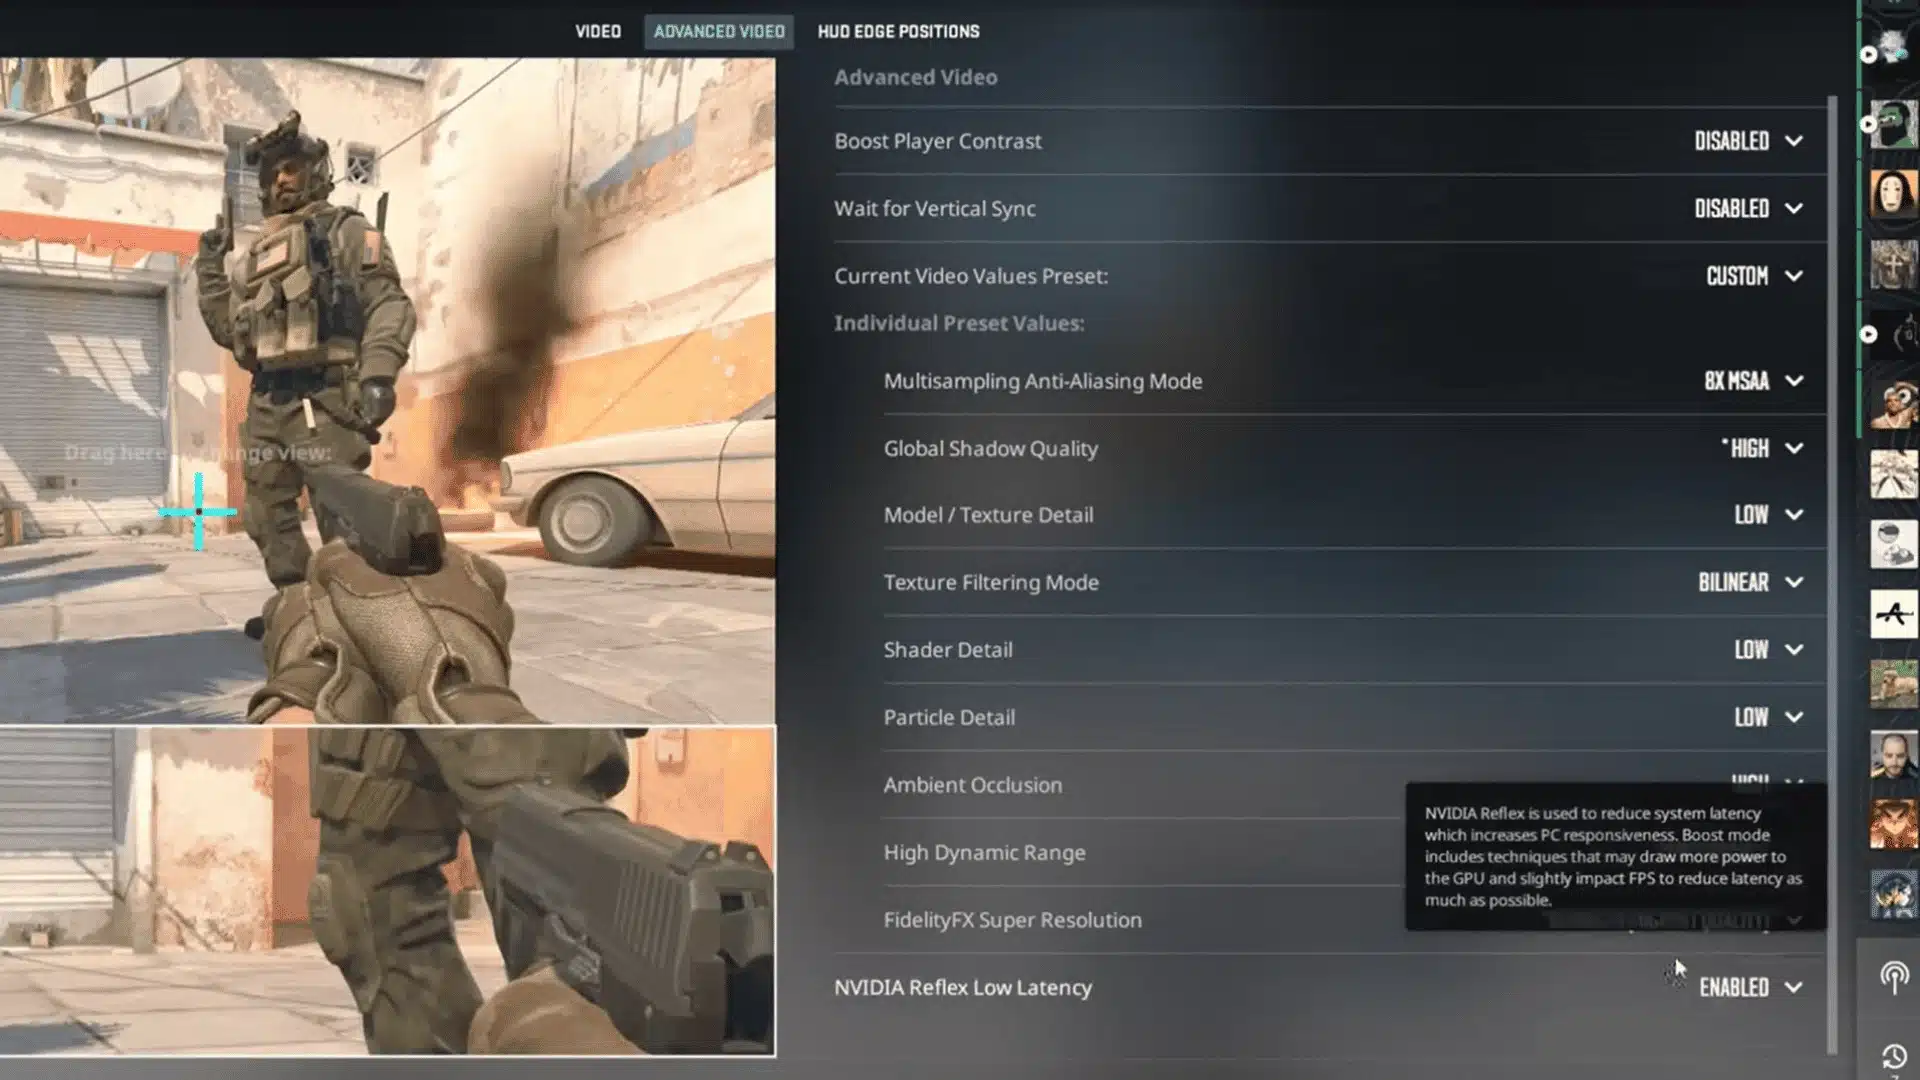
NiKo keeps his launch options nearly empty, currently running only -noreflex. Steam Input gets disabled through game properties alongside three interface options requiring a restart, both on a teammate’s recommendation.
His resolution runs at 1280×960, 4:3-stretched, at 240Hz fullscreen.
Shadow quality and ambient occlusion stay high for enemy reads near walls while everything else drops to low for consistent frames.
Great for: Players seeking competitive performance without sacrificing visibility of enemies in dark corners.
Keeping shadows and ambient occlusion high while running everything else low holds up across all CS2 maps without meaningful FPS cost.
7. HUD and Crosshair Settings
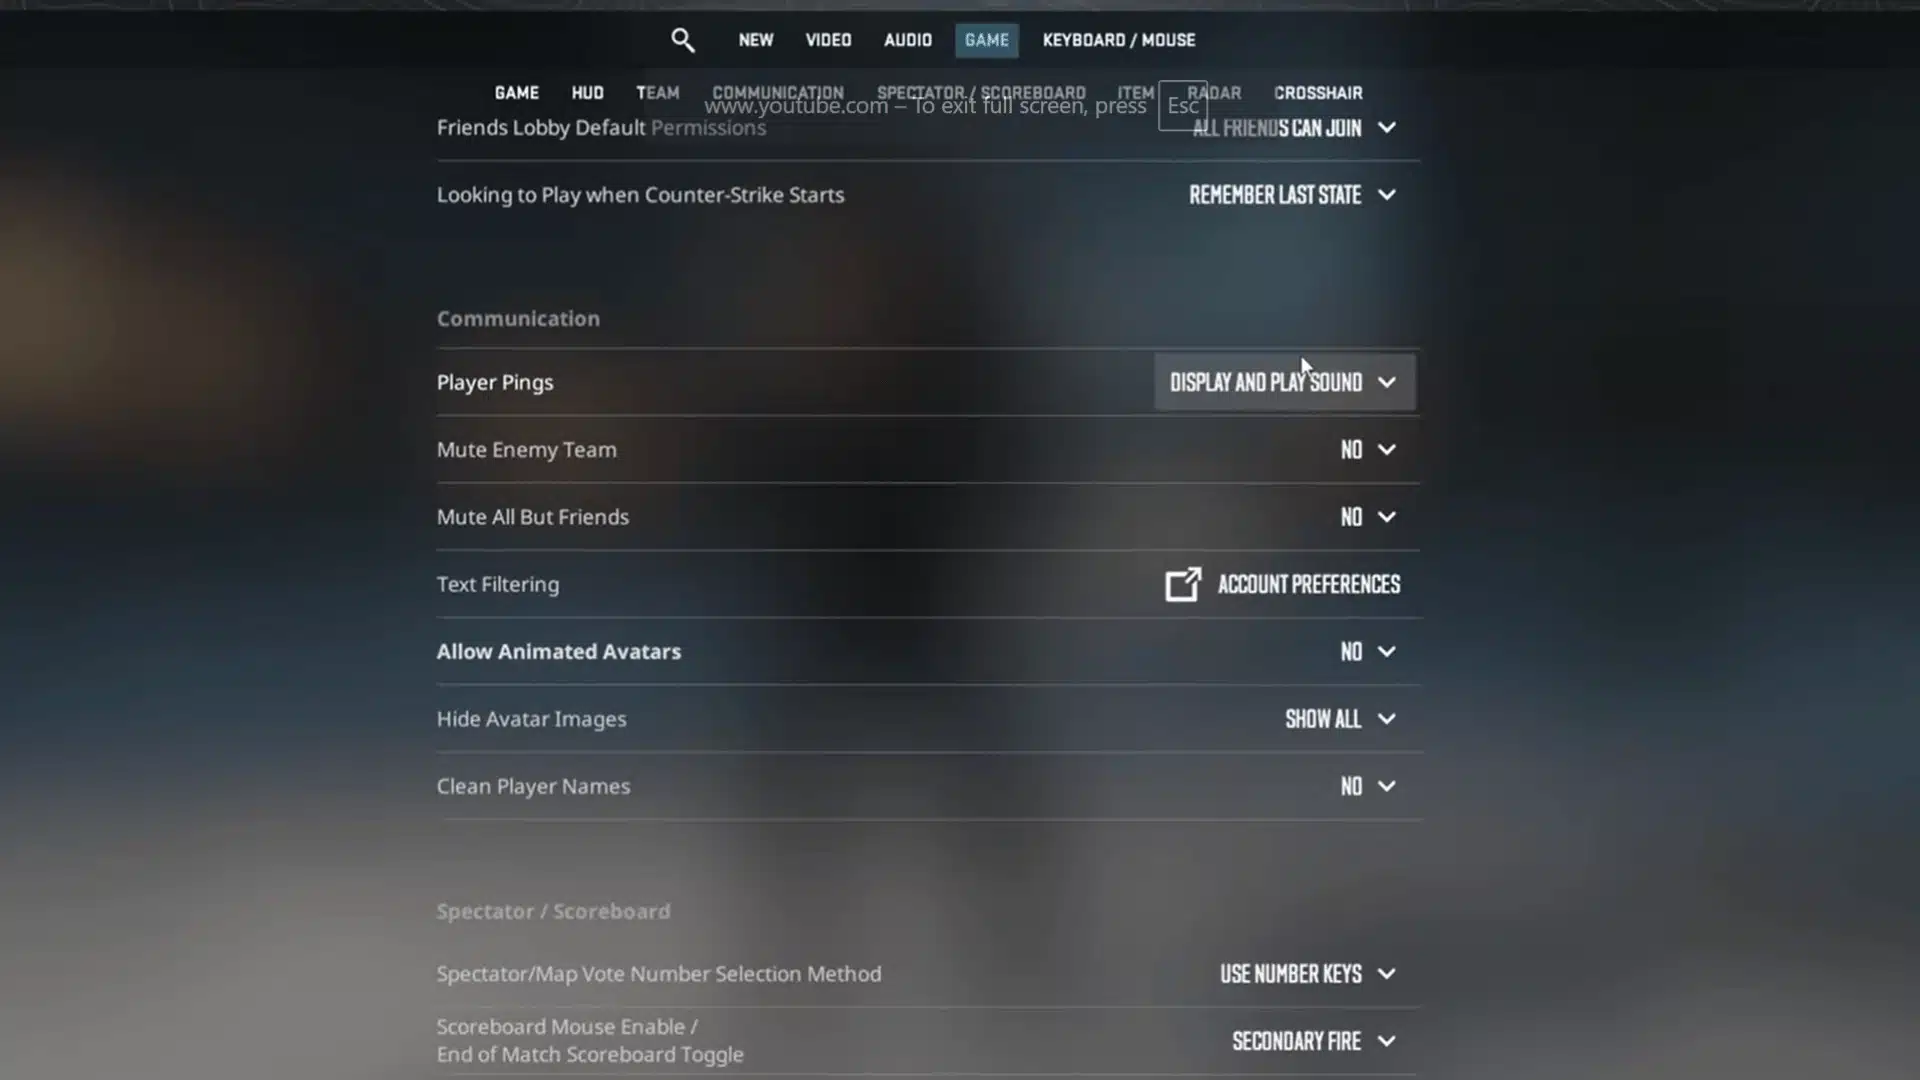
NiKo pairs a white crosshair with a white HUD to ensure consistent visibility across all maps, with no adjustments between them. Player count replaces icons on the radar, and his radar scale stays at 0.4.
At filming time, his crosshair was size 2.5, thickness 0, gap -3, style 4, and it changed frequently after rough games. Even at his level, finding the right crosshair in CS2 proved genuinely difficult.
Works well for: Players losing their crosshair on bright areas like Mirage mid or Dust2 long. Switching to white costs nothing and immediately improves how quickly the eye locks onto the crosshair during fast engagements.
8. Keybinds and Communication
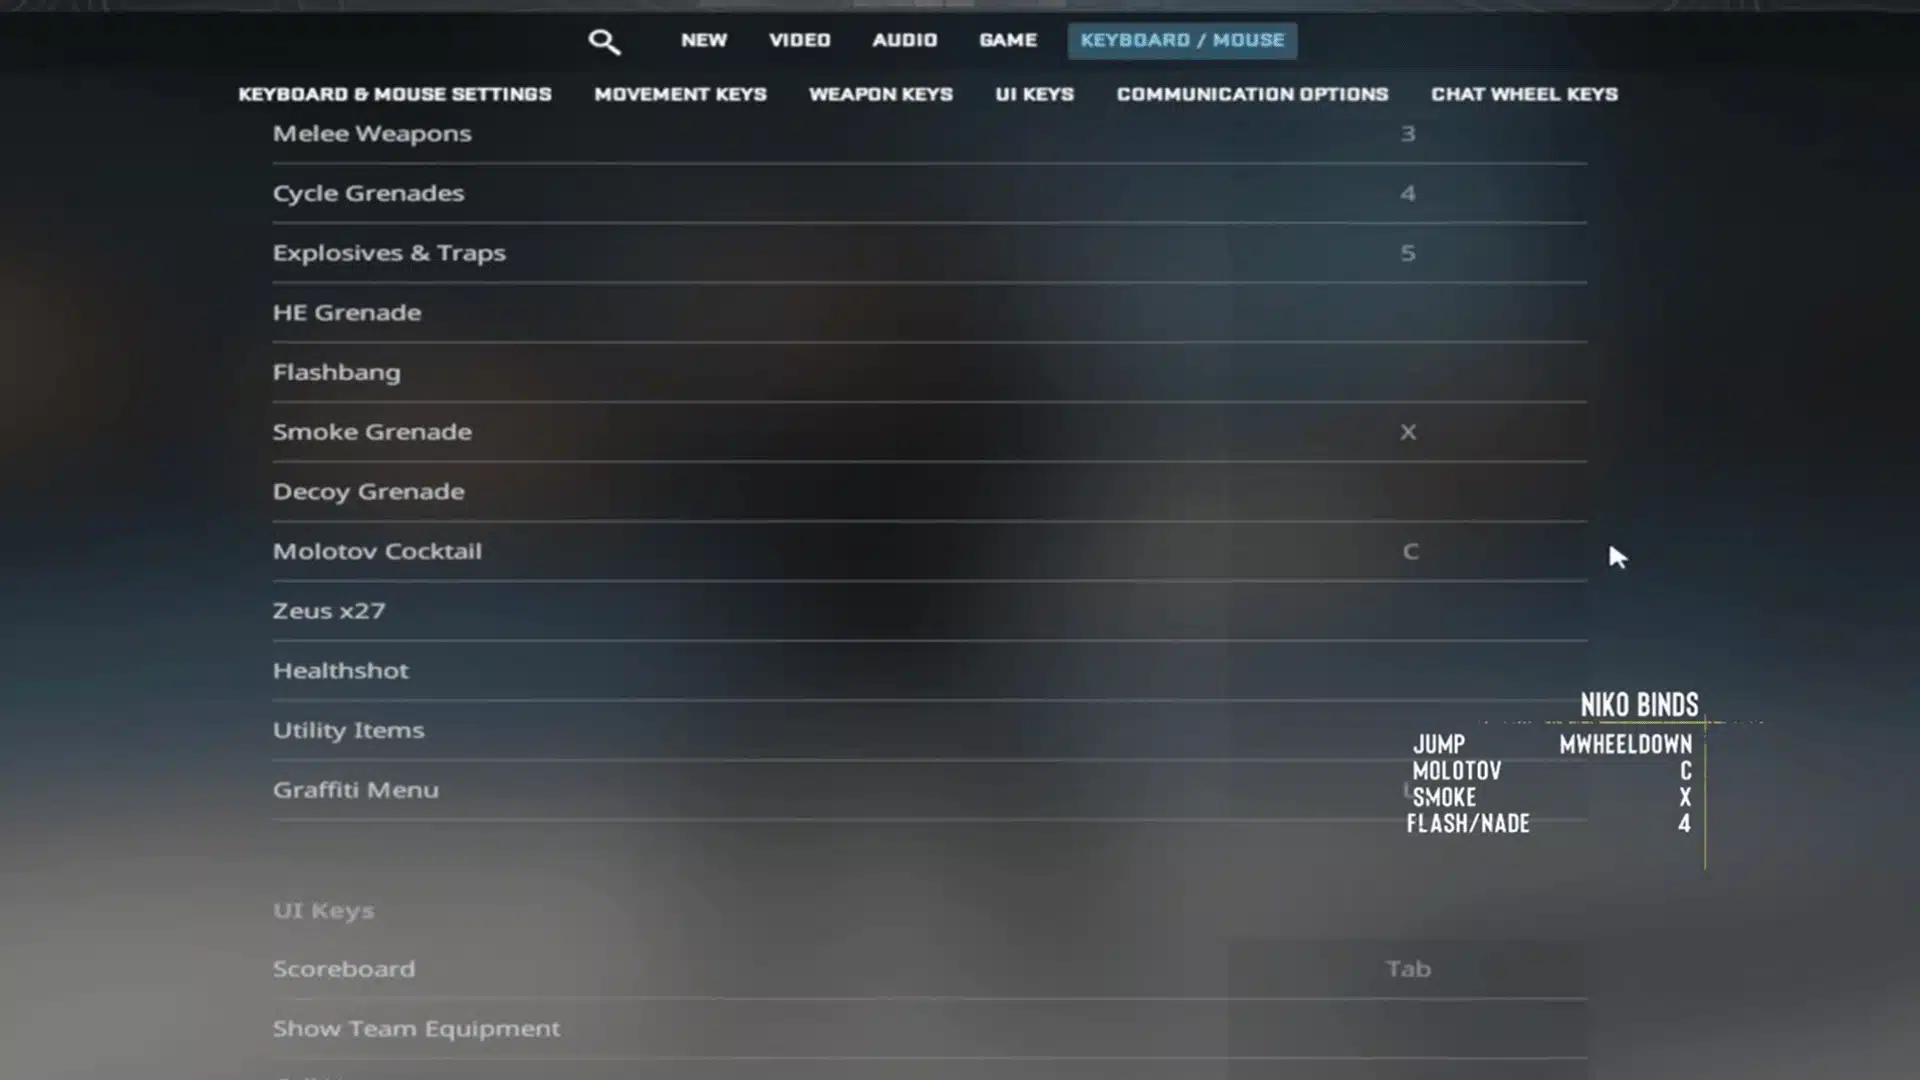
NiKo binds jump to the mouse wheel down and fully unbinds the spacebar to cut accidental presses during movement.
Molotov on C, smoke on X, and flash on H keep utility access fast and consistent under pressure.
He switched to voice activation around three years ago after years of push-to-talk in noisy PC cafes. All team communication runs through TeamSpeak during both practice and tournament play.
Worth adopting for: Players who accidentally hit the spacebar mid-fight or during throws. His Razer BlackShark V2 Pro runs around $180, but the HyperX Cloud II at $50 or the SteelSeries Arctis Nova 7 at $130 cover competitive communication needs well.
9. Sensitivity and Mouse Grip
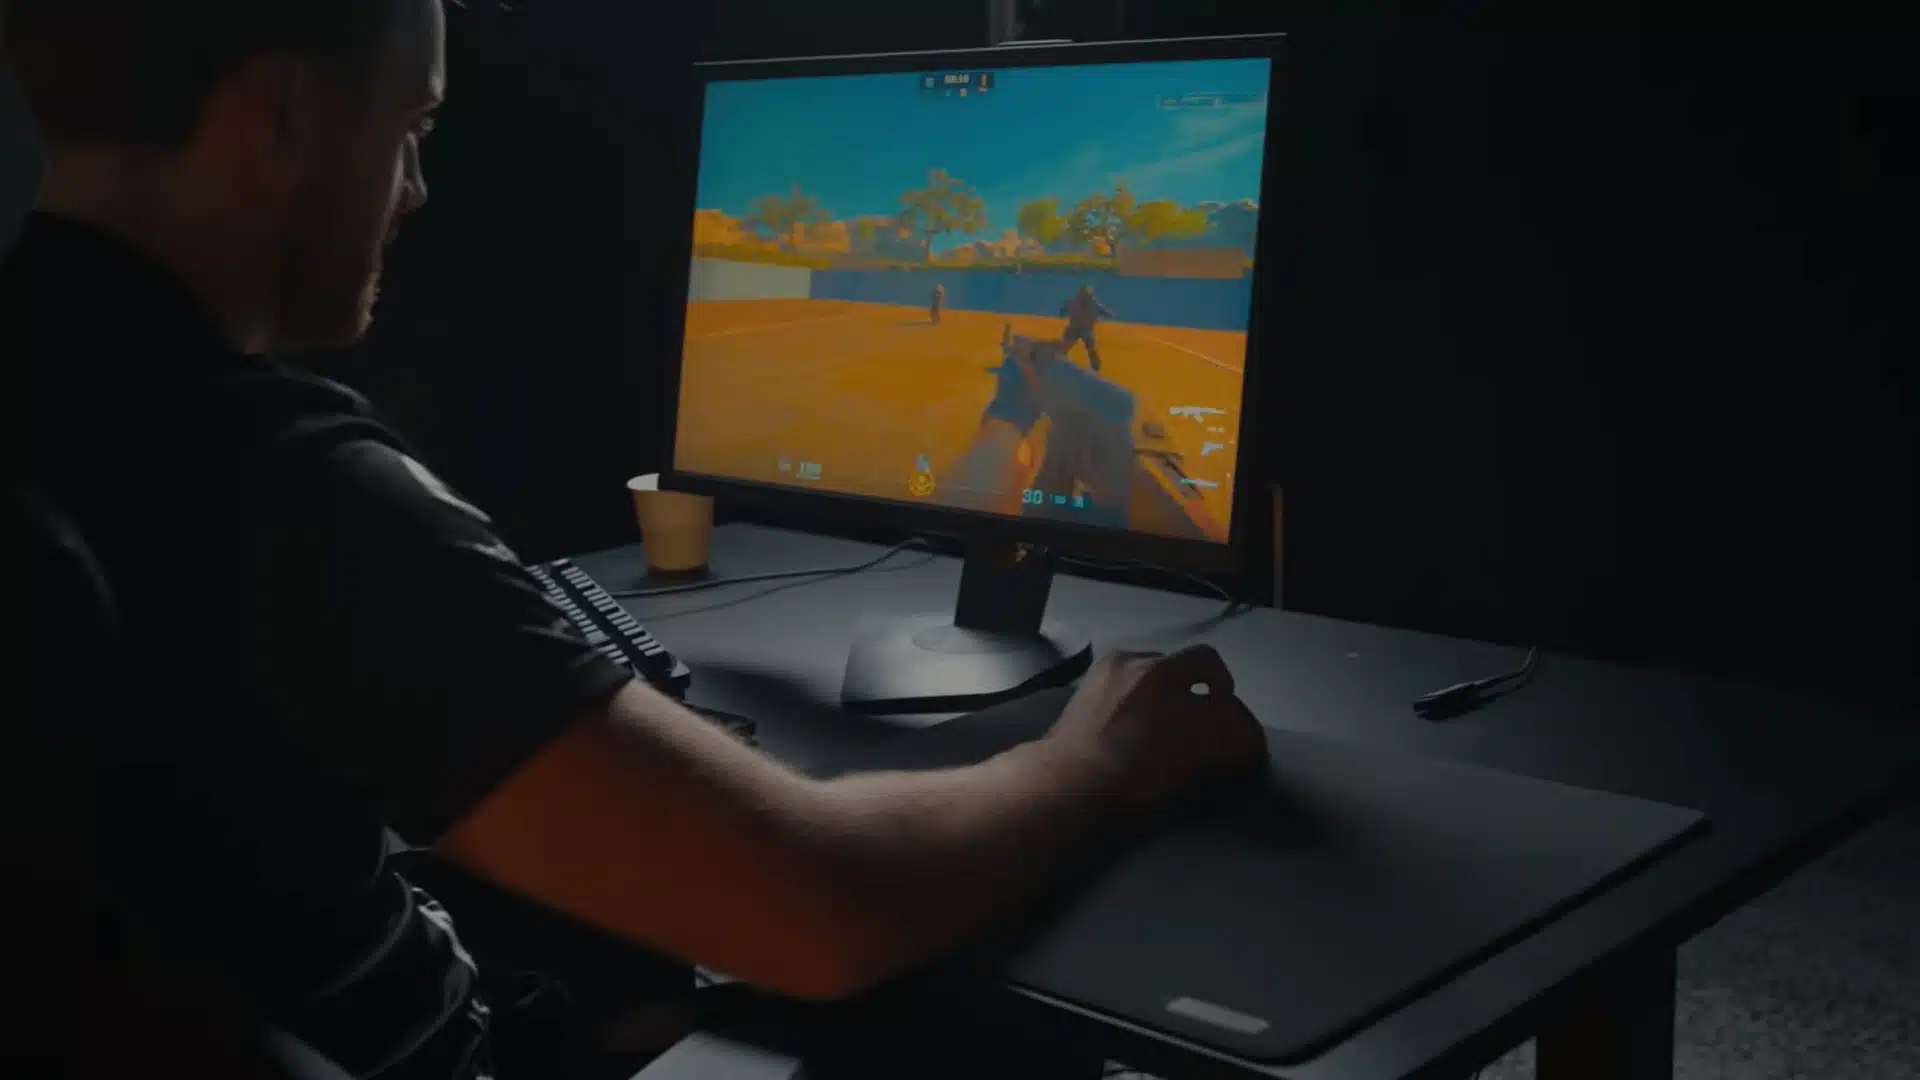
At the time of filming, NiKo was running 1.45 sensitivity at 400 DPI, actively pushing it higher after feeling restricted during flick and movement scenarios at his previously lower values.
His grip is a relaxed palm hold with nothing unusual in finger placement. Clipping the mouse wheel occasionally occurs during intense moments but never becomes a serious recurring concern.
Useful for: Players unsure whether to raise or lower sensitivity. Gradually nudging it upward in small steps, rather than jumping drastically, is the safest way to adapt without losing existing muscle memory.
Two years old and still hits different. NiKo’s sensitivity, monitor setup, and physical arrangement breakdowns remain just as relevant and worth stealing from today.
NiKo’s Hardware: Mouse, Monitor, Keyboard, and Headset
NiKo’s setup sits firmly at the top end of the market, built for maximum performance. Accessible alternatives are available for players seeking similar results without the flagship price.
1. Mouse
The mouse is arguably the most critical piece of hardware in any CS2 setup, and NiKo’s choice reflects both his performance needs and his ongoing relationship as a Razer ambassador.
- What NiKo Uses: The Razer DeathAdder V4 Pro NiKo Edition (~$160), a wireless ergonomic mouse running a Focus Pro 45K sensor Gen-2 with up to 90 hours of battery life.
- Budget Pick: The Logitech G203 at around $30 is wired, lightweight, and runs a solid sensor, making it one of the strongest entry-level FPS mice currently available.
- Mid-Range Pick: The Logitech G Pro X Superlight 2 at around $130 is wireless, weighs just 60 grams, and runs a HERO 25K sensor widely used across professional play.
Pick a shape that fits your grip and stick with it long enough to build real muscle memory before switching to anything else.
2. Mousepad
What NiKo Uses: The Razer Gigantus V2 Pro NiKo Edition, a hard, low-friction surface built to keep glide consistent at the speed his sensitivity demands.
The Corsair MM200 (~$15) or SteelSeries QcK Heavy (~$35) mentioned earlier get you most of that same consistency without the branded price tag.
3. Monitor
A high-refresh-rate monitor is non-negotiable at a competitive level, and NiKo runs one of the fastest panels on the market, paired with a specific set of display settings.
- What NiKo Uses: The BenQ ZOWIE XL2586X+ (~$500-$1,000) at 600Hz with DyAc 2 technology, Black eQualizer at 13, Color Vibrance at 14, Brightness at 85, Contrast at 50, Sharpness at 9, and Picture Mode set to Gamer 1. He previously ran the XL2566K at 360Hz before upgrading.
- Budget Pick: The BenQ Zowie XL2411K at around $180 runs at 144Hz and supports the same monitor settings, making it a strong starting point for players building toward a competitive setup.
- Mid-Range Pick: The BenQ Zowie XL2546K at around $400 hits 240Hz, widely considered the sweet spot before refresh-rate returns start to diminish for most competitive players.
A 360Hz panel only makes sense when the PC can consistently push above 300 FPS. For most players, 144Hz remains a meaningful and cost-effective upgrade.
4. Keyboard
Keyboard choice comes down to personal comfort and key feel rather than any measurable competitive edge in CS2.
- What NiKo Uses: The Razer Huntsman V3 Pro TKL (~$220), chosen as part of his Razer brand ambassador arrangement.
- Budget Pick: The Redragon K552 at around $35 is tactile, durable, and beginner-friendly without demanding a significant upfront investment.
- Mid-Range Pick: The SteelSeries Apex Pro TKL, at around $100, features adjustable actuation and is widely used in professional play worldwide.
A comfortable switch type reduces fatigue during long sessions and keeps inputs feeling clean and consistent throughout competitive play.
5. Headset
Audio in CS2 is a genuine competitive tool, with footstep detection and call clarity depending heavily on how well the headset reproduces directional sound.
- What NiKo Uses: The Razer BlackShark V3 Pro (~$250), a wireless headset with THX Spatial Audio and a detachable microphone.
- Budget Pick: The HyperX Cloud II at around $50 offers excellent sound isolation and strong stereo imaging, making it one of the most recommended headsets in the CS community.
- Mid-Range Pick: The SteelSeries Arctis Nova 7 at around $130 combines comfortable long-session wearability with strong stereo imaging for footstep detection across all maps.
Prioritize sound separation and comfort over brand or wireless features, especially if long daily sessions are a regular part of the routine.
Across every hardware category NiKo’s choices reflect consistency and feel over chasing specs. The alternatives listed here cover the same competitive ground at a fraction of the cost.
NiKo’s Video and Resolution Settings
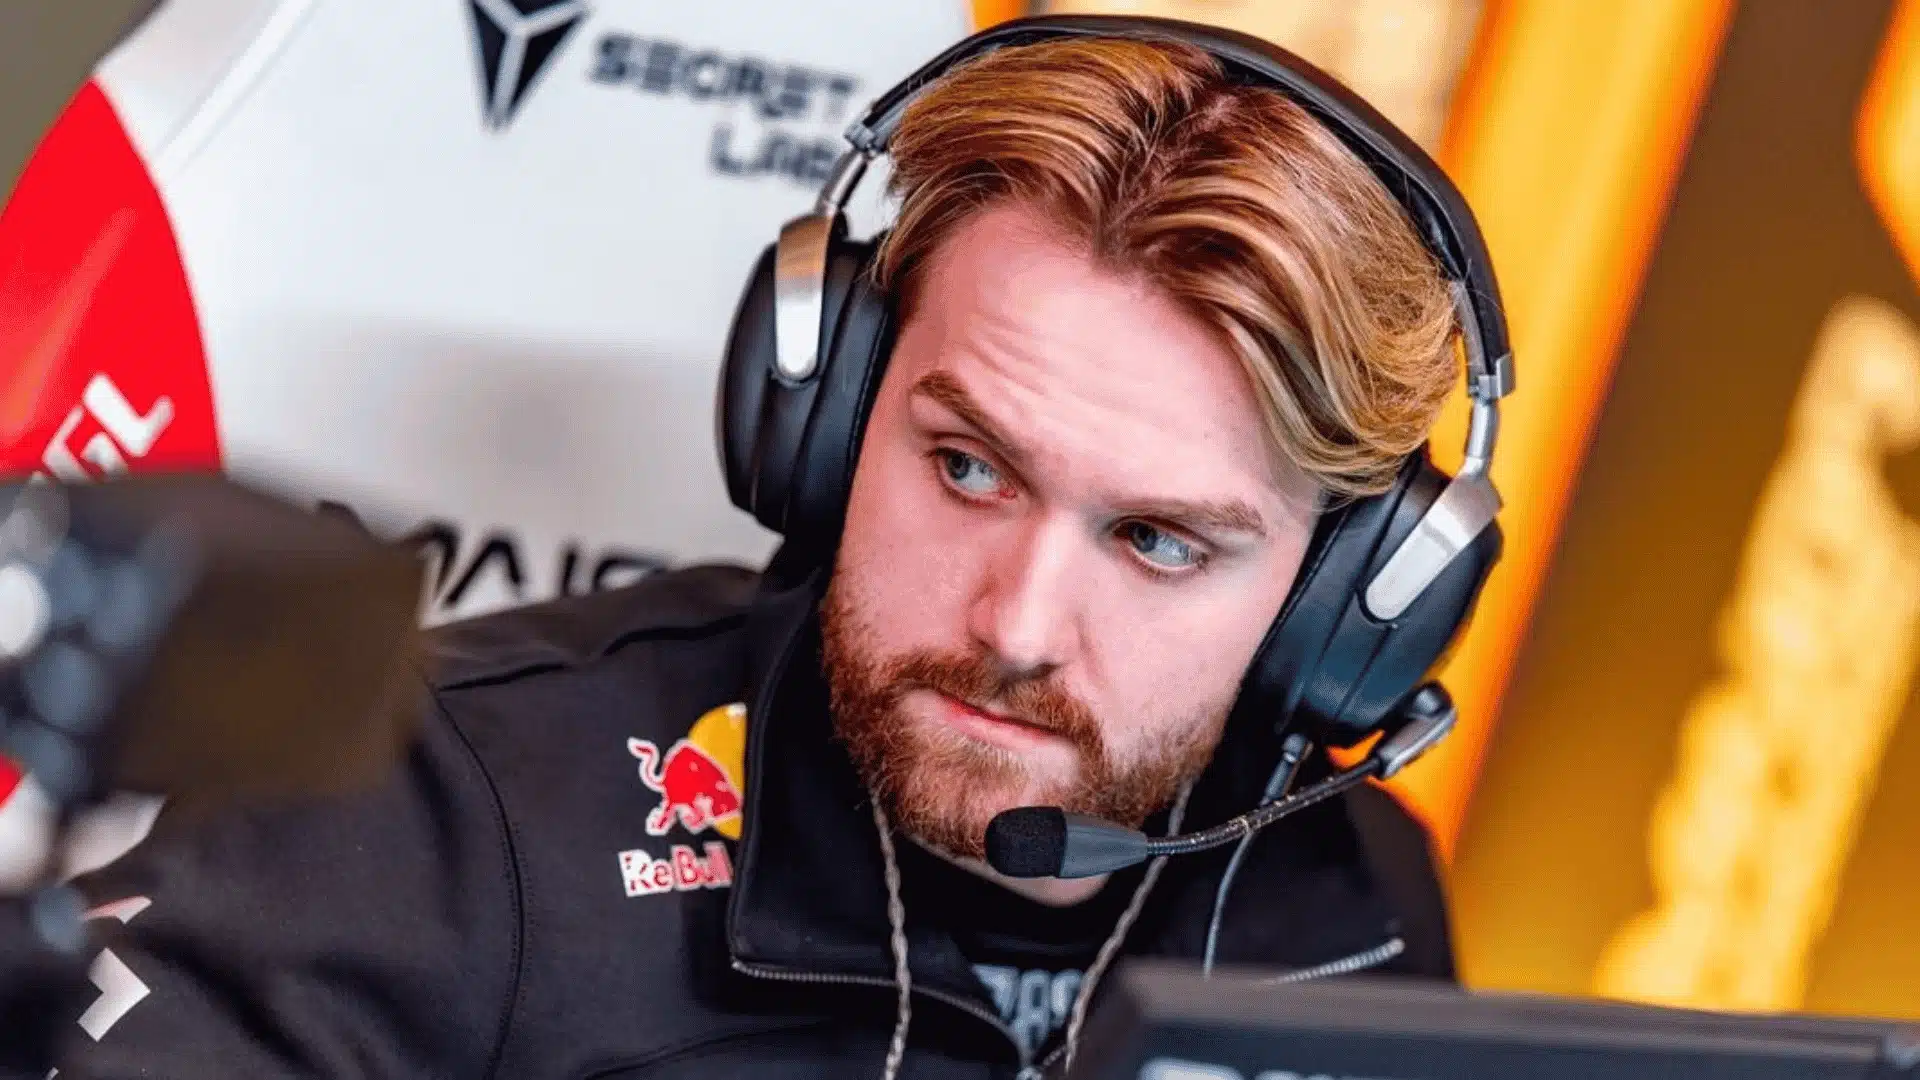
NiKo runs 1280×960 resolution at a 4:3 stretched aspect ratio, the same setup used by most of the current CS2 pro scene.
He has since moved off the 16:10 stretched setup he was known for, trading the wider player models for a resolution that is easier for most players to copy without feeling lost.
| Setting | Value |
|---|---|
| Resolution | 1280×960 |
| Aspect Ratio | 4:3 Stretched |
| Display Mode | Fullscreen |
| Shadow Quality | High |
| Anti-Aliasing | 8x MSAA |
Most of his settings run on low across textures, shaders, and particles. Minimum GPU load on those elements means maximum consistent FPS where it actually matters during competitive play.
Shadow Quality stays on High specifically for spotting enemies in darker areas of the map. Ambient Occlusion is disabled, V-Sync is off, and NVIDIA Reflex runs disabled on his end as well.
Brightness sits at 93%, and Boost Player Contrast is enabled. High Dynamic Range runs at Quality, while FidelityFX Super Resolution remains fully disabled to preserve the highest possible native image quality.
How to Adapt NiKo’s Settings to Your Own Playstyle?
Copying NiKo’s settings verbatim is a starting point, not a solution. Each setting below needs to be tuned to your own hardware, habits, and playstyle.
- Sensitivity: Start at his 560 eDPI. Consistently overshooting heads means going lower; feeling slow on corner turns means nudging it higher. Move in 50 eDPI increments and give each change a full week of deathmatch practice before judging.
- Calibration Test: Run Gridshot or Kinetic in Aimlabs for 15 minutes at your current eDPI, note the score, shift by 50, and retest. Repeat until the average score consistently peaks at a number.
- Crosshair: His crosshair is built for pre-aiming, not reacting. If you correct after spotting enemies, increase Length to 2 or 3 and Gap to minus 2 for easier target dragging.
- Crosshair Color: Green works across most maps but consider switching to cyan or white on brighter environments like Inferno or Mirage B where green can blend into surfaces.
- Resolution: His 1280×960 stretched setup is already one of the more approachable stretched resolutions to adopt. If stretched res feels disorienting in general, native 16:9 is the safer starting point, and plenty of current pros still run it.
- Video Settings: Most low-detail settings are non-negotiable for competitive play. Shadow Quality is the one exception, kept high by NiKo for depth reading, but perfectly fine on low for uniform brightness.
Settings only work when they feel natural enough to stop thinking about them. The goal is to find numbers that disappear into the background and let the actual game take over completely.
Modifications: Building Your Personal Config From NiKo’s Base
NiKo’s settings are a proven foundation, not a fixed destination, and these are the tweaks worth making before locking anything in.
- Sensitivity by role: Entry fraggers benefit from adding 50 to 100 eDPI above their 560 baseline while AWPers and passive players do better dropping the same amount below it.
- Crosshair by playstyle: Sprayers should push thickness to 1 and gap to minus 2, while tappers can keep their exact values or tighten further to gap minus 5 for pinpoint precision. I ran gap minus five for about three weeks and my spray transfers genuinely tightened up, but it took longer than I expected.
- Autoexec setup: An autoexec.cfg file permanently saves all console commands. Place it inside
Steam\steamapps\common\Counter-Strike Global Offensive\game\csgo\cfgand run exec autoexec.cfg once in game. Check the Total CS Autoexec Generator to build one cleanly, without manually editing text files. - Testing approach: Change one thing at a time and give each adjustment real game time before deciding. A good config is one that stops demanding attention and lets the actual gameplay take over completely.
Conclusion
NiKo CS2 settings are not a shortcut, but they are one of the most reliable starting points available for any player serious about tightening up their config.
The sensitivity logic, crosshair tools, hardware alternatives, and config tips covered here are designed to make his setup work for real players at every budget and skill level.
Take what fits, adjust what does not, and give every change enough real game time to settle. The right config is the one that eventually disappears completely into your gameplay.
Drop NiKo’s crosshair code and eDPI into your own config, run it through a few deathmatch sessions, and see what actually sticks. Then let us know in the comments how it felt against your old setup.
Frequently Asked Questions
Does NiKo Use a VPN While Gaming Competitively?
NiKo does not publicly use or recommend a VPN during competitive play.
Professional players generally avoid VPNs during matches as they introduce additional latency that can negatively affect hit registration and overall connection stability in CS2.
Does Ni Ko Stream His Practice Sessions?
NiKo streams occasionally on his Twitch channel but does not maintain a consistent streaming schedule.
Most of his competitive play happens through Faceit and official tournament servers rather than public matchmaking streams.
How Does NiKo Warm up Before Matches?
NiKo has mentioned using deathmatch servers and aim training maps to warm up before competitive play.
Many pro players at his level spend 30 to 60 minutes on aim warm-up routines before official matches to get their mechanics sharp.
Can NiKo’s Settings Be Used in Valorant or Other FPS Games?
His CS2 sensitivity does not translate directly to other games. Each title uses a different sensitivity multiplier.
Using a tool like the ProSettings Sensitivity Converter lets you accurately match his feel across Valorant, Apex Legends, or any other FPS without manual calculation.