The worst part about missing a finisher is knowing you had the input right. I have done it with the round already won, only to watch the timing window disappear because my spacing was off.
That is why I prefer learning finishers by range first, then memorizing the button sequence.
Once you understand how each Mortal Kombat fatality depends on position, timing, and clean inputs, the whole system becomes far less frustrating.
This blog also includes an MK1 fatality list arranged by distance, plus fixes for the most common mistakes.
You will also see how Mortal Kombat finishing moves differ from one another, when to stand close or far, and how to land them consistently without guessing after every match.
What is a Mortal Kombat Fatality?
A Mortal Kombat fatality is a character-specific finishing move that replaces a standard knockout with a dramatic scripted animation after you win the final round.
Once the announcer says, “Finish Them,” you have a brief window to enter the correct button sequence.
Waiting too long, pressing extra buttons, or moving at the wrong moment causes the attempt to fail. Distance matters more than speed.
Every fatality is assigned to one of three ranges:
- Close: Stand directly beside your opponent.
- Mid: Leave roughly one jump’s distance between you and your opponent.
- Far: Move to around the edge of the screen, two to three jump-lengths away.
Even a memorized input fails from the wrong range, and MK1’s spacing runs slightly tighter than older entries in the series, so a “mid” that felt right in MK11 may need adjusting here.
Some characters also have a second fatality that uses similar positioning with a different final button.
Checking the full input carefully prevents the mix-ups that cost most players their first few attempts.
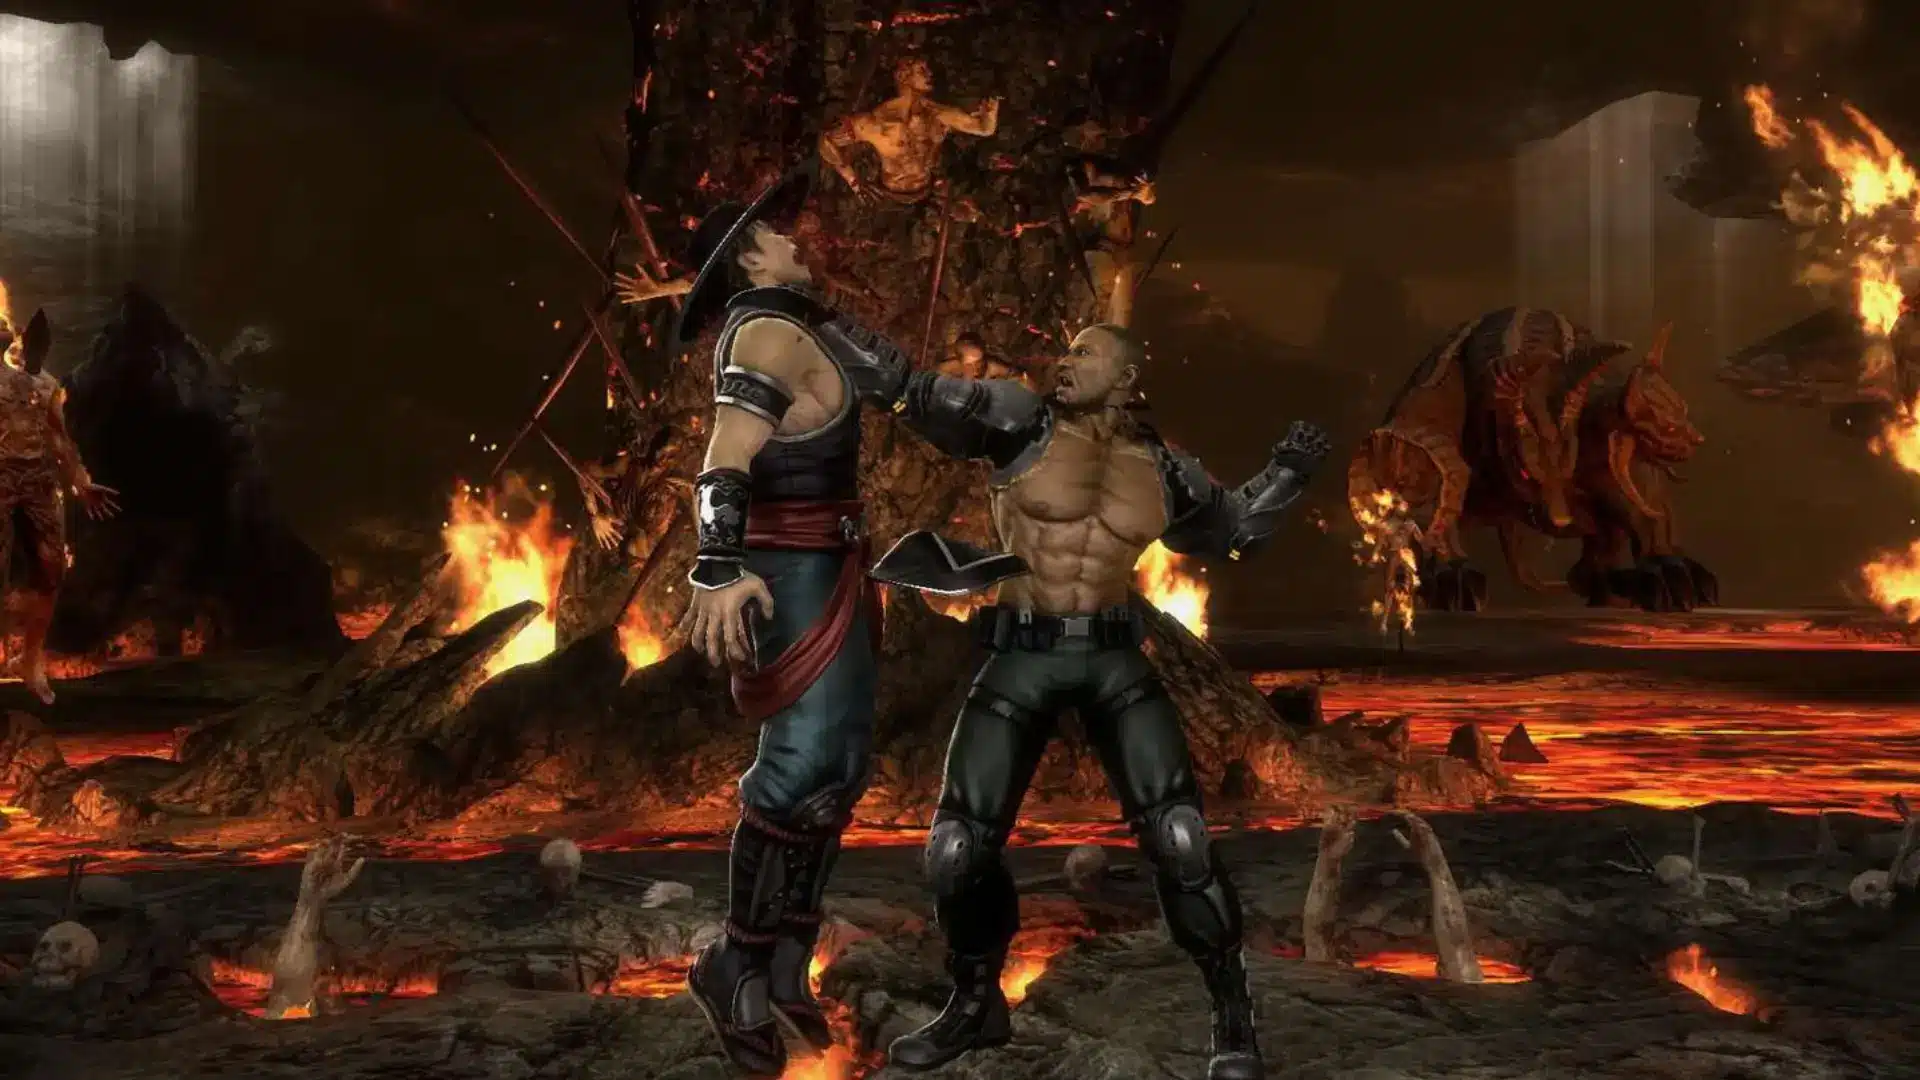
How to Perform a Mortal Kombat Fatality in MK1?
Source: lifewire.com
Landing Mortal Kombatfinishing moves consistently depends on completing three steps in the correct order.
- Win the final round: Wait until the “Finish Them!” prompt appears before entering the fatality command on your Xbox controller.
- Check your distance: Confirm whether the move requires Close, Mid, or Far range before pressing the Xbox D-pad sequence.
- Enter the sequence quickly: Tap each Xbox D-pad direction and the final A, B, X, or Y button before the input window closes.
- Match your controller buttons: PlayStation Square, Triangle, Circle, and Cross correspond to Xbox X, Y, B, and A. The directional inputs stay the same.
- Tap instead of holding: Press D-pad Left, Right, Up, or Down separately instead of holding the D-pad or analog stick.
Clean timing, correct range, and distinct button taps make fatalities much easier to perform consistently.
Complete MK1 Fatality List by Distance
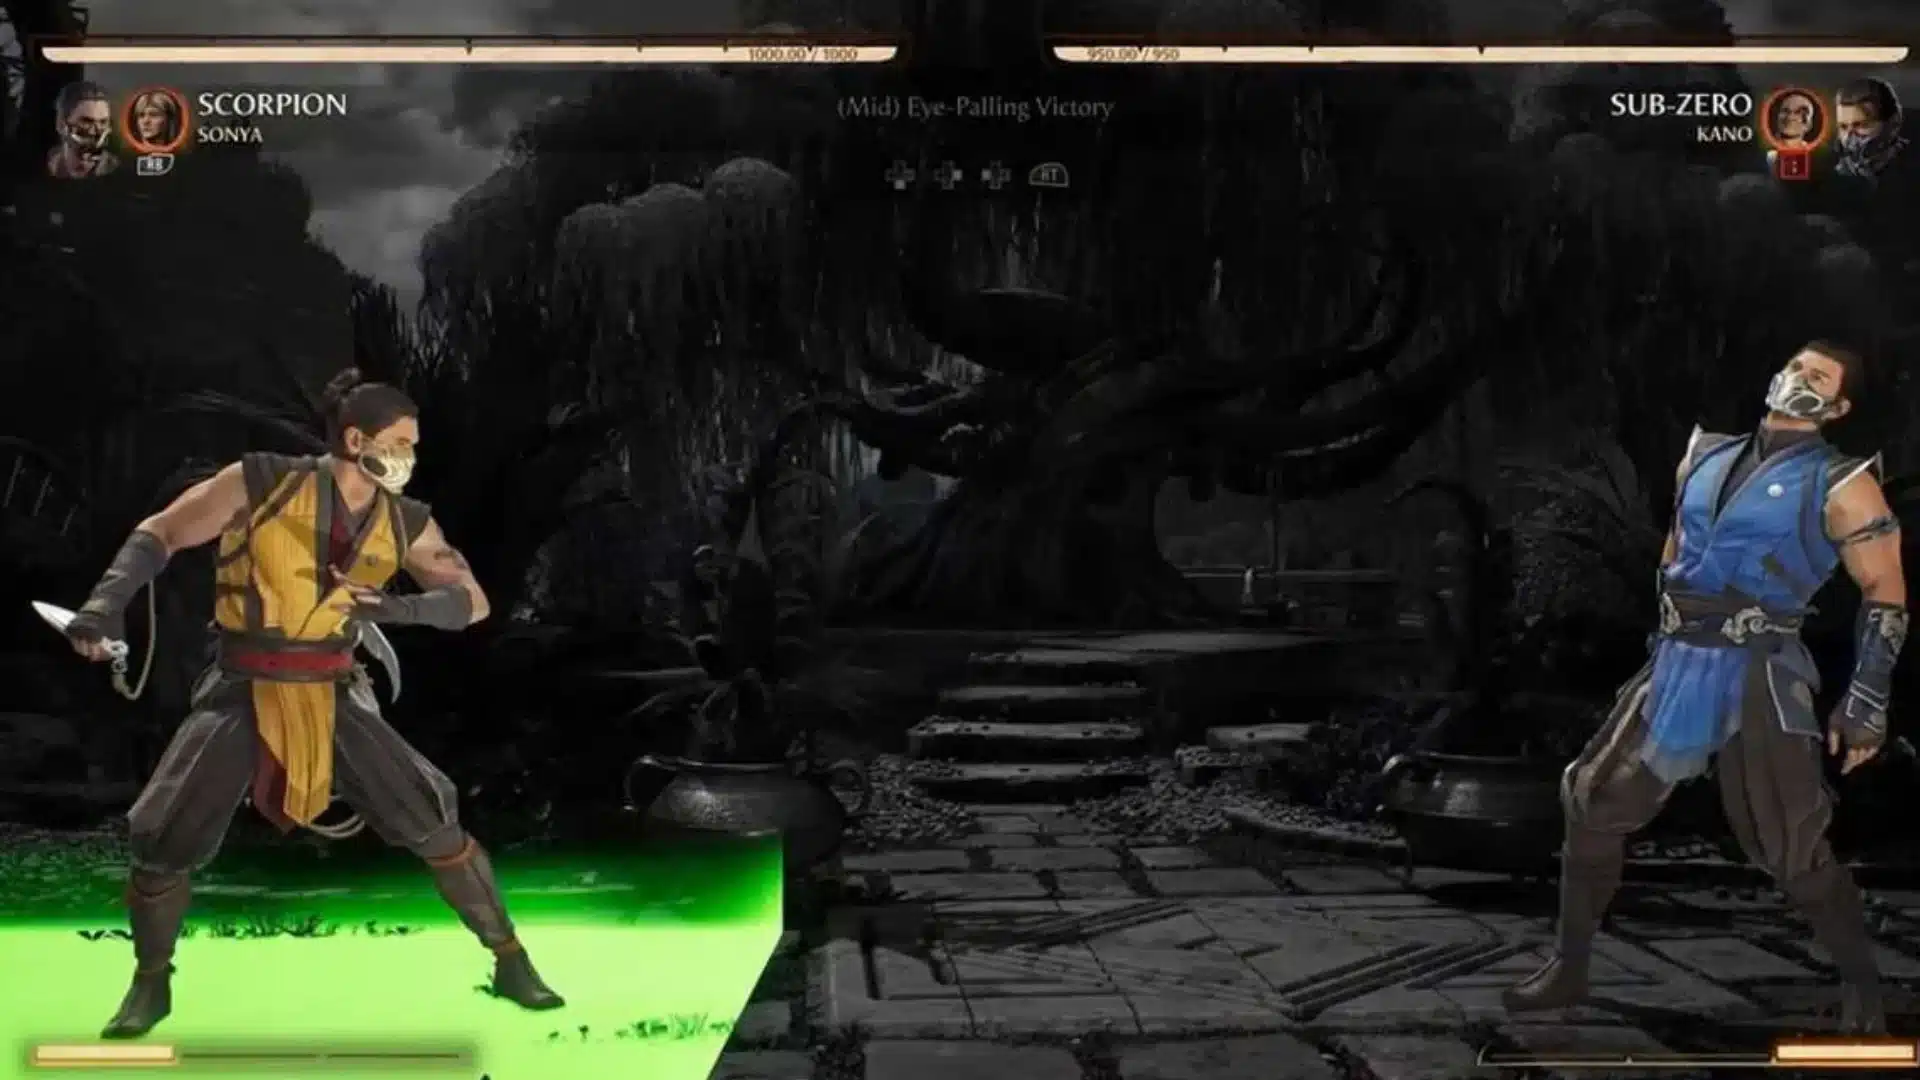
Source: gamelevate.com
Below is a distance-grouped reference for landing a Mortal Kombat fatality without guessing your spacing.
These inputs were checked against in-game move lists and cross-referenced across multiple confirmed sources before publishing, but the full MK1 roster runs deep.
Treat this as a working reference and check the in-game move list for any character not covered here before a ranked session.
1. Close-Range Fatalities
Close-range fatalities require you to stand directly beside the opponent when “Finish Them!” appears.
- Baraka’s Split Decision: Back, Forward, Down, then X
- Havik’s Atomic Heart: Down, Forward, Down, then B
- Kenshi’s Blended: Forward, Down, Down, then Y
Enter each direction separately rather than sliding your thumb across the D-pad. Practicing the sequence in Fatality Training can help prevent rushed inputs during live matches.
2. Mid-Range Fatalities
Mid-range fatalities work from roughly one character jump away and are common across the roster.
- Ashrah’s Heavenly Light: Down, Forward, Down, then Y
- Geras’ Sand Storm: Forward, Down, Down, then B
- General Shao’s Spin Cycle: Back, Forward, Down, then X
Stand at the correct distance before entering the sequence. Moving too close or too far away can stop the fatality even when every button is correct.
3. Far-Range Fatalities
Far-range fatalities need the most space, generally two to three jump-lengths away, near the edge of the screen. Kitana’s Royal Blender is a clear example: Down, Forward, Down, then B.
- D-pad Left: Back and D-pad Right: Forward
- D-pad Up: Up and D-pad Down: Down
The final attack button may be A, B, X, or Y, depending on the character and fatality. Check the move list for the exact sequence, position your fighter at far range, and enter each direction without holding the buttons.
Fatalities vs. Animalities vs. Brutalities: What’s the Difference
Fatalities, Animalities, and Brutalities all end a match differently, with separate timing, inputs, and activation requirements.
| Finisher Type | How It Works | Main Requirement | Best For |
|---|---|---|---|
| Fatality | Activates after the “Finish Them!” prompt and plays a scripted finishing animation. | Correct distance, input sequence, and timing. | Beginners learning standard finishers. |
| Animality | Transforms the fighter into an animal before delivering a fast, violent finishing move. | Correct input plus an additional match condition in some cases. | Players seeking unusual character-specific endings. |
| Brutality | Triggers during the final attack or combo without waiting for the usual finishing prompt. | A specific move, combo, button hold, or gameplay condition. | Experienced players comfortable with precise combat inputs. |
Start with Fatalities to master spacing and timing, then move to Animalities and Brutalities once the basic finishing system feels comfortable.
If Mortal Kombat isn’t your only fighting game, our look back at Tekken Tag Tournament 2 covers how another long-running series handles its own finishing mechanics.
Common Mortal Kombat Finishing Move Mistakes
Source: wccftech.com
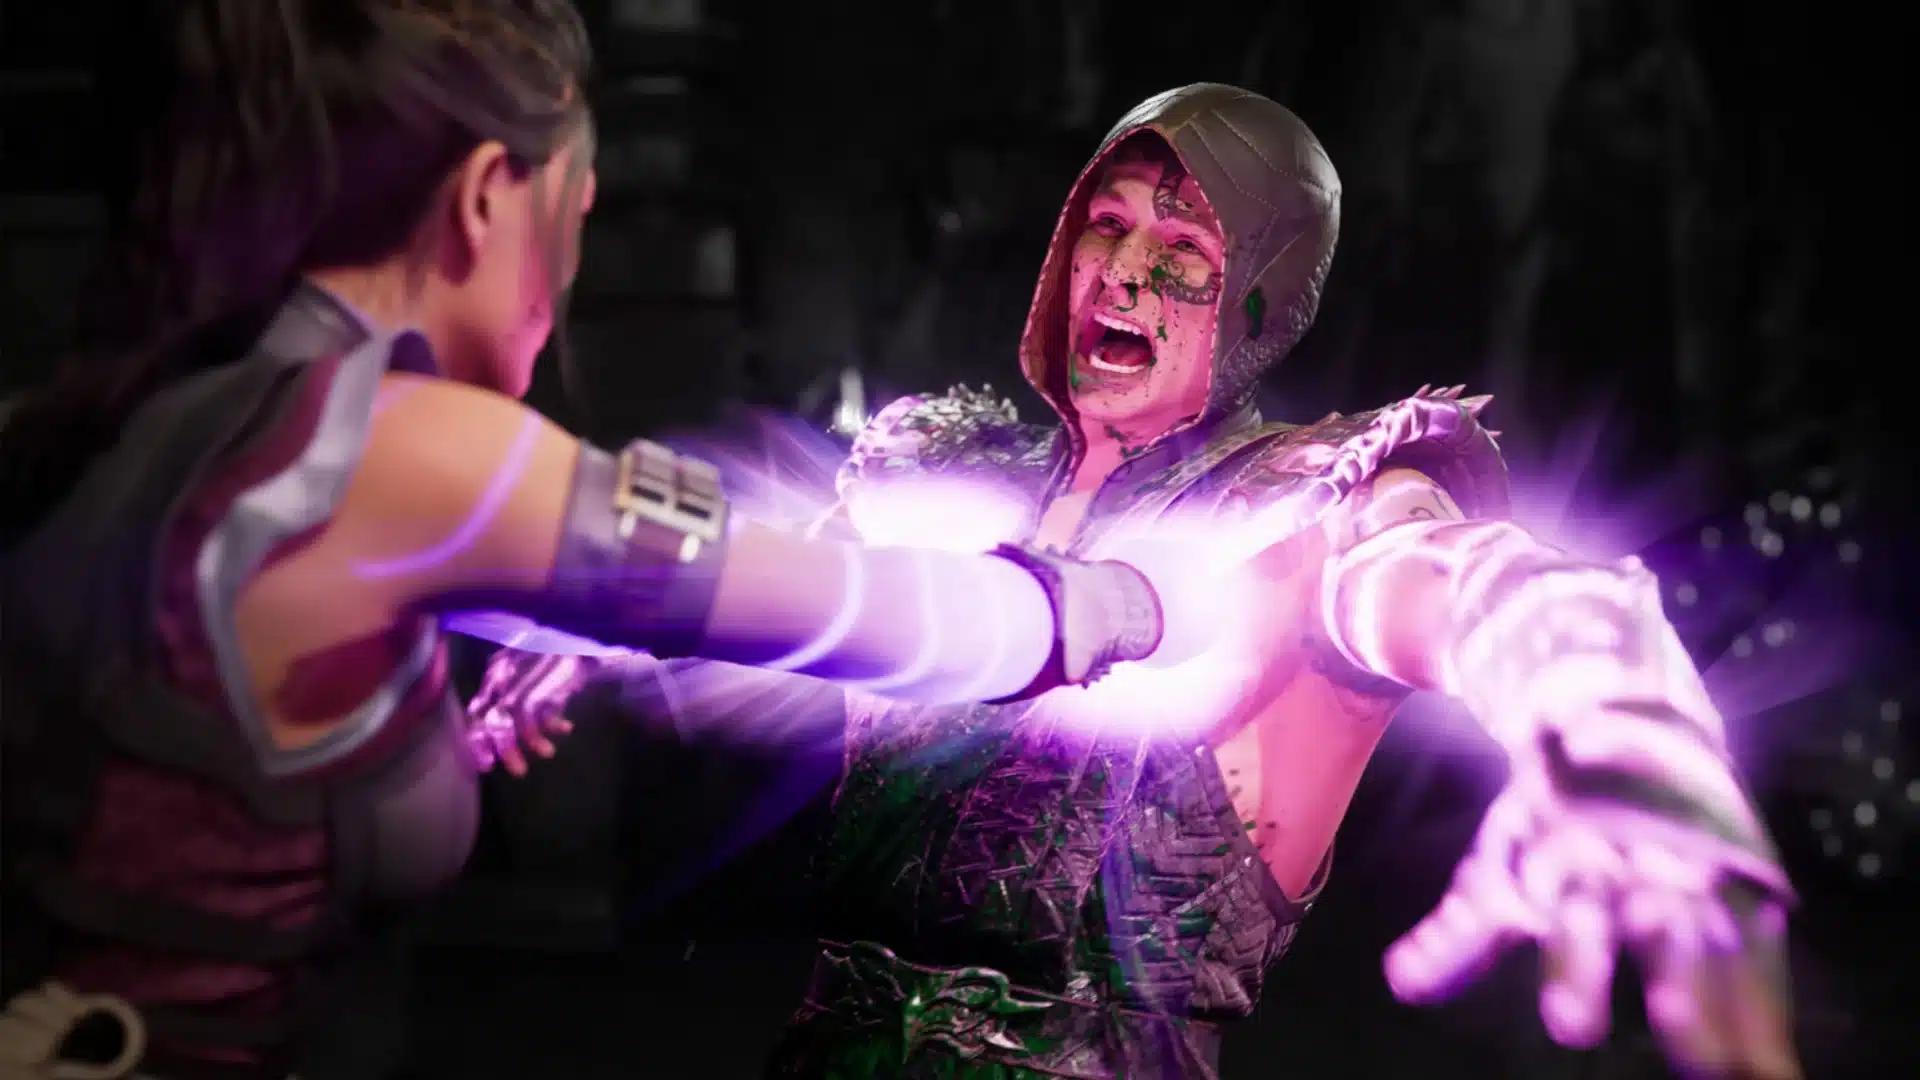
Most failed fatalities happen because of incorrect spacing or rushed directional inputs, not because the button sequence is wrong.
- Check your distance early: Look at your fighter’s position before the “Finish Them!” prompt appears, so you have time to adjust.
- Match the required range: A fatality marked Close, Mid, or Far will fail if you stand even slightly outside its activation area.
- Avoid rushing the sequence: Entering commands too quickly can cause the game to miss a direction or register the wrong input.
- Tap every direction separately: Holding forward while pressing down may create a diagonal input, which breaks the fatality command.
- Release before the next press: Let go of each direction before tapping the next one to keep the sequence clean and accurate.
Improving spacing and input control will increase your success rate without requiring you to memorize additional fatality codes.
Conclusion
A Mortal Kombat fatality gets much easier once you stop treating it like a random code and start treating it like a spacing check.
The input matters, but the range is usually what decides whether the finisher lands or fails.
Training mode is the fastest way to build that habit because you can test Close, Mid, and Far positions without pressure.
Start with one character, learn one finisher cleanly, then move to the next instead of trying to memorize the full roster at once. That approach turns finishers from lucky end screens into something you can repeat.
Which MK1 character’s fatality gives you the most trouble? Share it in the comments below.
Frequently Asked Questions
Do you need to complete in-game progression before using fatalities in Mortal Kombat 1?
No. Every fatality input works from the start, and progressing through the game only adds the move to your reference list. You can perform any valid distance-and-input combo the first time you play, as long as you enter it correctly.
How much time do you have to enter a fatality input?
The game gives a short window after “Finish Them!” appears, typically just a few seconds, before a standard knockout plays instead. Confirming your distance right away matters more than the complexity of the input itself.
Can you practice Mortal Kombat finishing moves without risking a real match?
Yes. MK1’s training mode lets you trigger the “Finish Them!” state on demand, so you can repeatedly test distance and timing for any character. This is the fastest way to build reliable muscle memory before trying one online.
What’s the easiest fatality to learn in MK1?
Fatalities with one directional input followed by a single button tend to be the most forgiving. Checking your character’s shortest fatality in training mode is the quickest way to find one that fits a beginner’s timing.