
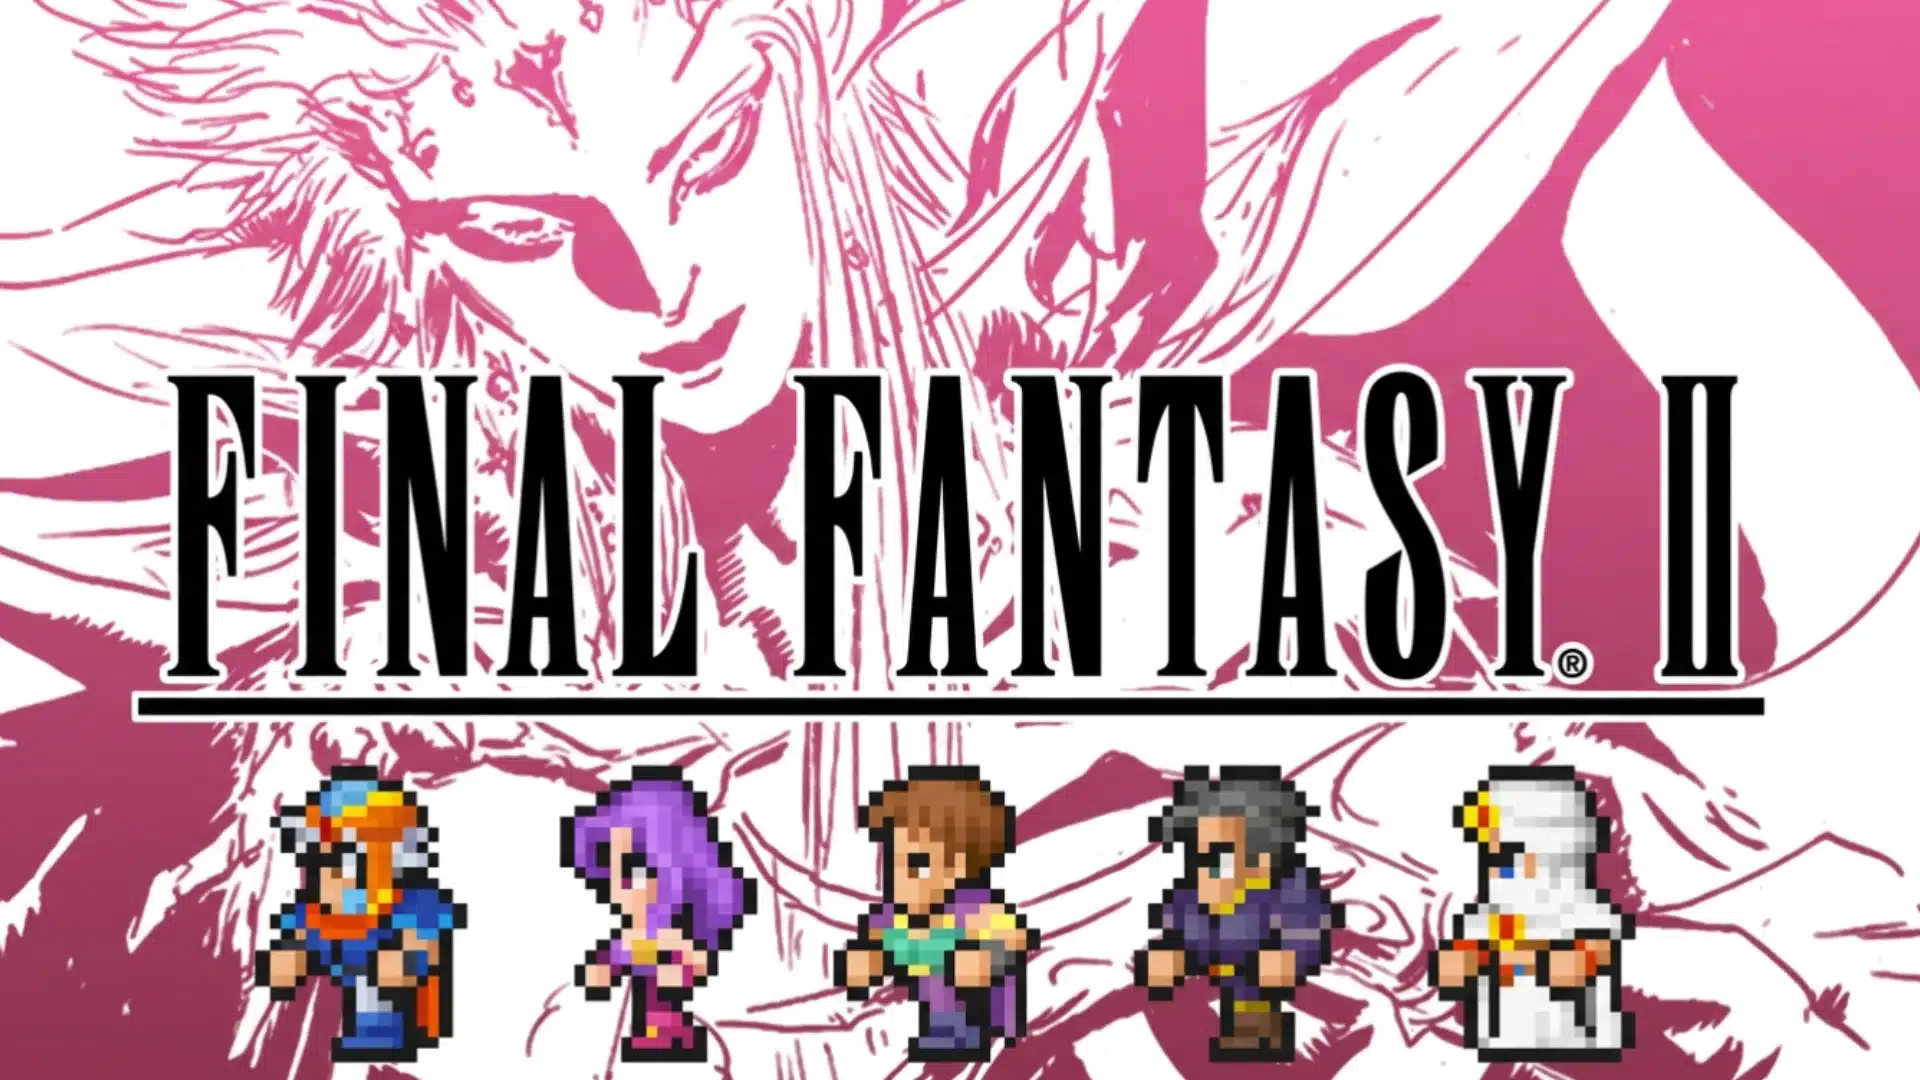
Final Fantasy II does not ease you in. It throws you into a battle you are supposed to lose, then expects you to learn its strange rules by paying attention.
That opening sets the tone for everything ahead. Progress is less about grinding levels and more about understanding how actions shape your party over time.
This FF2 walkthrough follows the full journey from Altair to Pandaemonium, keeping every objective in order while pointing out useful chests, missable bestiary entries, hidden rewards, and story moments you only get one chance to see.
I also prefer tackling each area thoroughly before moving on, so the route here keeps backtracking sensible and avoids unnecessary detours. If you want a cleaner run, start here.
What to Know Before You Start The Final Fantasy II Walkthrough
Final Fantasy II handles character growth very differently from most RPGs.
There are no traditional experience points or character levels. Instead, your party improves based on the actions you use during battles.
Attack regularly with a weapon, and its proficiency increases. Take damage, and your HP can grow. Cast spells often, and those spells become stronger while your magic-related stats improve as well.
This system makes normal combat more useful than repetitive grinding.
Rotating weapons, spells, and party roles during the early sections keeps progression steady and prepares everyone for tougher enemies later.
Across multiple clears of the Pixel Remaster, committing to one weapon type for a full act beats constantly switching, since proficiency gains slow down the moment you spread them too thin.
If turn-based classics like this one are your thing, the Final Fantasy games ranked roundup is worth a look for where FF2 lands against the rest of the series.
You do not need perfect stats before leaving Altair. Consistent, varied combat is usually enough to keep your party ready.
Story Walkthrough: Fynn to the Final Dungeon
Follow the main story from Altair’s opening rebellion through Pandaemonium, covering major destinations, allies, key objectives, and important moments you should not rush past unnecessarily.
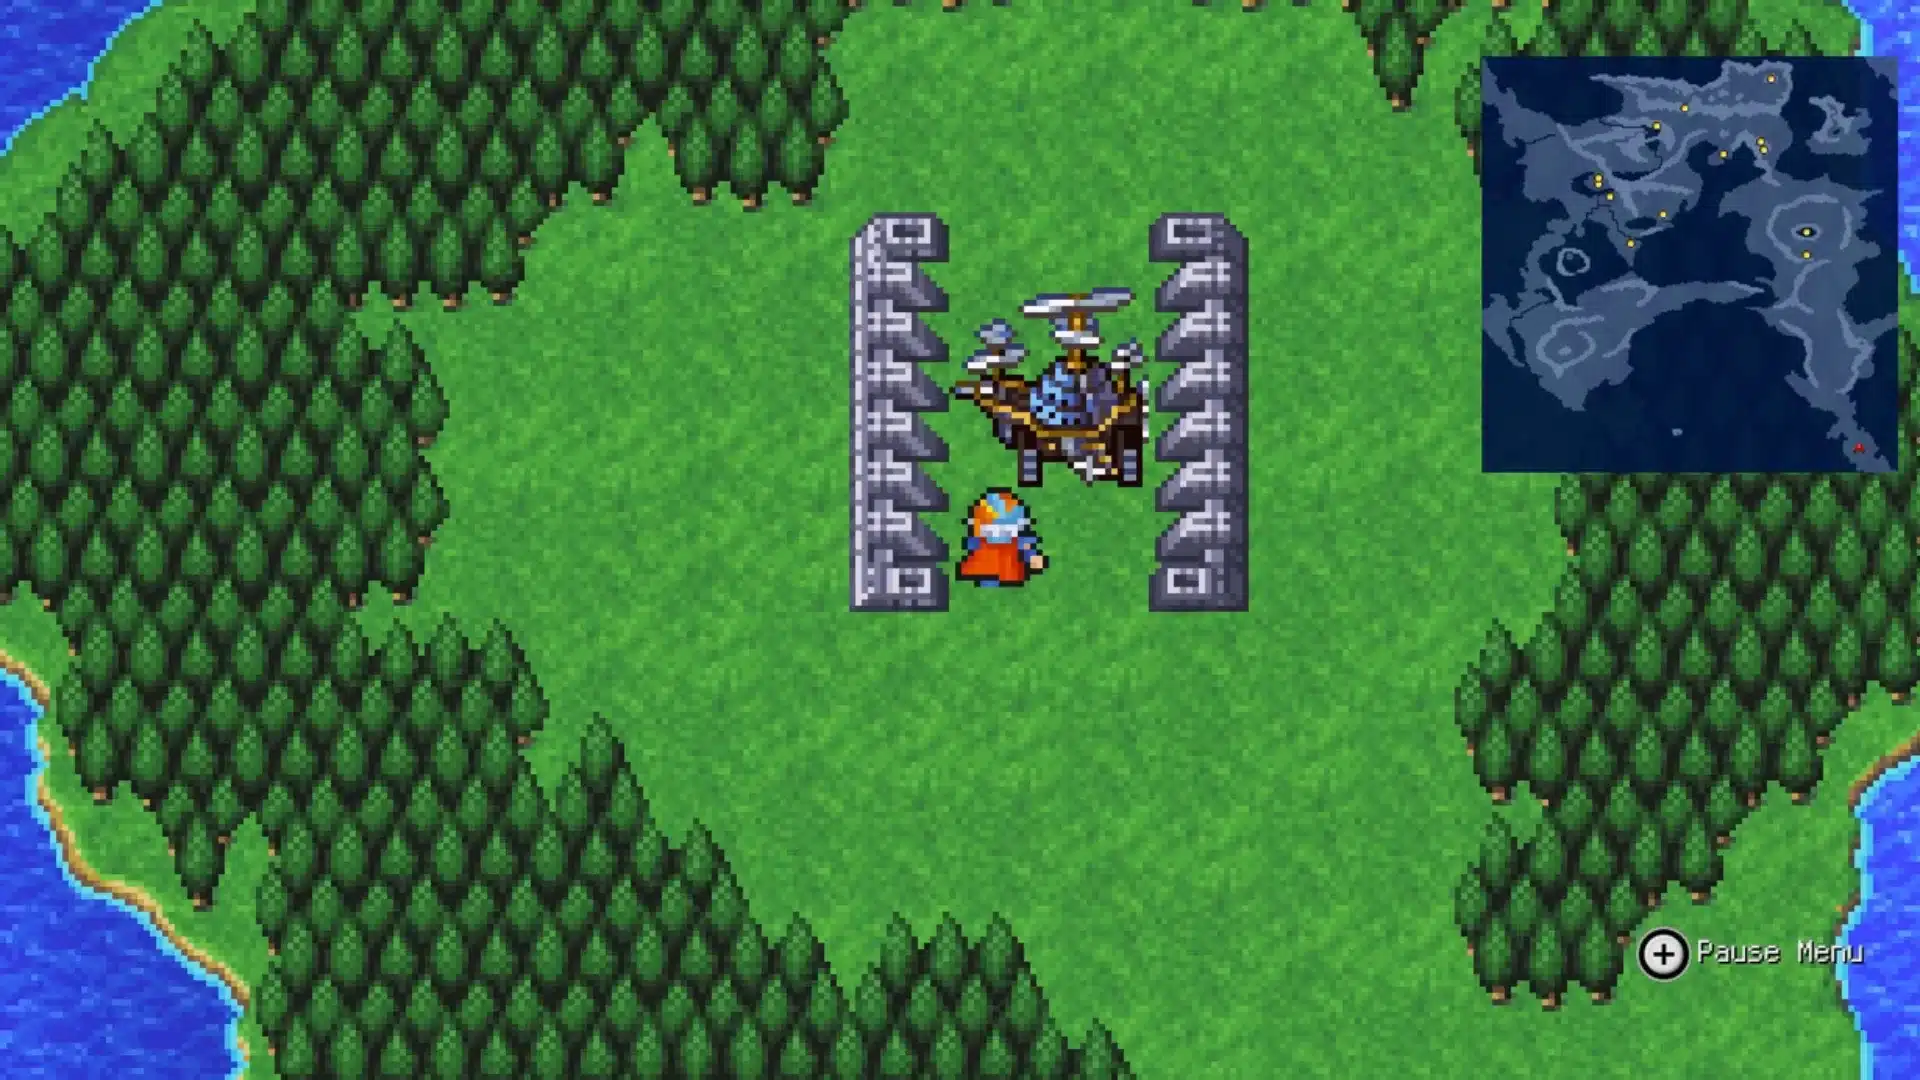
1. Act One: Altair to the Dreadnought
Source: ign.com
The opening act builds the rebellion, introduces several temporary allies, and sends the party across the northern regions while the Empire strengthens its control.
1. Altair and Fynn
Start in the Altair hideout after the opening battle and learn the Wild Rose keyword from Hilda. From there, head to occupied Fynn to find Prince Scott, then bring what he tells you back to Altair.
- Wake in the Altair rebel hideout after the opening battle.
- Speak with Princess Hilda and learn the Wild Rose keyword.
- Leave Altair and travel north toward occupied Fynn.
- Find Prince Scott inside Fynn and complete his story conversation.
- Return to Altair and report what happened to Princess Hilda.
2. Salamand and Semitt Falls
Head north through Paloom and Poft until you reach Salamand, where Josef can tell you about the Empire and Mythril.
Semitt Falls comes next: free the prisoners, beat the Sergeant, and carry the Mythril back to Tobul in Altair.
- Travel through Paloom and Poft before continuing north to Salamand.
- Find Josef and ask him about the Empire and Mythril.
- Leave Salamand and travel toward Semitt Falls.
- Rescue the prisoners, continue deeper, and defeat the Sergeant.
- Take the Mythril back to Altair and give it to Tobul.
3. Bafsk
Hilda sends you to Bafsk to check on a mysterious Imperial construction project. Push through Bafsk Cave to watch the Dreadnought’s launch, grab the Pass on your way out, and head back to Altair.
- Speak with Hilda about the Empire’s Dreadnought construction plans.
- Travel through Paloom and Poft before continuing toward Bafsk.
- Enter Bafsk Cave and follow the path toward the construction site.
- Watch the story event involving the newly completed Dreadnought.
- Collect the Pass and return toward Altair for your next objective.
4. Snow Cavern
Josef points you toward Snow Cavern once you ask about the Goddess’s Bell.
Pick up the Snowcraft inside Semitt Falls first, then work through all 6 floors of the cavern to recover the bell and close out Josef’s story beat with Borghen.
- Ask Hilda and the King about Sunfire and the Goddess’s Bell.
- Return to Salamand and speak with Josef about the bell.
- Retrieve the Snowcraft from the hidden area inside Semitt Falls.
- Cross the snowfield and work through Snow Cavern’s six floors.
- Obtain the Goddess’s Bell and complete the events involving Josef and Borghen.
5. Kashuan Keep
The Goddess’s Bell opens Kashuan Keep, where Gordon joins the climb.
Work through the floors together, grab Egil’s Torch, and collect the Sunfire before heading back out to prepare for the Dreadnought.
- Travel to Kashuan Keep with the Goddess’s Bell in your inventory.
- Use the bell to open the entrance and begin exploring.
- Meet Gordon and continue climbing through the dungeon together.
- Find Egil’s Torch and search the remaining floors for treasure.
- Collect the Sunfire and leave Kashuan Keep for the next objective.
6. Dreadnought
This one-time dungeon is your shot to save Hilda and Cid, so board the Dreadnought with Sunfire in hand and clear every floor you can reach.
Ten chests are up for grabs, along with several enemies worth logging, before you use the Sunfire on the engine and take the airship down for good.
- Locate the Dreadnought and save before boarding the Imperial airship.
- Enter using the Pass and begin searching every accessible floor.
- Rescue Hilda and Cid before continuing deeper into the ship.
- Collect all 10 chests and register unfamiliar bestiary encounters.
- Reach the engine, use the Sunfire, and permanently destroy the Dreadnought.
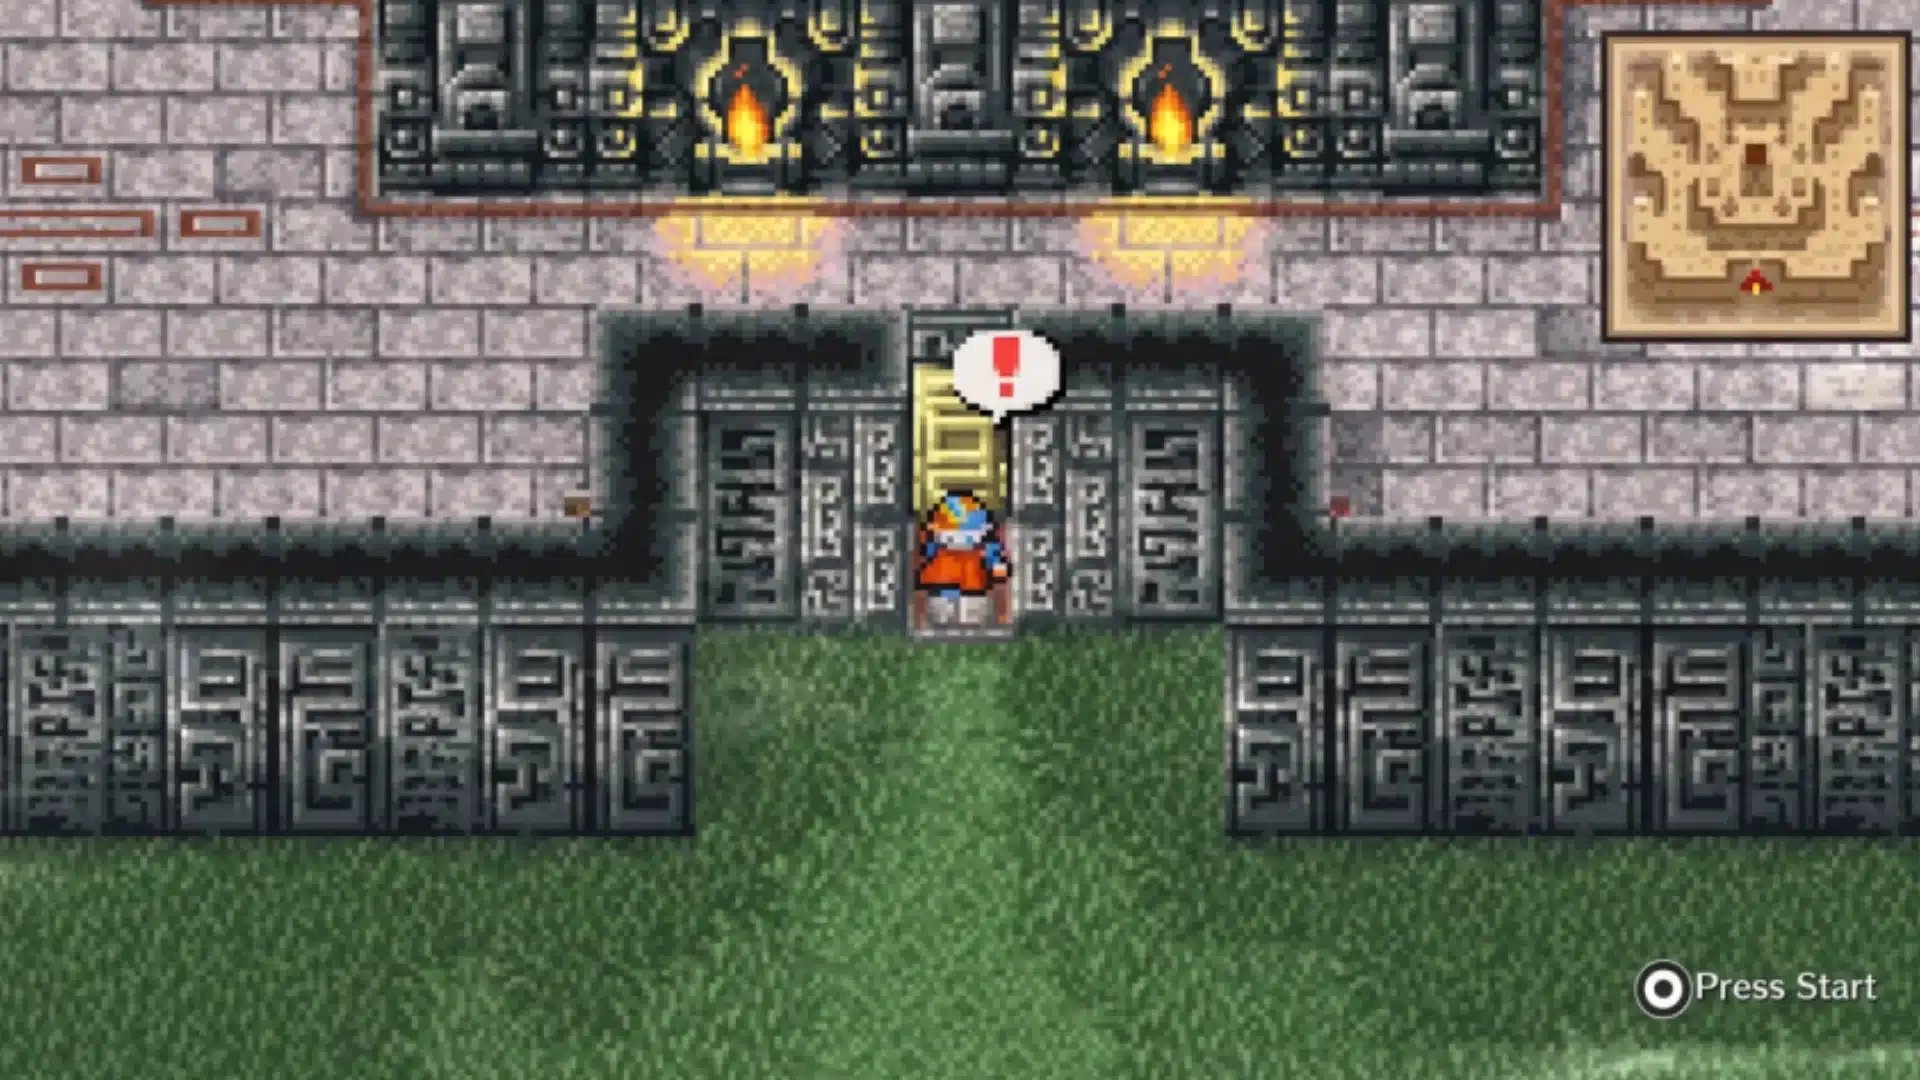
2. Act Two: Deist to Mysidian Tower
Source: ign.com
The middle act expands the conflict beyond Fynn as the party searches for dragoons, ancient masks, and powerful magic to challenge the Empire.
1. Castle Deist
With the Dreadnought gone, Hilda and Gordon point you to Castle Deist to check on the last of the dragoons.
Talk to the people there and you will learn about a missing Pendant, tied to the wyvern waiting in the nearby Deist Cavern.
- Speak with Hilda and Gordon after completing the Dreadnought sequence.
- Travel to Castle Deist on the northeastern island.
- Search the castle and speak with the people living there.
- Learn about the wyvern and the missing Pendant.
- Leave Castle Deist and enter the nearby Deist Cavern.
2. Deist Cavern
Search the branching paths of Deist Cavern until you find the Pendant, then bring it back to the Wyvern at Castle Deist.
In return you get the Wyvern Egg, which belongs in the Life Spring back inside the cavern.
- Enter Deist Cavern and search its branching paths for the Pendant.
- Return to Castle Deist after obtaining the Pendant.
- Speak with the wyvern and receive the Wyvern Egg.
- Return to Deist Cavern and travel toward the Life Spring.
- Place the Wyvern Egg in the spring to complete the objective.
3. Coliseum
Hilda’s capture sends you to the Coliseum, where an arena win is only the setup for an Imperial trap. Escape the prison cell, track her down inside, and get her safely out and back toward Fynn.
- Travel to the Coliseum after learning that Hilda is being held there.
- Enter the arena and defeat the opponent placed against your party.
- Continue through the story sequence after the Empire captures you.
- Escape the prison and locate Hilda inside the Coliseum.
- Rescue Hilda and return toward Fynn with the rebellion’s leader.
4. Castle Fynn
The rebellion moves on Castle Fynn next. Fight through the occupying forces, take down the boss holding the stronghold, and talk to Hilda afterward to pick up the Mysidia keyword.
- Return to Fynn and join the rebellion’s attack on the castle.
- Fight through the occupying Imperial forces inside Castle Fynn.
- Defeat the boss controlling the stronghold and reclaim the castle.
- Speak with Hilda after the battle and learn the Mysidia keyword.
- Remain in Fynn and prepare to search the castle basement.
5. Fynn Basement
Once Fynn is back in rebel hands, look for the entrance leading beneath the castle. The basement floors hide treasure and the White Mask, both worth collecting before you set out for Mysidia.
- Locate the entrance leading beneath Castle Fynn.
- Enter the basement and work through its underground floors.
- Search side paths and collect the available treasure.
- Reach the deeper section and obtain the White Mask.
- Return above ground and prepare for the journey toward Mysidia.
6. Mysidia
Mysidia sits southwest across the map, and its residents have plenty to say about Ultima and the two masks you will need.
Restock and upgrade here if your party needs it, then set sail for Tropical Island to track down the Black Mask.
- Travel to the southwestern continent and enter the town of Mysidia.
- Speak with residents about Ultima, the masks, and Mysidian Tower.
- Upgrade equipment and purchase useful magic if your party needs it.
- Confirm that the next required item is the Black Mask.
- Leave Mysidia and sail toward Tropical Island.
7. Tropical Island
Tropical Island’s dungeon branches as you descend, so check the side paths for treasure on your way down. The Black Mask waits at the bottom, and getting it means both masks are finally in hand.
- Sail to Tropical Island and enter the dungeon.
- Follow the descending route through its branching floors.
- Search side paths for treasure while continuing downward.
- Reach the lower section and obtain the Black Mask.
- Leave the island with both masks ready for the next objective.
8. Cave of Mysidia
With both masks collected, the Cave of Mysidia opens up. Work through its lower floors and branching routes until you reach the Crystal Rod, which is what unlocks Mysidian Tower.
- Make sure you have both the White Mask and Black Mask.
- Travel to the Cave of Mysidia and enter the dungeon.
- Work through its lower floors while checking branching paths.
- Continue to the deepest section and obtain the Crystal Rod.
- Leave the cave and prepare to travel toward Mysidian Tower.
9. Leviathan
Sailing toward Mysidian Tower with the Crystal Rod traps you inside Leviathan, and there is no coming back once you leave.
Clear all three floors, grab all five chests, meet Ricard, and beat the exit boss before you go.
- Sail toward Mysidian Tower while carrying the Crystal Rod.
- Continue through the story event that traps the party inside Leviathan.
- Search all three floors and collect all five treasure chests.
- Find Ricard and register unfamiliar enemies before leaving.
- Defeat the exit boss and escape because Leviathan cannot be revisited.
10. Mysidian Tower
Ten floors stand between you and Ultima inside Mysidian Tower, each one shifting elemental themes that call for different attacks.
Fight through the guardians blocking the upper floors, grab the Ultima Tome, and head back to Fynn.
- Enter Mysidian Tower after escaping from Leviathan.
- Climb through all ten floors while searching for useful treasure.
- Adjust your attacks as the tower’s elemental themes change.
- Defeat the guardians blocking progress through the upper floors.
- Obtain the Ultima Tome and return to Fynn afterward.
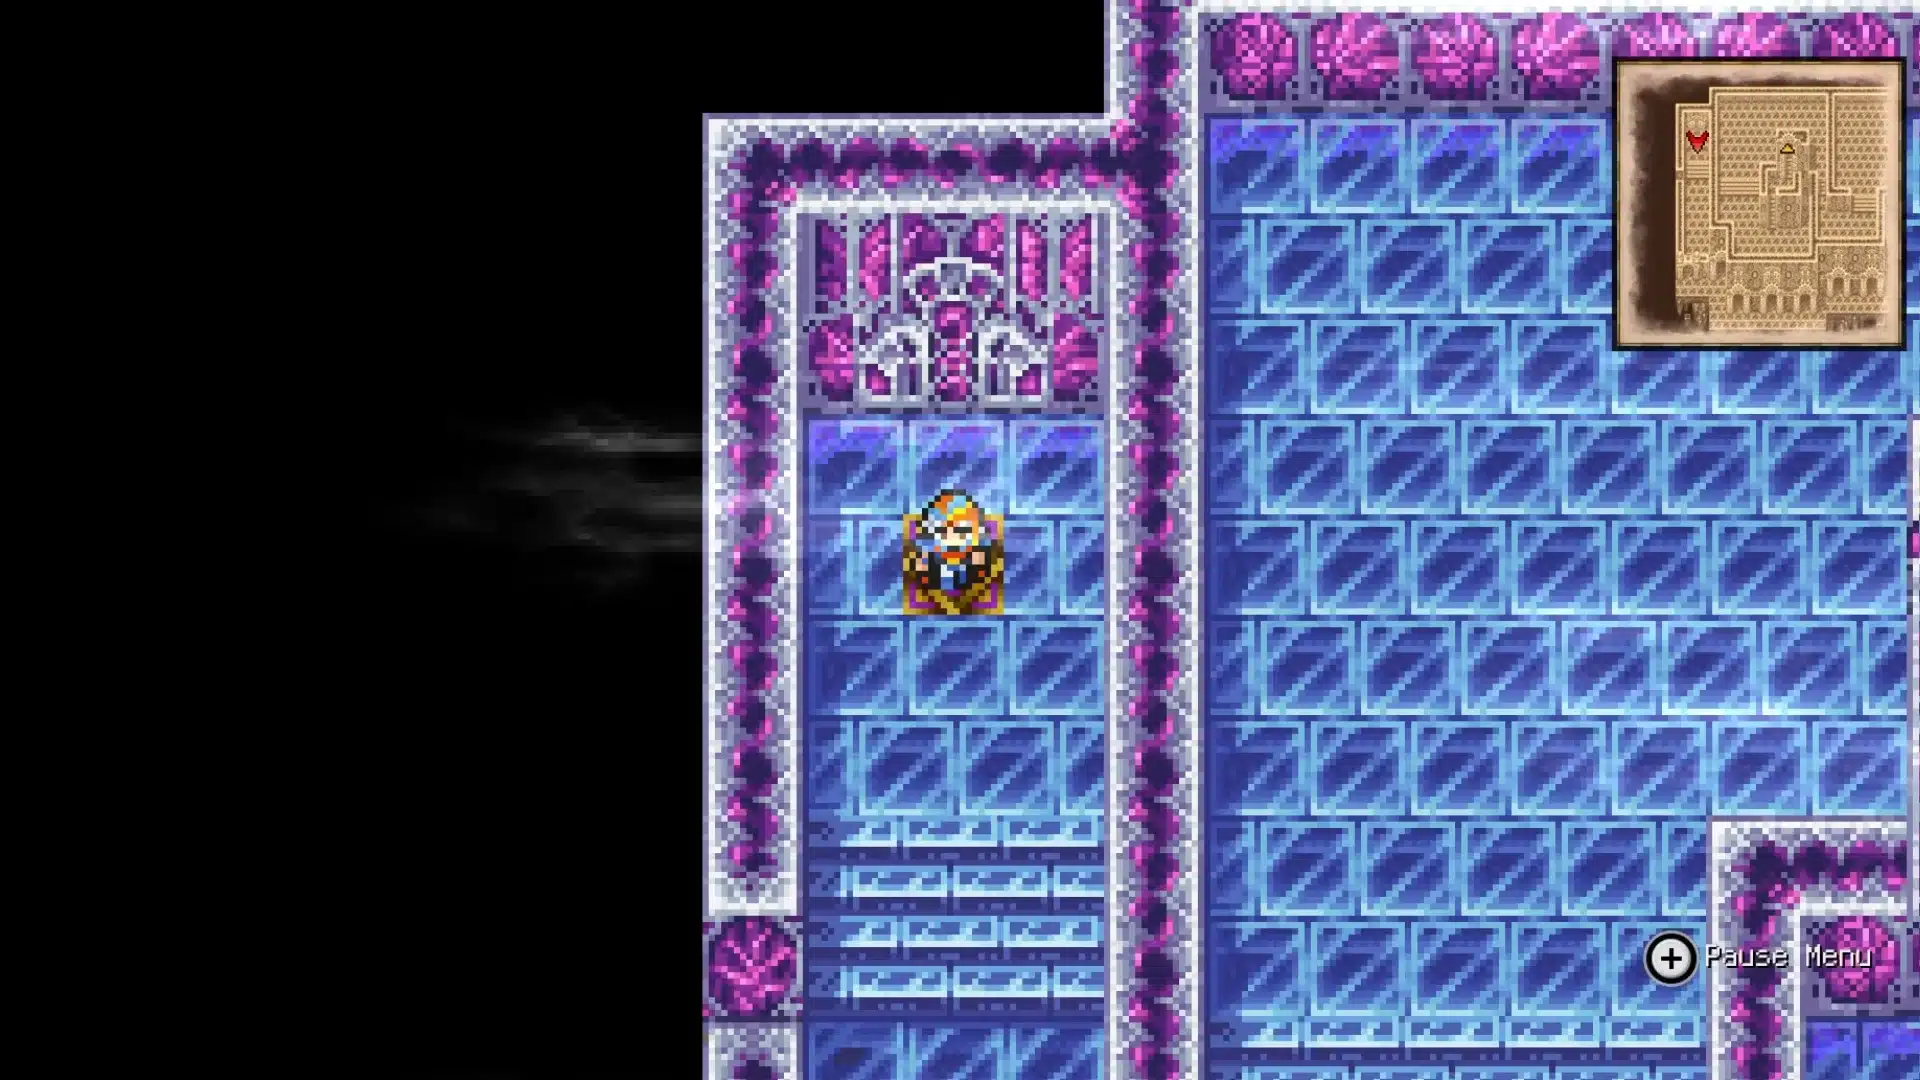
3. Act Three: Cyclone to Pandaemonium
Source: ign.com
The final act brings the rebellion directly against the Emperor, closes several major storylines, and leads into the toughest dungeons and battles in Final Fantasy II.
1. Return to Fynn
Back at Castle Fynn after Mysidian Tower, Hilda and the others fill you in on the Cyclone and hand you its keyword.
Check your bestiary before moving on, since some entries disappear soon, and stop by Paul’s house.
- Travel back to Castle Fynn after obtaining Ultima.
- Speak with Hilda and the other important characters.
- Learn the Cyclone keyword before continuing the story.
- Check your bestiary for enemies that may disappear later.
- Visit Paul’s house before beginning the Cyclone sequence.
2. Paul’s Secret Room
Ask Paul about the Cyclone keyword and his secret room opens up.
Eight chests are waiting inside, including the Blood Sword, and none of it is available once you commit to entering the Cyclone.
- Enter Paul’s house in Fynn after learning the Cyclone keyword.
- Speak with Paul and ask him about Cyclone.
- Enter the secret room that becomes available.
- Open all eight treasure chests hidden inside.
- Take the Blood Sword before progressing into the Cyclone.
3. Cyclone
The Cyclone is a full-clear dungeon, so finish whatever is left in Fynn and save before heading in.
Search every floor for its seven chests, fight the unfamiliar enemies while you still can, and confront the Emperor at the end.
- Complete your remaining objectives in Fynn and save separately.
- Enter the Cyclone and begin climbing through its floors.
- Search every area and collect all seven treasure chests.
- Fight unfamiliar enemies before permanently leaving the dungeon.
- Reach the Emperor and complete the major boss battle.
4. Castle Palamecia
Cid’s Airship gets you to Castle Palamecia, the last of the true one-time dungeons and home to 17 chests.
Clear every floor you can reach and log the enemies here before following Leon into the story events with Ricard.
- Learn about Leon’s control of the Empire after the Cyclone events.
- Use Cid’s Airship to reach Castle Palamecia.
- Search every accessible floor and collect all 17 chests.
- Register unfamiliar enemies before completing this one-time dungeon.
- Reach Leon and continue through the important story events involving Ricard.
5. Final Preparations
Back in Fynn after Palamecia, take the time to set your final party of Firion, Maria, Guy, and Leon. Upgrade gear, restock healing, and review your treasure and bestiary progress before Jade Passage.
- Return to Fynn after the Castle Palamecia story sequence.
- Set up Firion, Maria, Guy, and Leon for the final journey.
- Upgrade equipment and restock your most useful healing supplies.
- Check treasure and bestiary progress before moving forward.
- Complete any remaining optional preparation before entering Jade Passage.
6. Jade Passage
Jade Passage marks the start of the final descent, and the enemies here hit harder than what came before.
Search each floor for late-game gear, watch your healing and MP, and push on toward the teleporter that leads to Pandaemonium.
- Travel to Jade Passage after completing your final preparations.
- Begin descending through the dungeon toward Pandaemonium.
- Search each floor for treasure and useful late-game equipment.
- Conserve healing and MP against the stronger enemy encounters.
- Reach the final teleporter and continue directly toward Pandaemonium.
7. Pandaemonium
Pandaemonium is the last dungeon, and its branching floors hide some of the game’s best equipment, including the Masamune.
Keep an eye out for the rare Iron Giant, heal up fully, and get your party ready before the final area.
- Enter Pandaemonium after completing Jade Passage.
- Search the branching floors instead of rushing straight ahead.
- Collect powerful late-game equipment, including the available Masamune.
- Watch for rare bestiary encounters such as the Iron Giant.
- Heal fully and prepare your party before entering the final area.
8. Emperor Final Battle
The Emperor waits at the end of Pandaemonium, and beating him closes out Final Fantasy II’s story.
Go in with your best developed weapons and spells, keep healing available throughout, and use everything your party has built up to this point.
- Equip your strongest developed weapons and defensive gear.
- Restore HP and MP before triggering the final encounter.
- Keep reliable healing available throughout the Emperor battle.
- Use your strongest developed physical attacks and useful spells.
- Defeat the Emperor to complete Final Fantasy II’s main story.
Completing these locations in order keeps the story easy to follow while reducing missed treasures, temporary encounters, and unnecessary backtracking before the final battle.
How to Prepare for the Toughest Final Fantasy II Bosses?
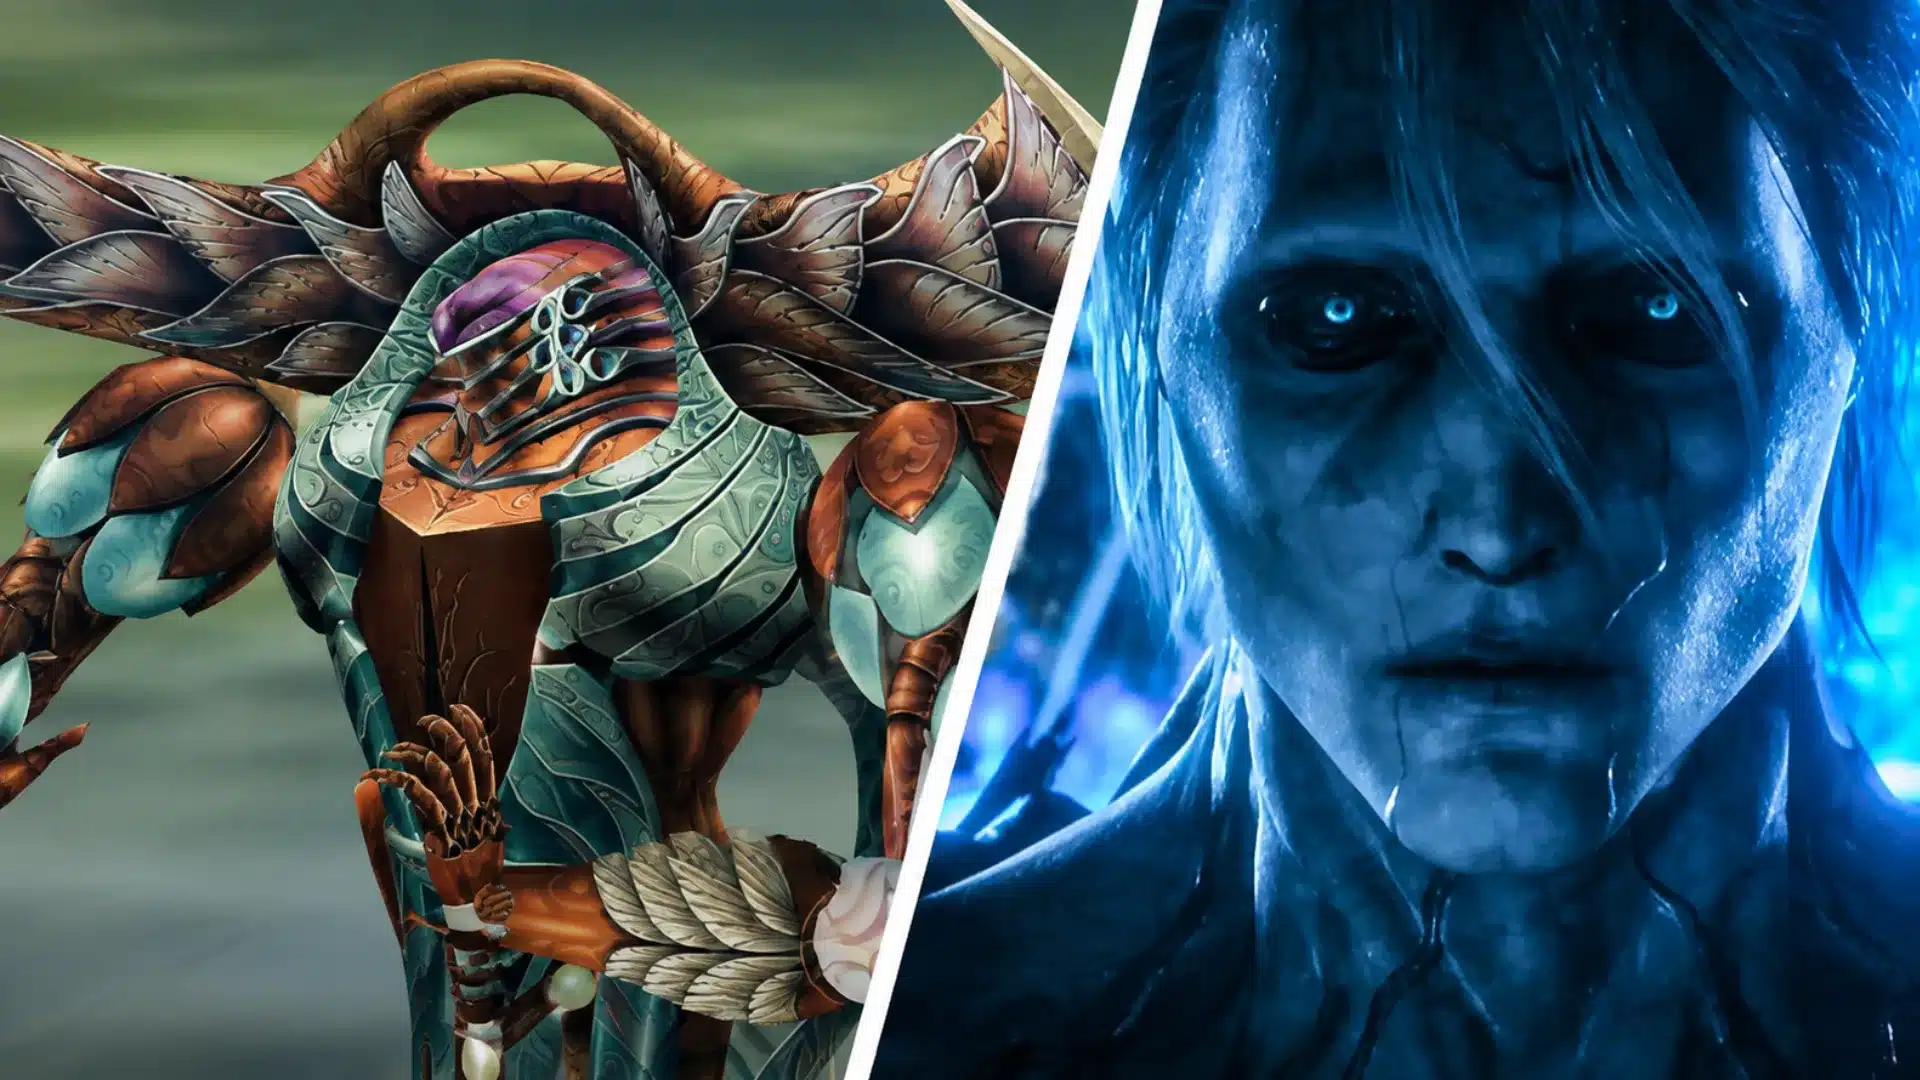
Several bosses can punish an underdeveloped party, so checking equipment, healing, spell levels, and weapon proficiency beforehand can prevent unnecessary retries during major story fights.
- Keep Healing Ready: Cure should stay useful throughout the game. Carry restorative items as backup when long dungeons drain MP before a boss encounter.
- Use Developed Weapons: Equip weapons your characters have already trained with. High proficiency usually matters more than constantly switching to newly found weapon types.
- Bring Different Damage Options: Some encounters are easier when you can choose between physical attacks and developed offensive magic instead of relying on one approach.
- Check Defensive Gear: Replace outdated armor before major dungeons, especially during the later sections leading through Cyclone, Palamecia, Jade Passage, and Pandaemonium.
- Save Before Major Battles: Keep a separate save before difficult bosses and one-time dungeons so a poor setup or missed item does not force extensive backtracking.
- Prepare for Pandaemonium: Before the final dungeon, stock healing supplies, review your strongest spells, equip your best gear, and make sure your main attackers have reliable weapon proficiency.
A little preparation before major encounters keeps the story moving smoothly and reduces the chance that one difficult boss stops your Final Fantasy II walkthrough completely.
Final Fantasy II Characters and Party Roles
Final Fantasy II rotates several characters through your party, so knowing each role helps you assign weapons, spells, and equipment without wasting valuable progression time.
That planning matters more here than in most turn-based RPGs, since a stat built up in the wrong role rarely gets used again.
| Character | Party Role | Strengths | Recommended Focus | Availability |
|---|---|---|---|---|
| Firion | Flexible physical fighter | Balanced stats and adaptable weapon choices | Swords or other strong melee weapons, with a few useful support spells | Core party member |
| Maria | Magic-focused attacker and support | Strong Intelligence and good potential with offensive magic | Black magic, healing support, and ranged weapons if needed | Core party member |
| Guy | Physical powerhouse | High Strength and strong melee potential | Axes, heavy physical attacks, and durable equipment | Core party member |
| Leon | Late-game physical fighter | Strong melee performance and good endgame potential | Swords or other developed physical weapons | Leaves early and rejoins late |
| Minwu | White Mage and healer | Powerful healing and support magic from the moment he joins | Cure, protective magic, and other White Magic | Temporary party member |
| Josef | Physical fighter | Serious unarmed and close-range damage | Bare hands or straightforward physical attacks | Temporary party member |
| Gordon | Developing support fighter | Flexible stats that improve through regular use | Physical weapons with supporting magic where useful | Temporary party member |
| Leila | Fast physical attacker | Good agility and useful weapon proficiency | Knives, swords, and light support magic | Temporary party member |
| Ricard | Dragoon-style fighter | Strong physical attacks and spear proficiency | Spears and physical damage | Temporary party member |
Understanding each character’s strengths makes party planning easier, especially when temporary members leave, and you need Firion, Maria, Guy, and Leon prepared for Pandaemonium later.
Final Fantasy II Missables You Should Not Skip
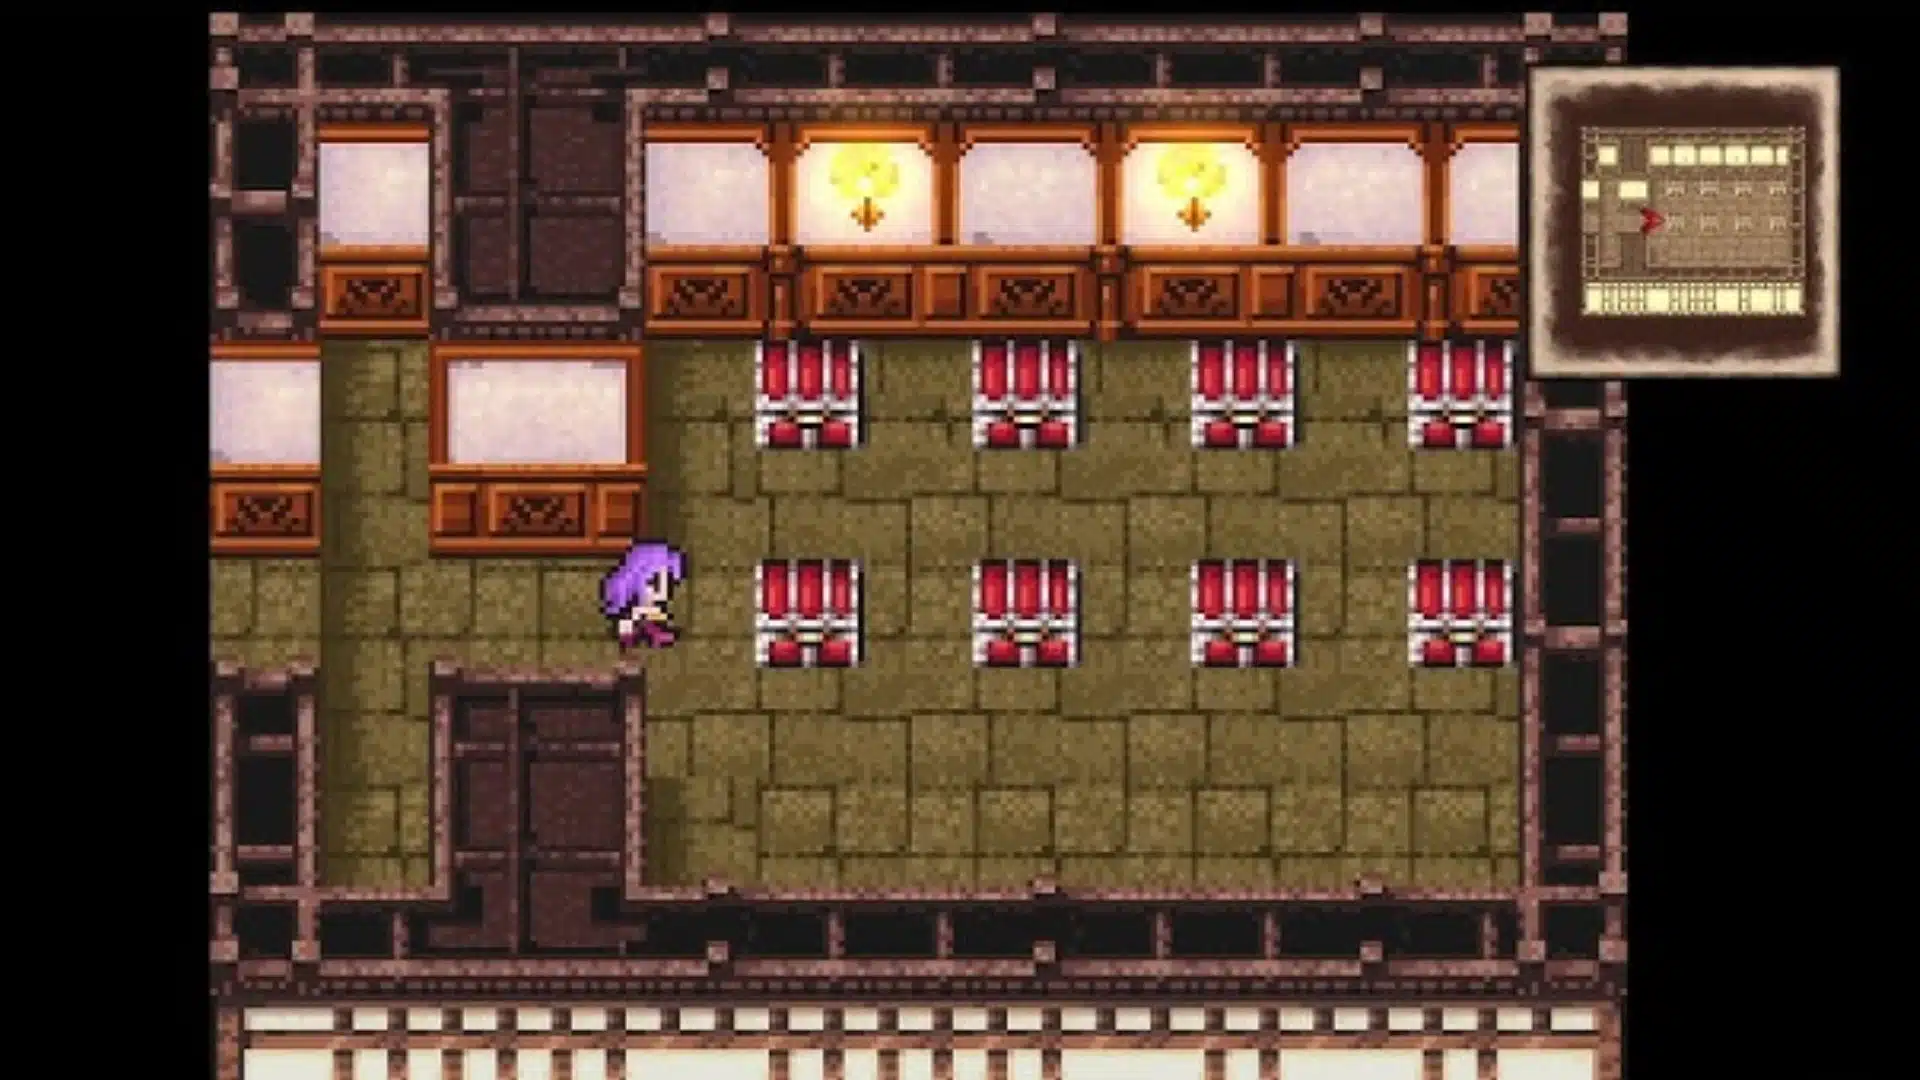
Final Fantasy II has several one-time areas where missed chests and enemies disappear permanently, so knowing these points beforehand can save a completionist run later.
- Dreadnought: This is the first major one-time dungeon. Search every accessible floor and open all 10 chests before completing the mission, since you cannot return afterward. Some enemy encounters inside can also become permanently missable.
- Leviathan: Once you escape Leviathan, there is no way back inside. The Pixel Remaster contains five chests here, along with several bestiary entries worth collecting before reaching the exit.
- Cyclone: Treat the Cyclone as another full-clear dungeon. It contains seven permanently missable chests, and finishing this section closes the area for the rest of the game. Check each floor before confronting the Emperor.
- Castle Palamecia: This is the final major one-time dungeon. It contains 17 missable chests and several bestiary entries, including enemies that cannot be logged later. Search each floor thoroughly before completing the story events here.
- Paul’s House and the Blood Sword: After learning the Cyclone keyword, return to Paul’s house in Fynn and ask him about it. This opens his secret room, where eight chests are waiting, including the Blood Sword. Collect them before entering the Cyclone or the opportunity disappears.
- Missable Bestiary Windows: Some enemies disappear when temporary dungeons close, while several overworld encounters also stop appearing later in the story. If you are completing the bestiary, log unfamiliar enemies before progressing beyond Mysidian Tower and into the Cyclone portion of the game.
Check each temporary area before advancing the story, and you can finish the game without losing important treasure, bestiary entries, or completion progress along the way.
Final Fantasy II Achievements and Completion
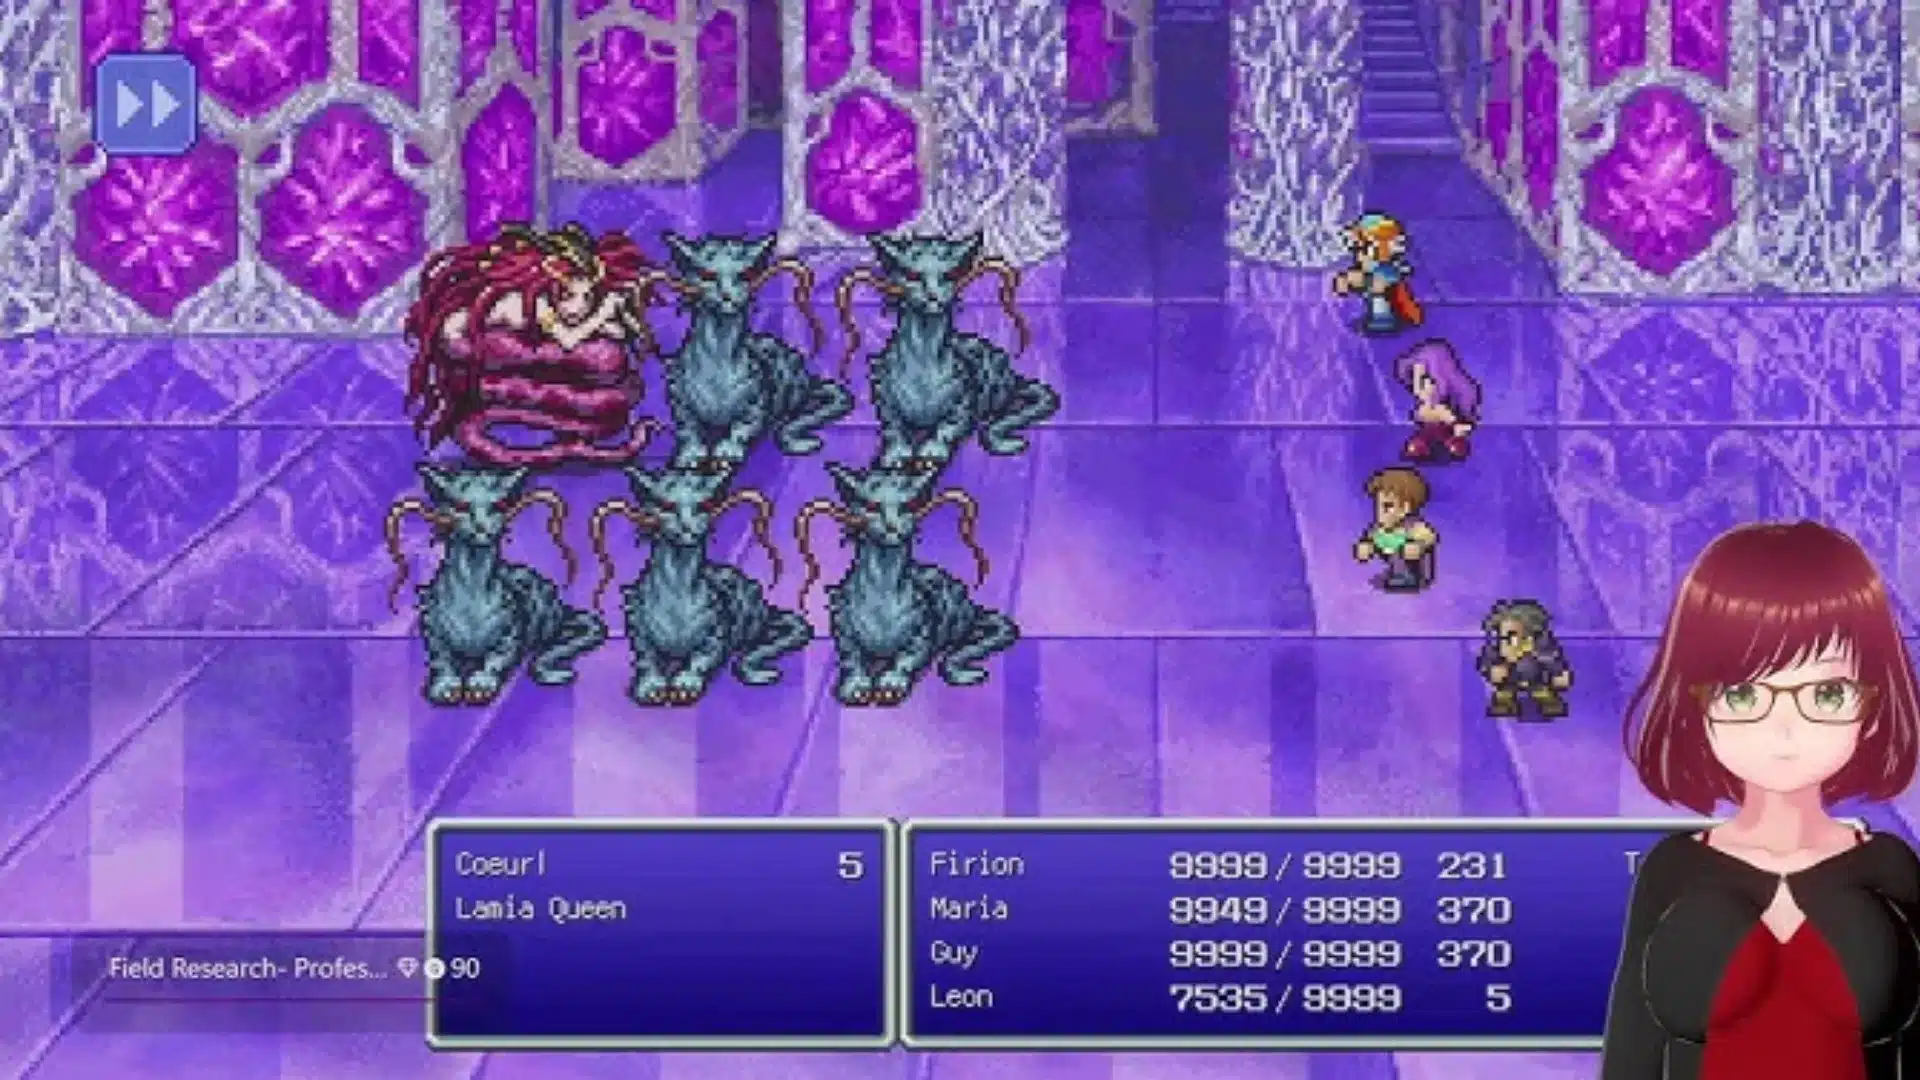
Completion in Final Fantasy II goes beyond defeating the Emperor, requiring careful treasure collection, bestiary tracking, achievement progress, and awareness of platform-specific systems throughout play.
1. Treasure Completion
Treasure completion depends on opening every chest, with the greatest risk coming from temporary dungeons that permanently disappear once their related story events conclude entirely.
- Total Treasure: The Pixel Remaster contains 234 treasure chests, so completionists need to search both main routes and optional rooms throughout each dungeon.
- Dreadnought: Open all 10 chests before destroying the airship because the entire dungeon becomes permanently inaccessible once its story objective is completed.
- Leviathan: Collect all five chests before escaping Leviathan, as there is no way to return after reaching the end of this temporary area.
- Cyclone: Search every floor and collect all seven chests before defeating the Emperor and completing the events that permanently remove the Cyclone.
- Castle Palamecia: This final temporary dungeon contains 17 chests, making it especially important to clear every accessible floor before completing its story sequence.
2. Bestiary Completion
Bestiary completion requires encountering every enemy type, including several tied to temporary dungeons, changing overworld encounters, and rare late-game appearances that are easily overlooked entirely.
- Temporary Dungeons: Fight unfamiliar enemies inside the Dreadnought, Leviathan, Cyclone, and Castle Palamecia because some entries cannot be obtained after these areas disappear.
- Overworld Encounters: Several enemy encounters change as the story advances, so check your bestiary before major progression points, especially before entering the Cyclone.
- Regular Checks: Review missing bestiary numbers periodically instead of waiting until Pandaemonium, making it easier to identify which region or dungeon still needs attention.
- Iron Giant: Watch for the rare Iron Giant encounter in Pandaemonium if your late-game bestiary still has an empty entry near the end.
- Complete Before Finishing: Handle any remaining available entries before the final Emperor battle so your completion cleanup doesn’t get more complicated afterward.
3. Key Achievement Requirements
Achievement and trophy completion rewards more than story progress, so plan around treasure, bestiary entries, combat milestones, and other requirements while completing the main walkthrough carefully.
- Story Progress: Many achievements unlock naturally while completing major bosses, dungeons, and key events, so following the main walkthrough covers a large portion automatically.
- Treasure Tracking: Chest-related achievements require careful exploration, making temporary dungeons the biggest concern because missed treasure cannot be recovered later in the same save.
- Bestiary Tracking: Enemy-related achievements require a complete bestiary, so register temporary and changing encounters whenever they become available instead of postponing them.
- Combat Milestones: Some achievement requirements are tied to normal gameplay progress, meaning regular battles and consistent character development will contribute as you move through the story.
- Separate Saves: Keep backup saves before major one-time dungeons so you can recover from a missed chest or enemy without restarting the entire game.
4. Platform-Specific Trophy or Achievement Differences
The core walkthrough remains consistent across modern Pixel Remaster versions, but achievement systems differ by platform, affecting how completion progress is recorded and displayed.
- PlayStation: PlayStation versions use the trophy system, allowing players to track individual objectives and overall trophy completion directly through their console profile.
- Xbox: Xbox versions use achievements and Gamerscore, with progress tied to the platform’s achievement system while following the same main Pixel Remaster content.
- Steam: The PC release supports Steam Achievements, giving players another built-in way to track completion milestones alongside the game’s internal bestiary and collection progress.
- Nintendo Switch: The Switch does not use a system-wide achievement framework, so players interested in full completion should manually track treasure, bestiary entries, and optional objectives.
- Mobile and Other Versions: Achievement support can differ between releases, so check your platform’s available objectives while using the same story and missable-content route.
If you clear temporary dungeons thoroughly, track enemy encounters, and review platform requirements as you progress, reaching full completion becomes far easier without unnecessary restarts.
Conclusion
Final Fantasy II becomes easier to enjoy once its unusual progression system starts making sense. Instead of chasing levels, you are shaping the party through every attack, spell, and fight along the way.
I prefer keeping weapons and magic in rotation because it makes the later dungeons feel far more manageable.
This FF2 walkthrough gives you a clear path from Altair to Pandaemonium while keeping chests, temporary areas, and bestiary entries on your radar.
Take your time in one-time locations, check rooms before moving forward, and let the party grow through combat. Once the Emperor is down, I want to hear how your run went.
Drop a comment below with your toughest dungeon, favorite party setup, or anything you missed.
Frequently Asked Questions
Do I Need to Grind in Final Fantasy II?
Not in the traditional sense. FF2 doesn’t use character levels for stats. Your stats grow from using weapons, spells, and taking damage during normal play. Deliberately farming battles for stat gains works but isn’t necessary if you fight naturally through each dungeon and vary your actions along the way.
Is the Pixel Remaster the Best Version to Play FF2 On?
For most players, yes. It adds quality-of-life features like an auto-battle option and bestiary tracking not present in the original NES or PSP versions. Purists sometimes prefer the PSP Dawn of Souls release for its bonus dungeons, but the Pixel Remaster is the most accessible starting point.
Can I Still Get Missed Bestiary Entries Later in the Game?
Some, but not all. Certain enemies only appear in specific one-time areas and won’t reappear once you move past that point in the story. Checking a missables reference before leaving key early areas is the safest way to avoid permanently locking any out.
How Long Does a Full FF2 Walkthrough Take?
A focused story-only playthrough typically runs 15 to 20 hours, while chasing missable chests and bestiary completion pushes that closer to 25 to 30 hours. Time varies depending on how much combat you engage in for stat growth along the way.