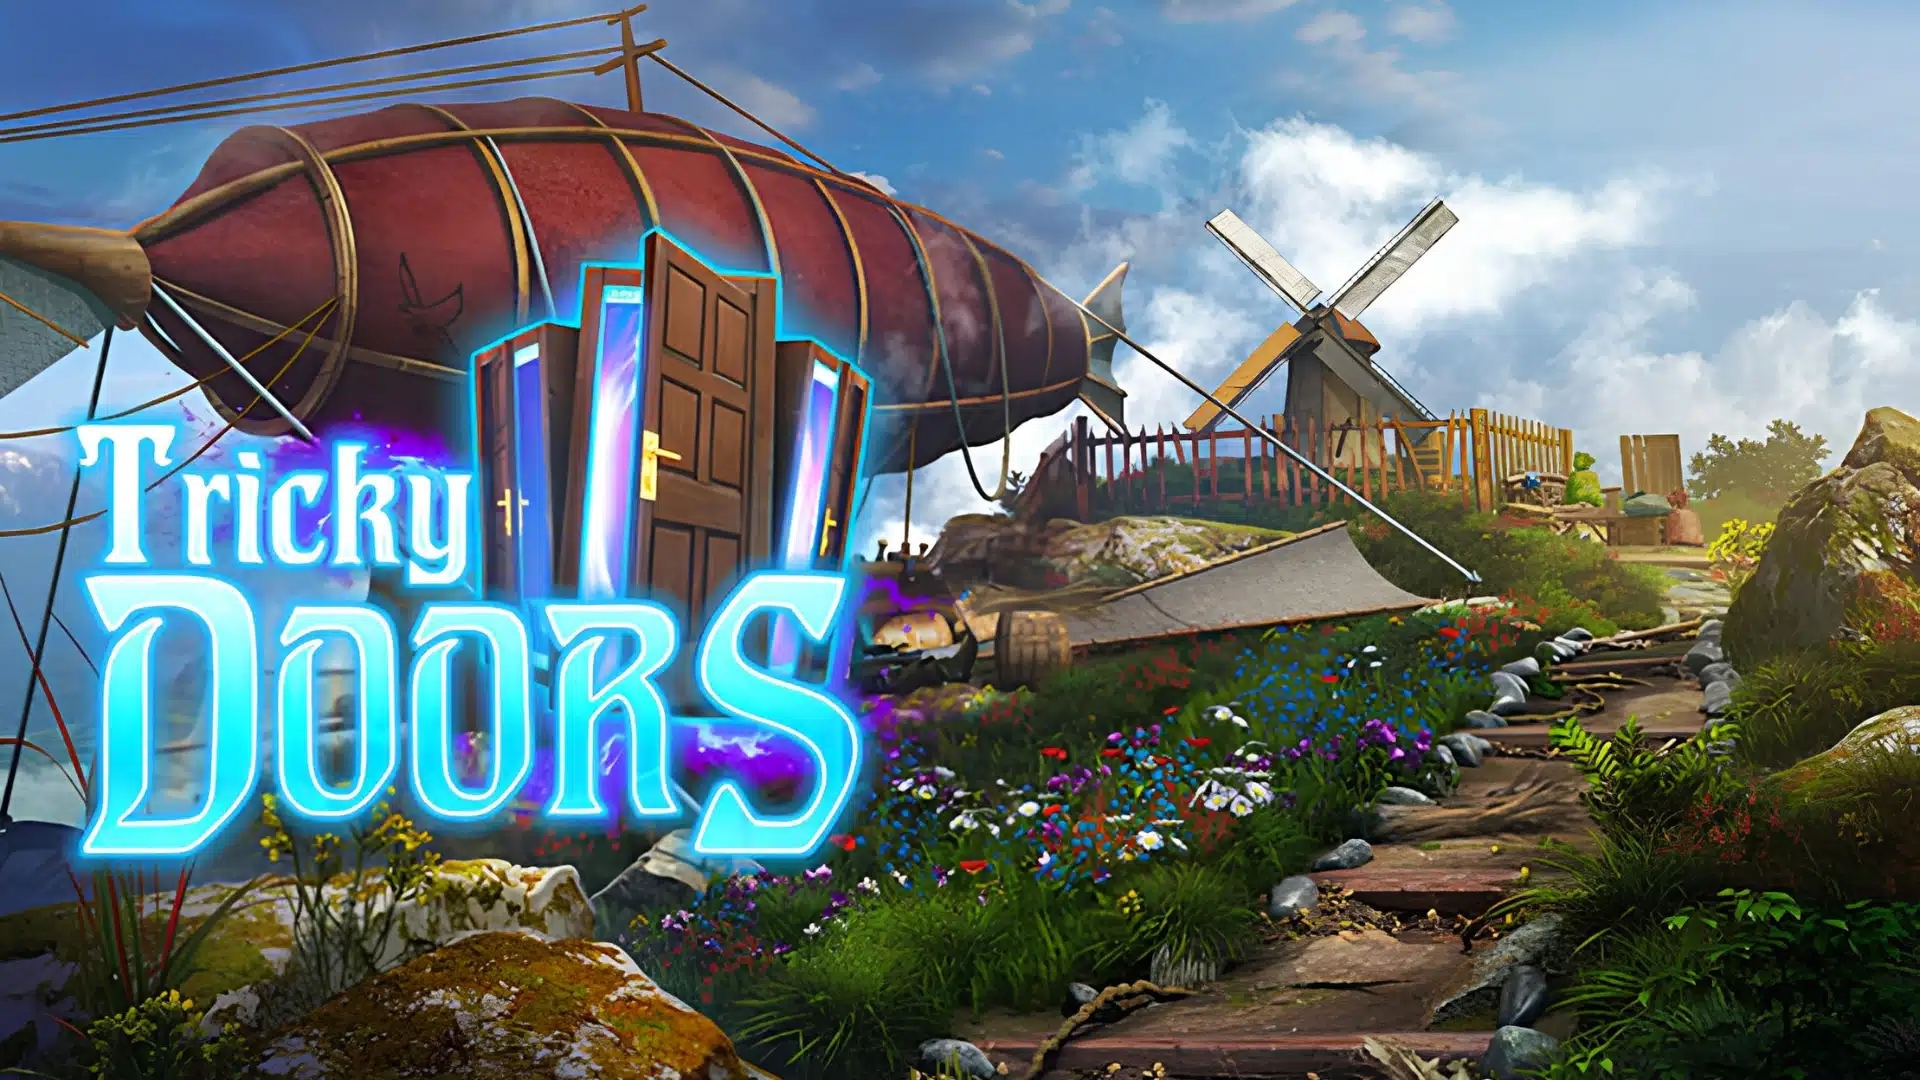
Getting stuck in Tricky Doors usually means one item, clue, or small interaction slipped past you.
That is part of what makes the game fun, but it can also make later chapters frustrating when one missed step blocks everything else.
This Tricky Doors walkthrough is built to help you move level by level without wasting time tapping every object on screen.
You can follow the full order from the first chapter or jump straight to the level causing trouble.
Each section focuses on the key items, puzzle steps, and progress points you need to keep moving through the game.
Tricky Doors Walkthrough for All Levels
Every level in Tricky Doors follows a simple chain: collect an item, use it in the right place, then follow whatever becomes available next.
The difficulty comes from spotting those connections, especially when an object picked up early does not become useful until several steps later.
The sections below keep each level in a clear sequence so you can see what leads into the next interaction without guessing.
You can work through the game from the beginning or jump directly to the level causing trouble.
Follow the order closely, watch your inventory, and recheck earlier areas whenever progress suddenly stops.
1. Magic World
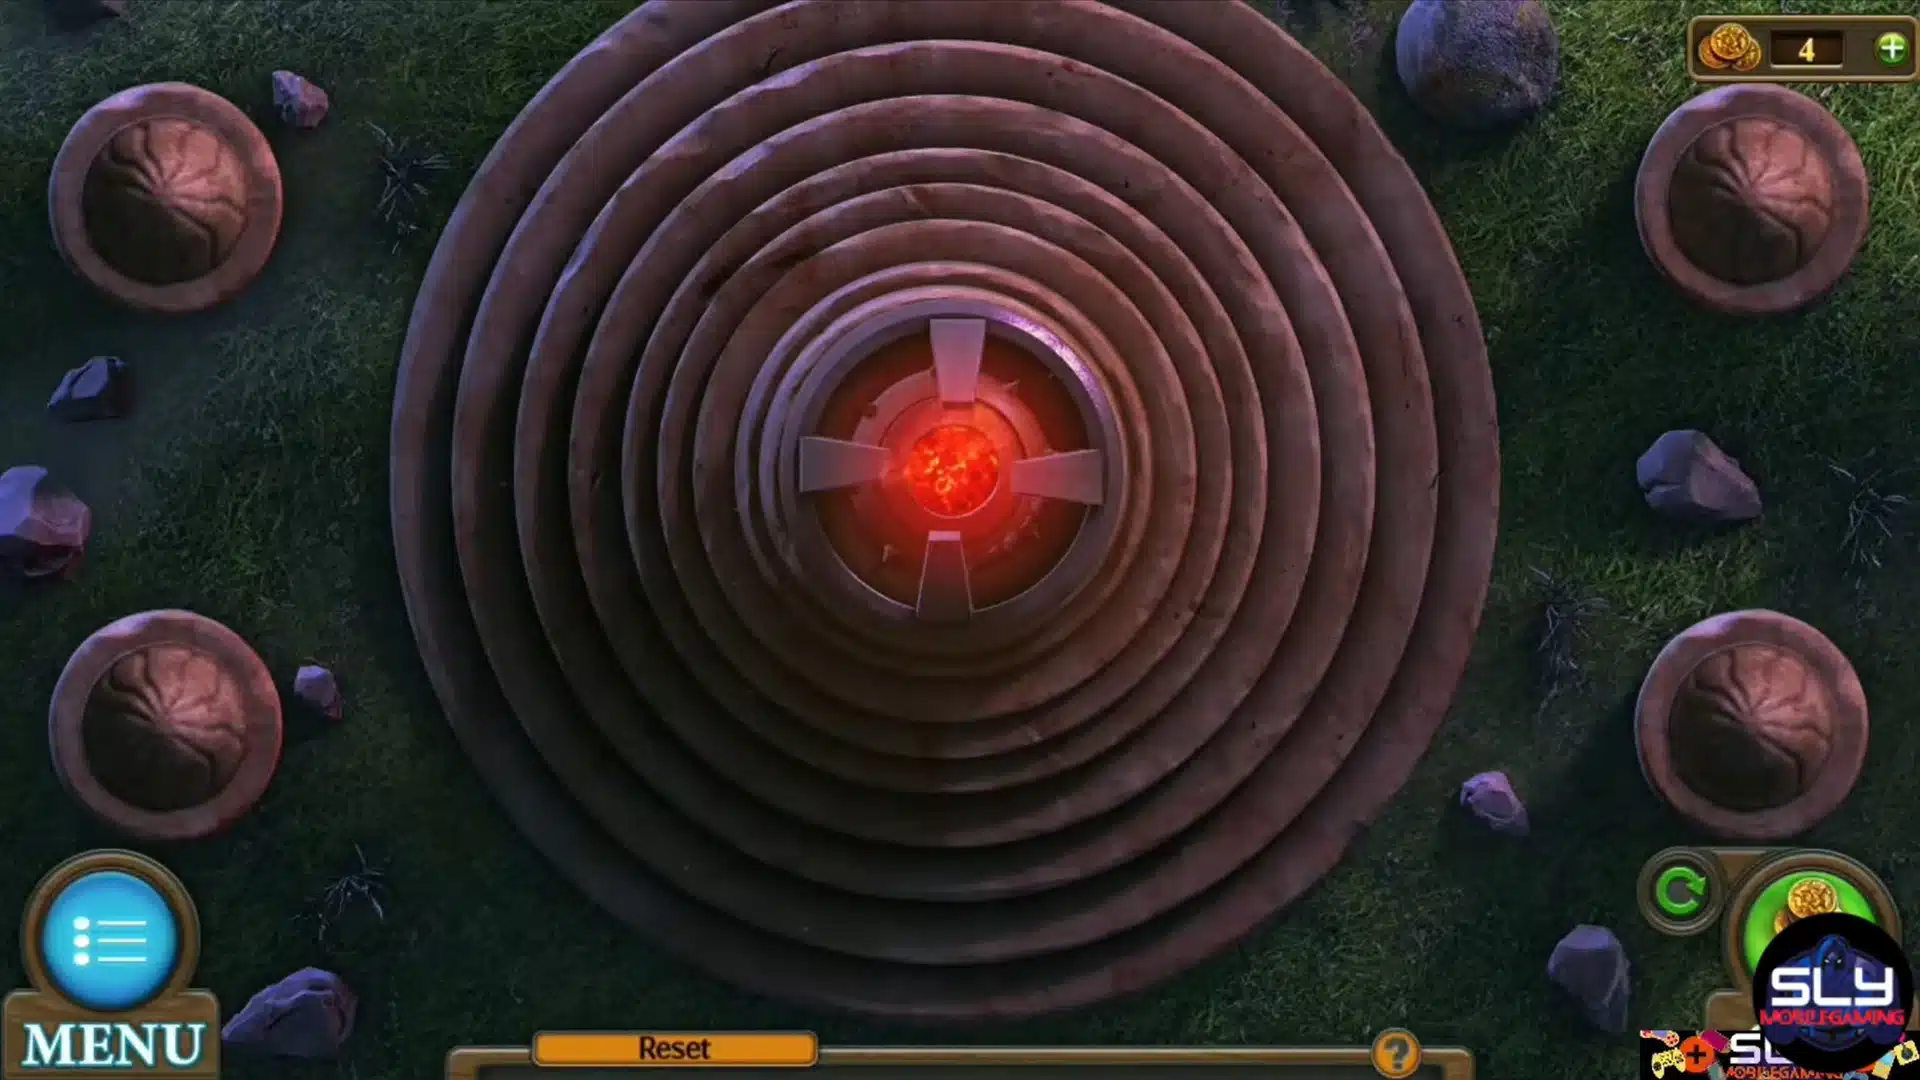
Magic World begins inside the dusty room. Pick up the candle, handle, key with balls, and broomstick.
Use the broomstick on the cobwebs to uncover another key, then continue searching for the keys required to open the trapdoor.
- Collect every key before focusing on the trapdoor.
- Inspect objects closely because several pickups appear only after zooming in.
- Keep following the item chain after leaving the opening room instead of trying later mechanisms early.
This first episode is a good lesson for the rest of the game: when progress stops, a small missed pickup is usually the reason.
If you like this kind of methodical, one step at a time guide, our Final Fantasy II walkthrough follows the same approach for a very different genre.
2. Secluded Island
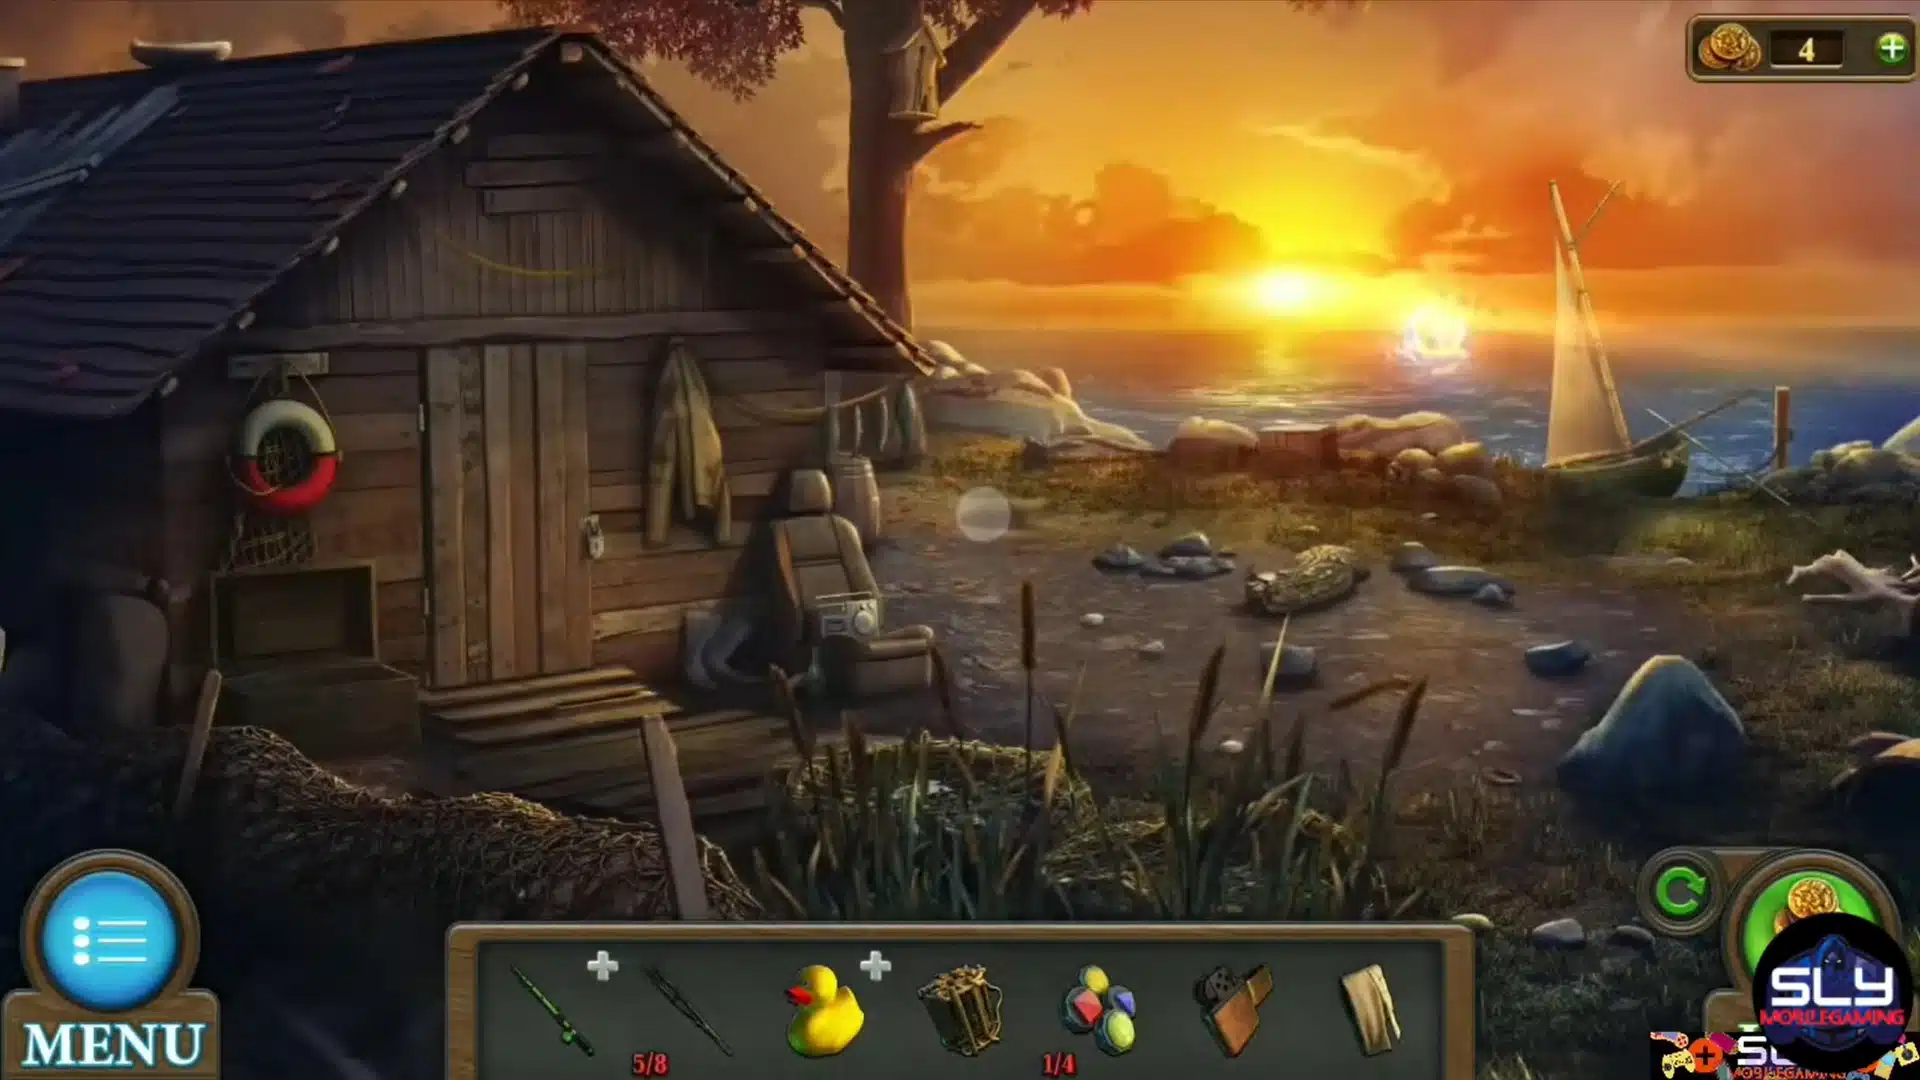
Secluded Island starts beside a broken boat, bridge, cabin, and distant ship. Begin at the red toolbox near the boat and collect the fishing rod.
The colored toolbox lock becomes useful later, so don’t waste time guessing its sequence right away.
- Search the shore before trying to leave the opening area.
- Save clues for locks you clearly can’t solve yet.
- Revisit the toolbox and other earlier objects after finding matching environmental clues.
I find this level easier when I separate “collect now” from “solve now.” Several objects appear before the clue that makes them useful.
3. Locked Apartment
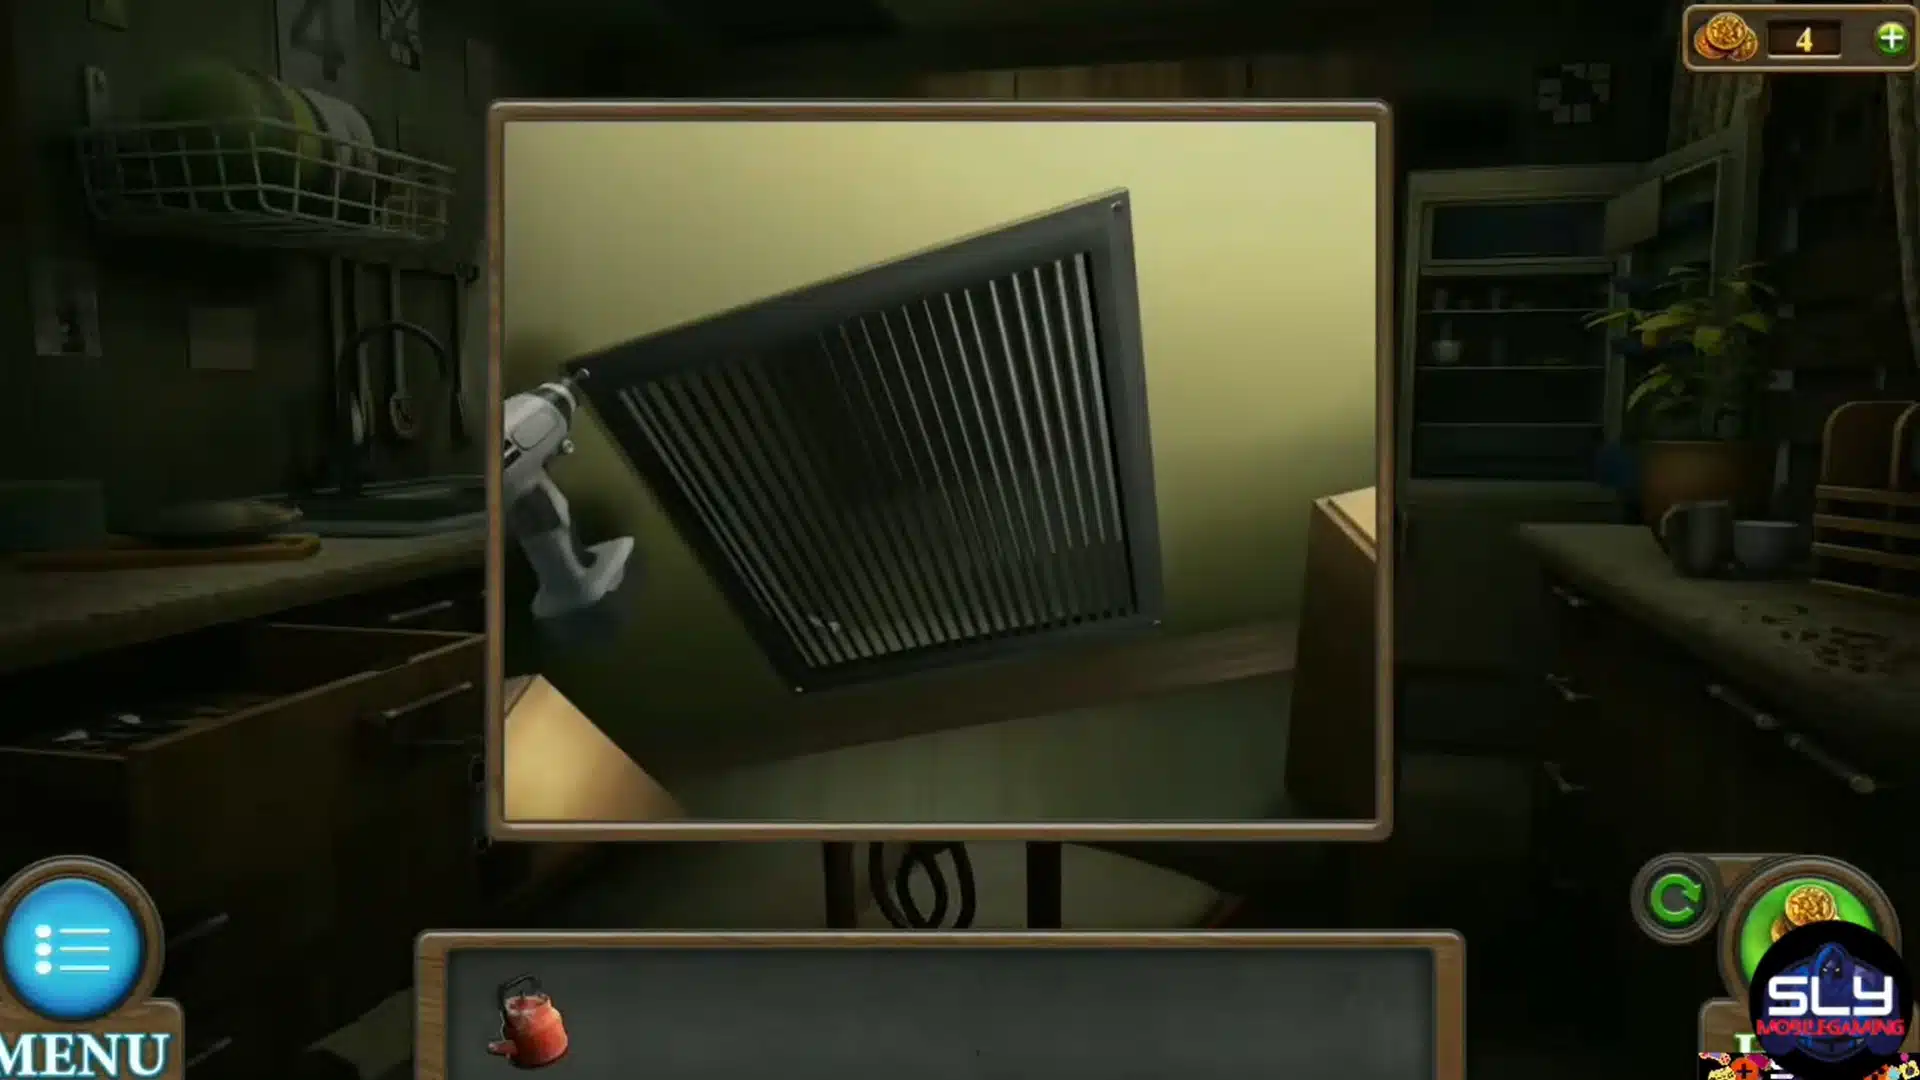
Locked Apartment begins in near darkness. Grab the feather duster and clean the light switch, then switch on the lights.
Collect the colored chip nearby before searching the illuminated apartment for sleeping pills, rope, another chip, a match, and other usable objects.
The level eventually connects several larger tasks:
- Complete the sliding lock mechanism.
- Restore the electrical system with the fuse and rubber gloves.
- Gather the colored chips.
- Deal with the dog before accessing areas it blocks.
Do not rush toward the exit. Most of the apartment has to be cleared methodically before the later safe and garage sequences make sense.
4. Floating Islands
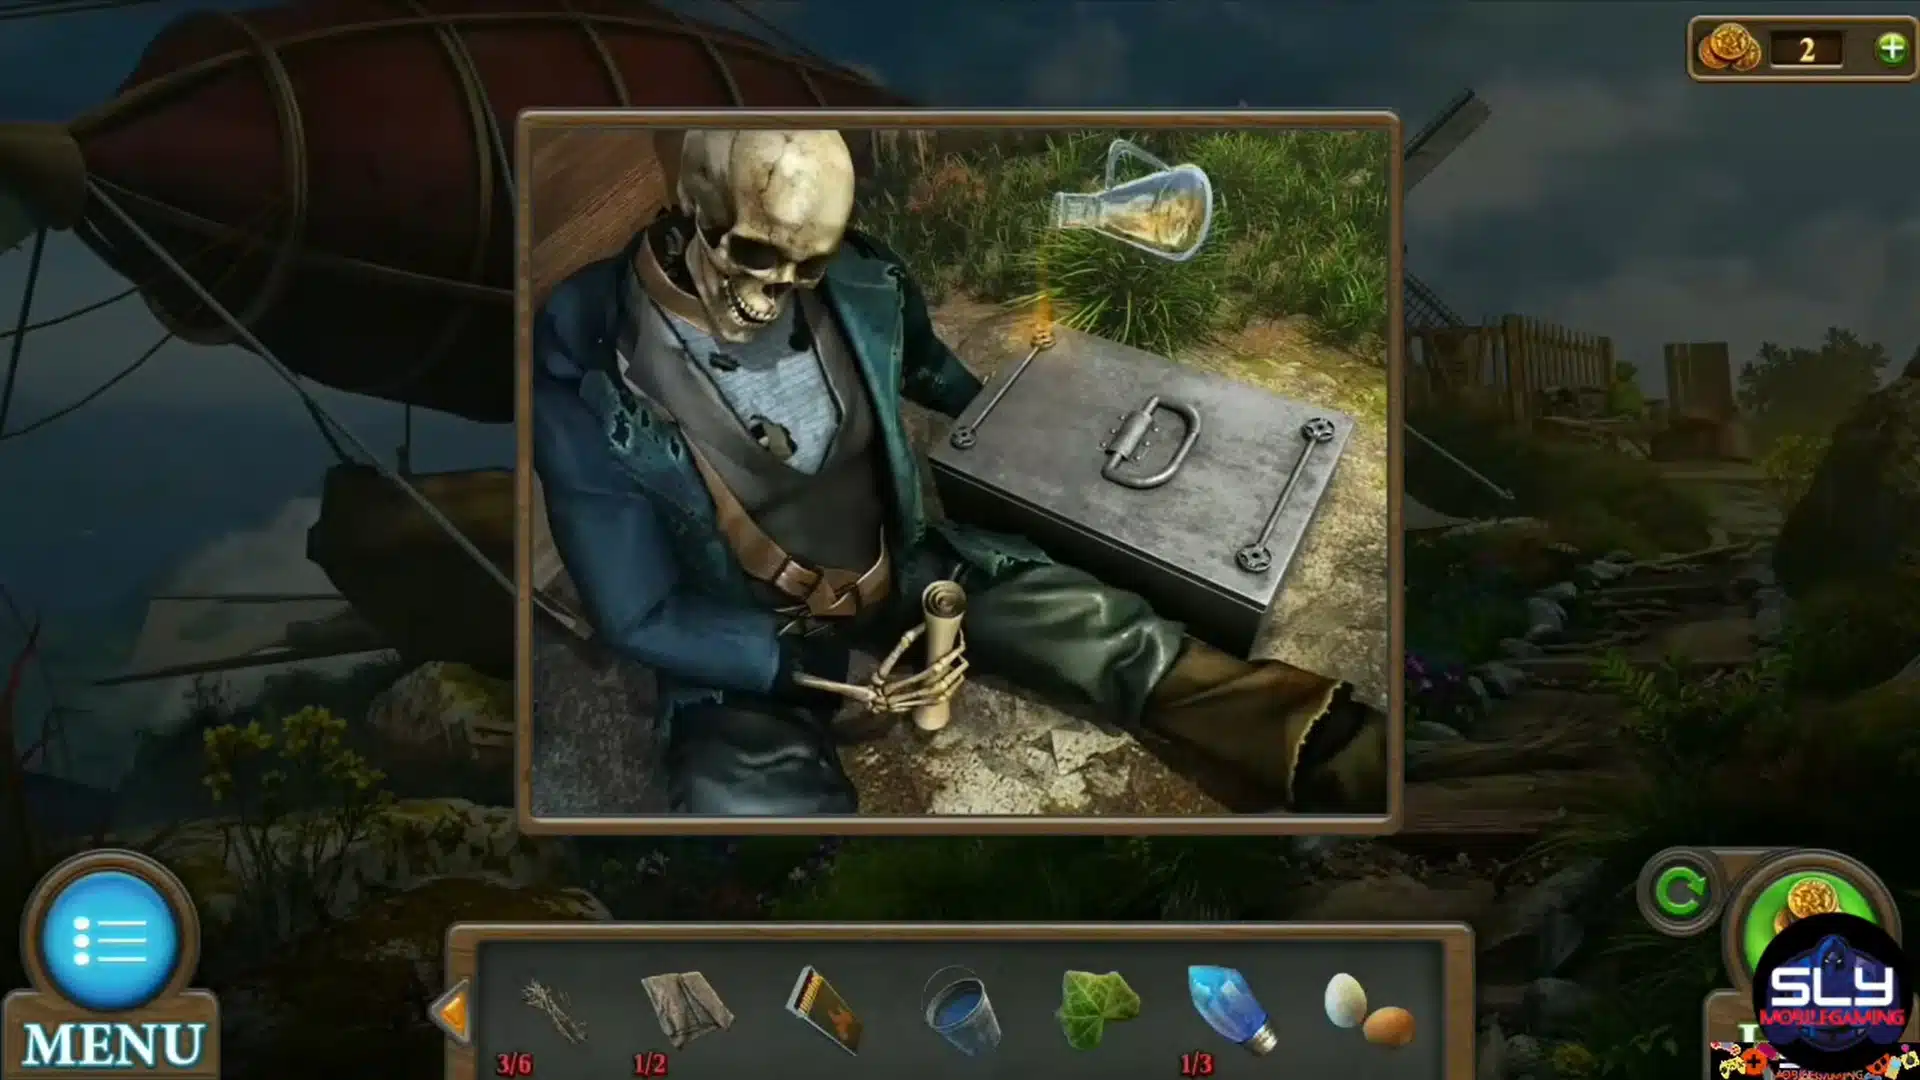
Floating Islands starts with a hook, knife, handle, wire, shackle, and several pieces of brushwood.
Sharpen the knife on the grindstone, cut the swing rope, combine it with the hook, and use the new tool to reach the second island.
From there:
- Blow up the rock to uncover water.
- Plant and water the magical beans.
- Collect three crystals.
- Repair the windmill and grind grain into flour.
- Bake the bread in this order: water, bean leaf, blue flowers, eggs, flour.
- Set the bird puzzle to 2, 3, and 4.
Place the bread on the final mechanism to summon the fire bird and finish the level.
5. Amusement Park
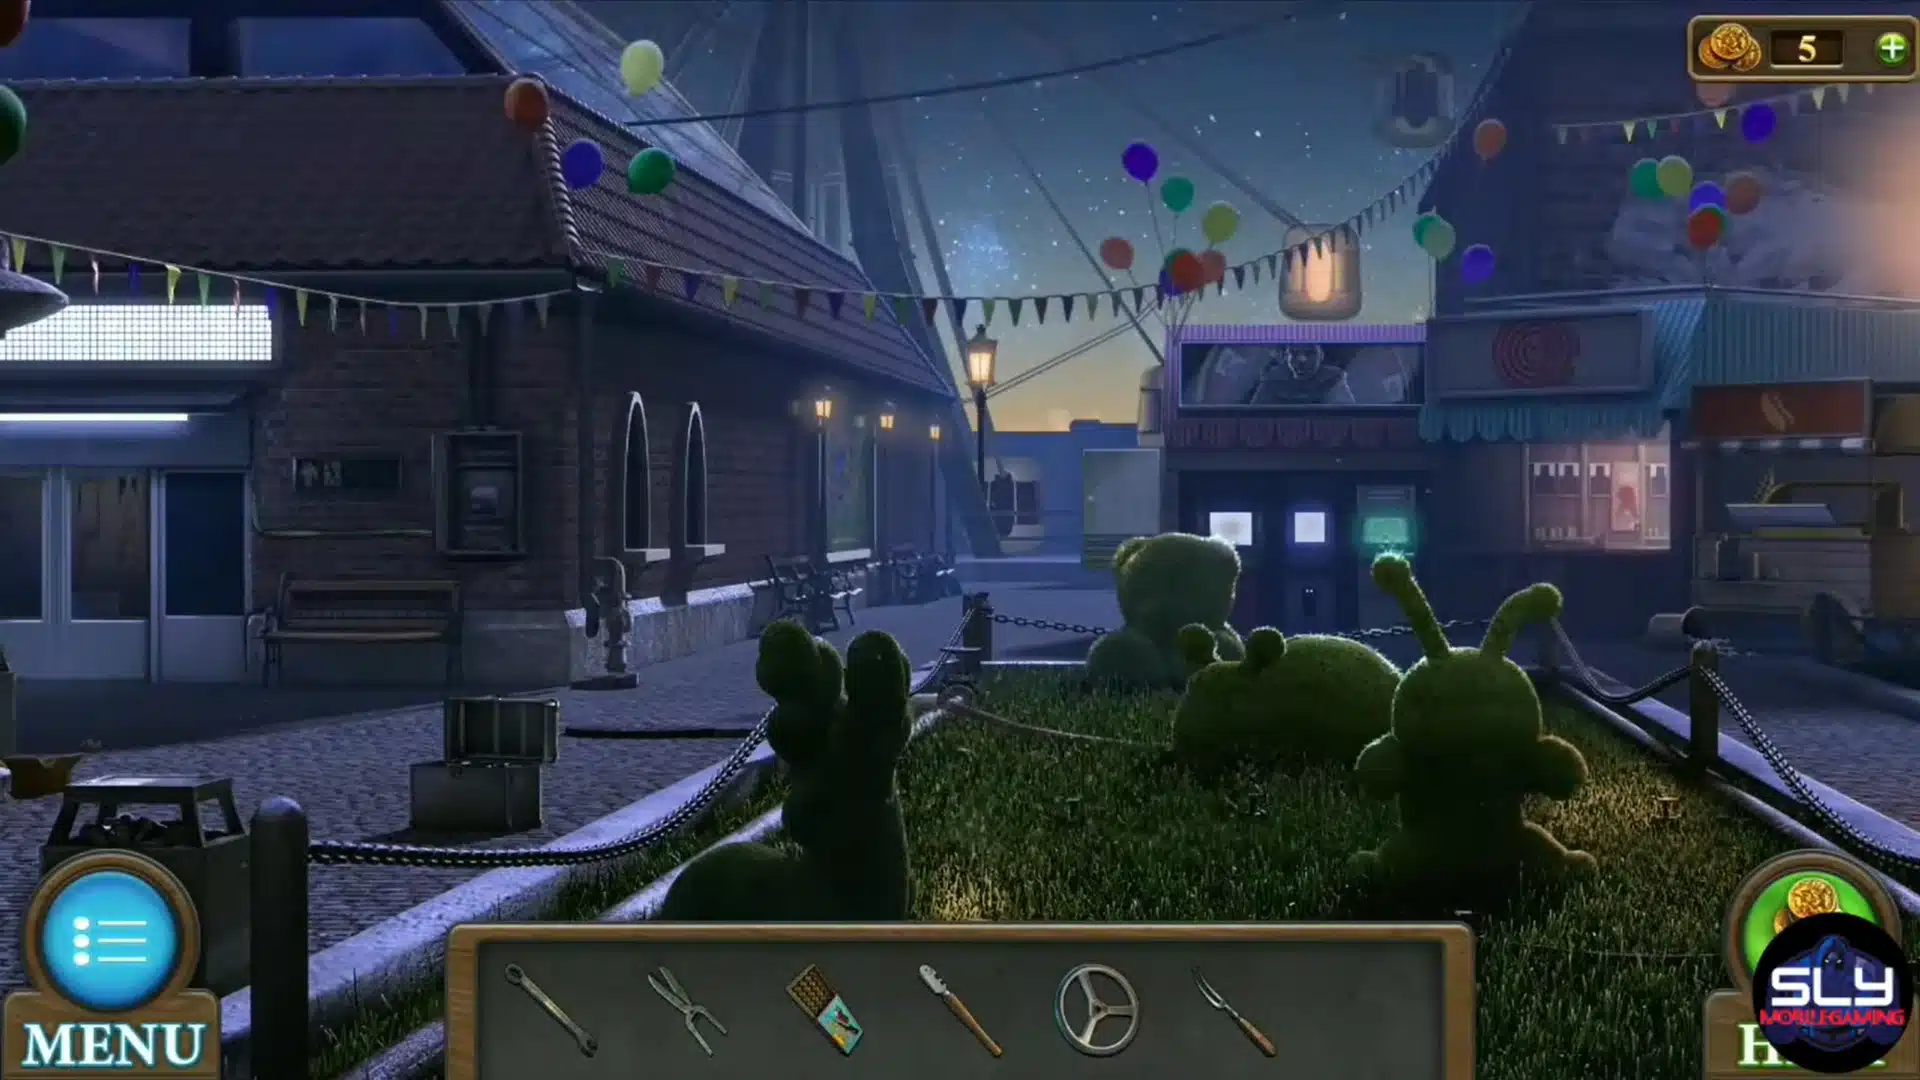
Amusement Park is longer because puzzles spread between the entrance, rides, hallway, and office. Start by collecting the grill fork, cartridges, glass cutter, valve, and keychain.
Repair the wheel’s electrical connection to power the carriage. Keep these checkpoints in mind:
- Load the gun and complete the shooting memory game.
- Use the hallway clock for the radio puzzle.
- Enter red, yellow, blue, green on the safe.
- Use 5286 for the circuit board puzzle.
- Boil water to reveal 374 on the window.
- Collect all four chips.
Place the four chips in the final wall panel and complete its light puzzle to open the exit.
6. Museum
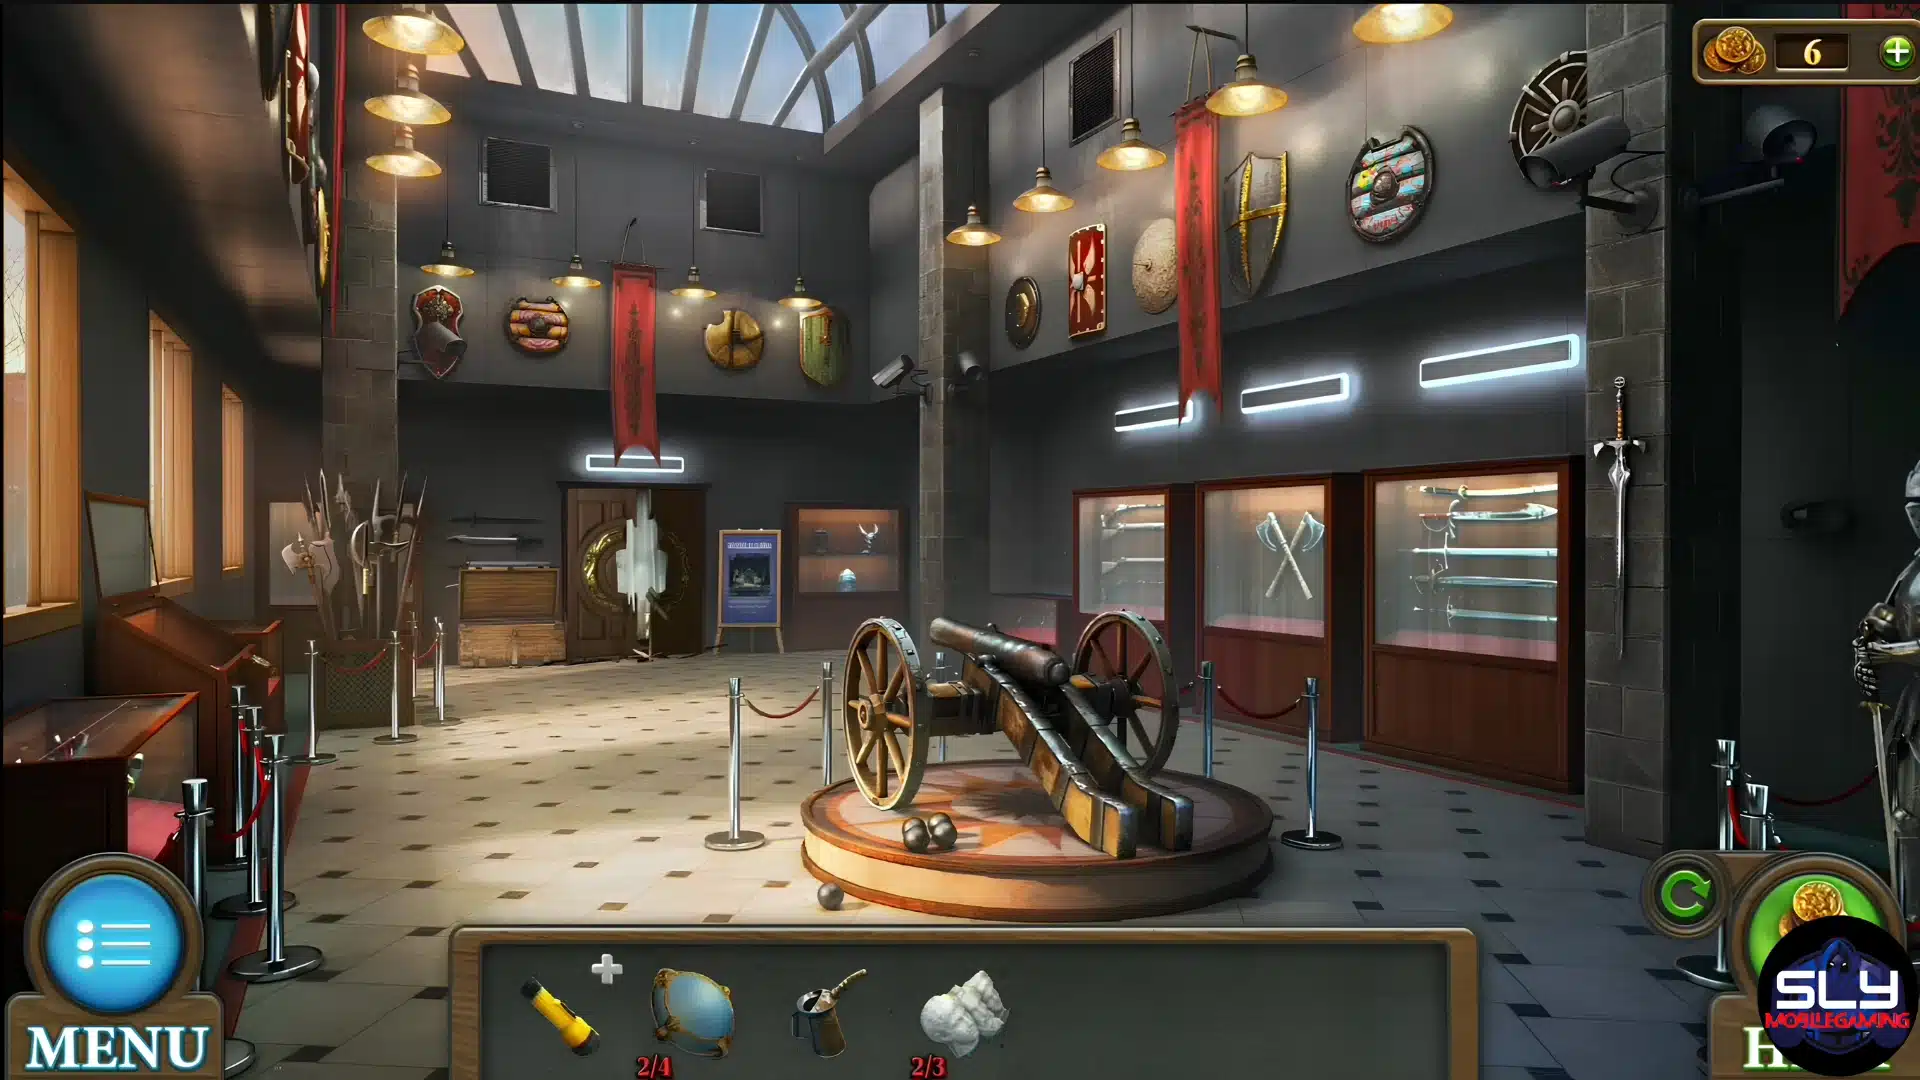
The museum opens inside the security office. Collect two planks, the screwdriver, the clip, the flashlight, and the cloth. Combine the screwdriver and clip at the locked locker to begin the lock-picking puzzle.
The larger route involves:
- Escaping the security area.
- Tuning radios for clues.
- Arranging historical figures correctly.
- Operating the cannon.
- Reassembling statues.
- Completing the final knob mechanism.
The part I would watch most carefully is item reuse. Several early tools continue to matter after leaving the office, so do not assume an object has finished its job just because one puzzle accepted it.
7. Hospital
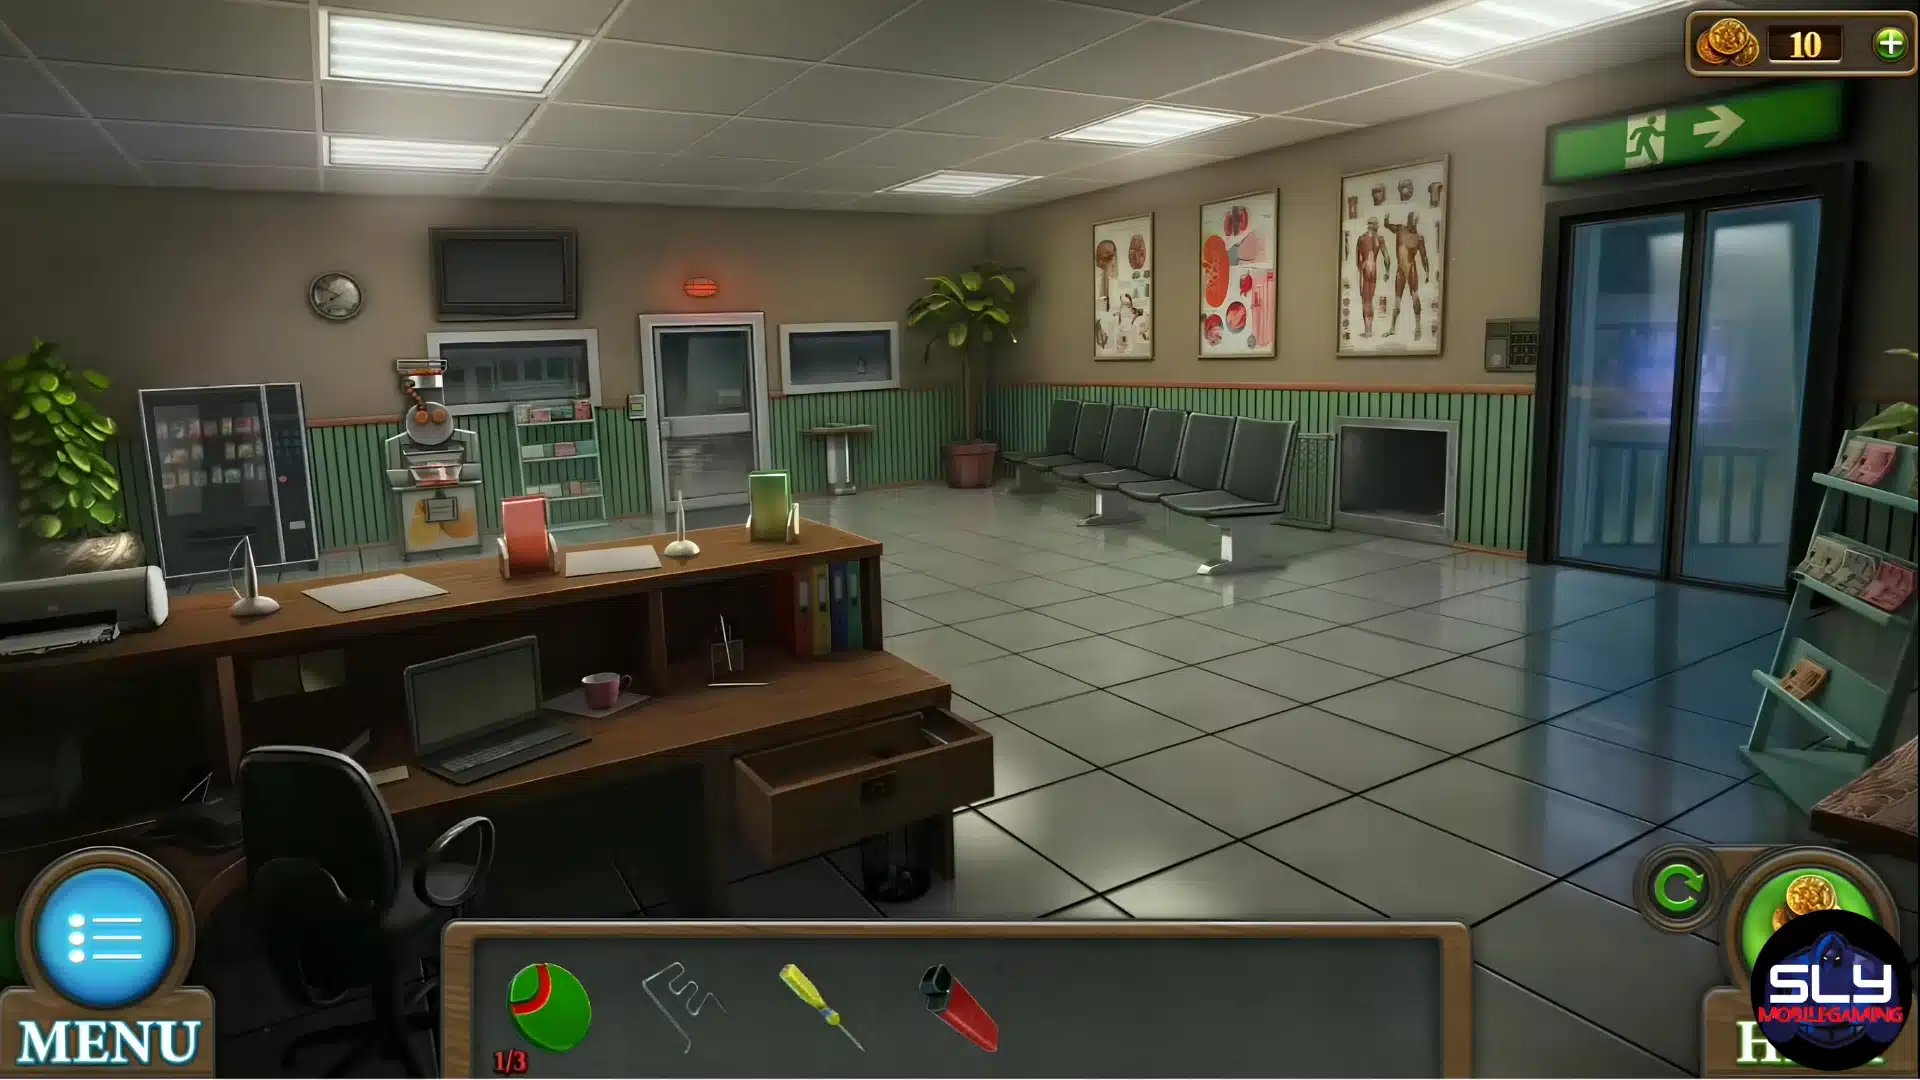
Hospital starts beside the patient. Collect the cord and desk handle, then take the scalpel and ammonia from the tray.
Cut the stitched chair to retrieve the second handle and install both handles on the locker. The locker codes can vary, so copy the values shown in your own game.
Later progression revolves around:
- Collecting three tokens.
- Solving medical and path puzzles.
- Preparing medicine for the werewolf patient.
- Assembling required cards.
- Following the word clues that reveal the exit code.
If a fixed number from another walkthrough fails, check the nearby clue first. This episode uses player-specific values in places.
8. Theater
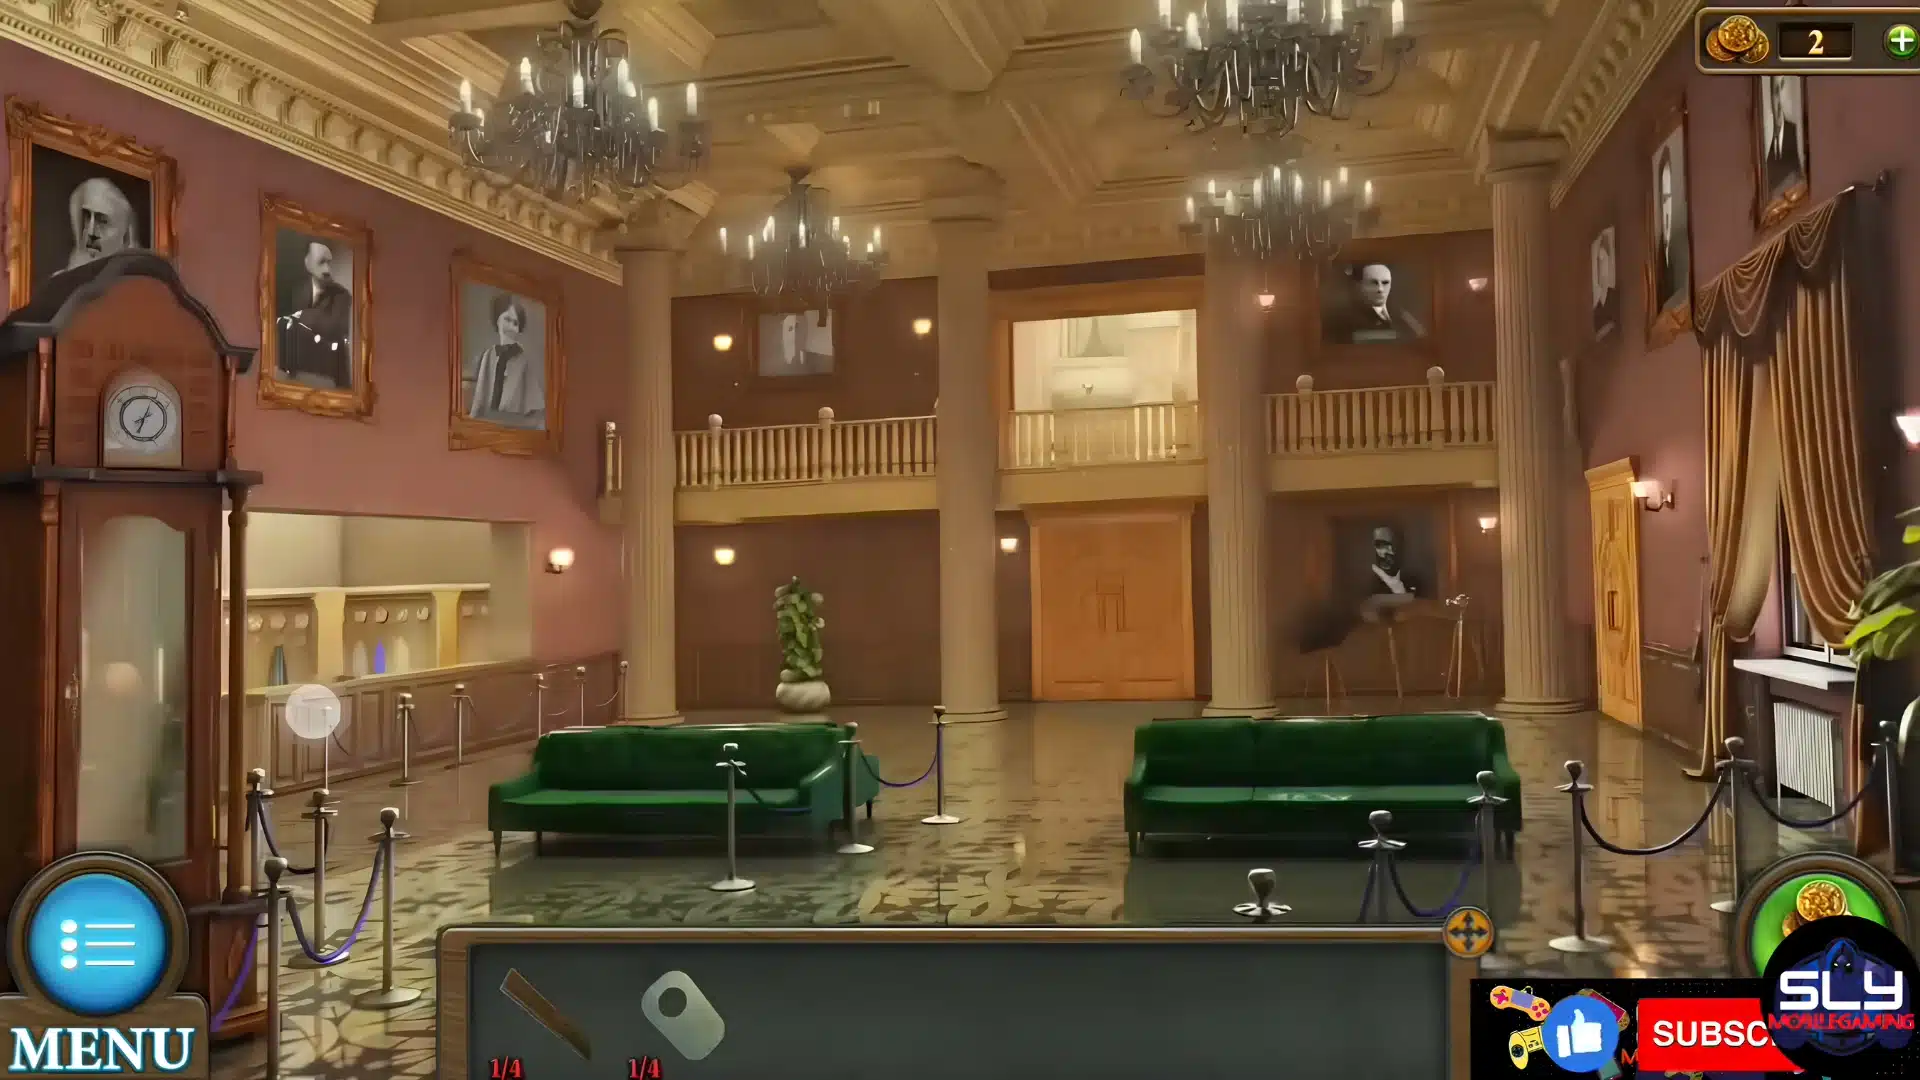
Theater opens in the foyer. Collect the first porcelain mask from the counter, take the handle from the jacket, then grab the tag and plank near the sofa.
Install the handle on the window and collect the key outside. Use that key on the grandfather clock to get the second porcelain mask.
Put both masks on the foyer doors and solve the green chip puzzle. After entering deeper areas:
- Build the tools needed to reach inaccessible objects.
- Work with stage machinery and sandbags.
- Read codes from scenery.
- Collect and correctly arrange the metal masks.
This level rewards checking the stage after every mechanical change.
9. Antique District
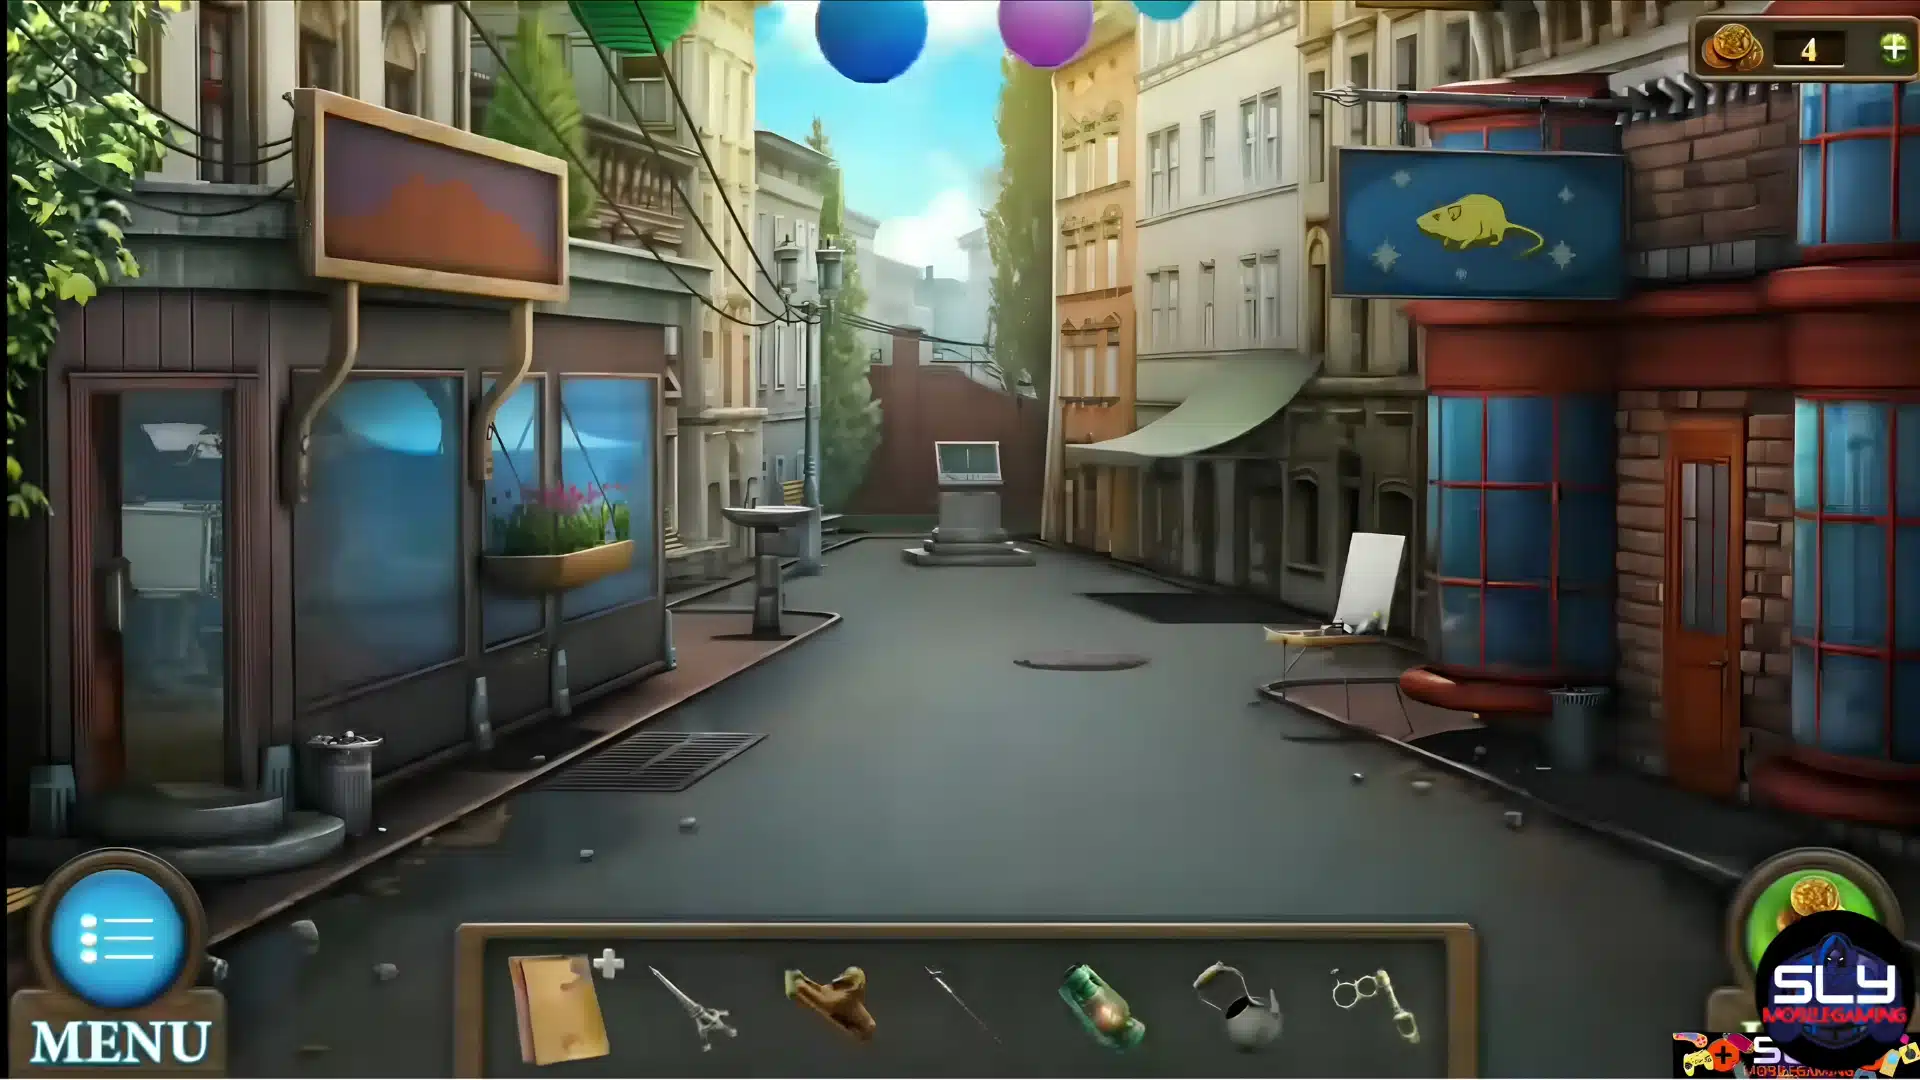
Antique District begins on the street. Take the palette and screwdriver from the easel, then collect the handle from the hanging flowerpot.
Use the screwdriver to remove the flowerpot bars, then bend the metal bar on the drain into a hook. Use that hook to retrieve the keys and begin opening the surrounding buildings.
The remaining route mixes several different puzzle types:
- Pipe manipulation
- Color mixing and magical flowers
- Gramophone use to calm snakes
- Landmark placement on a map
- Landscape painting from visual clues
I would keep the palette clues nearby because color relationships become more important later.
10. Train
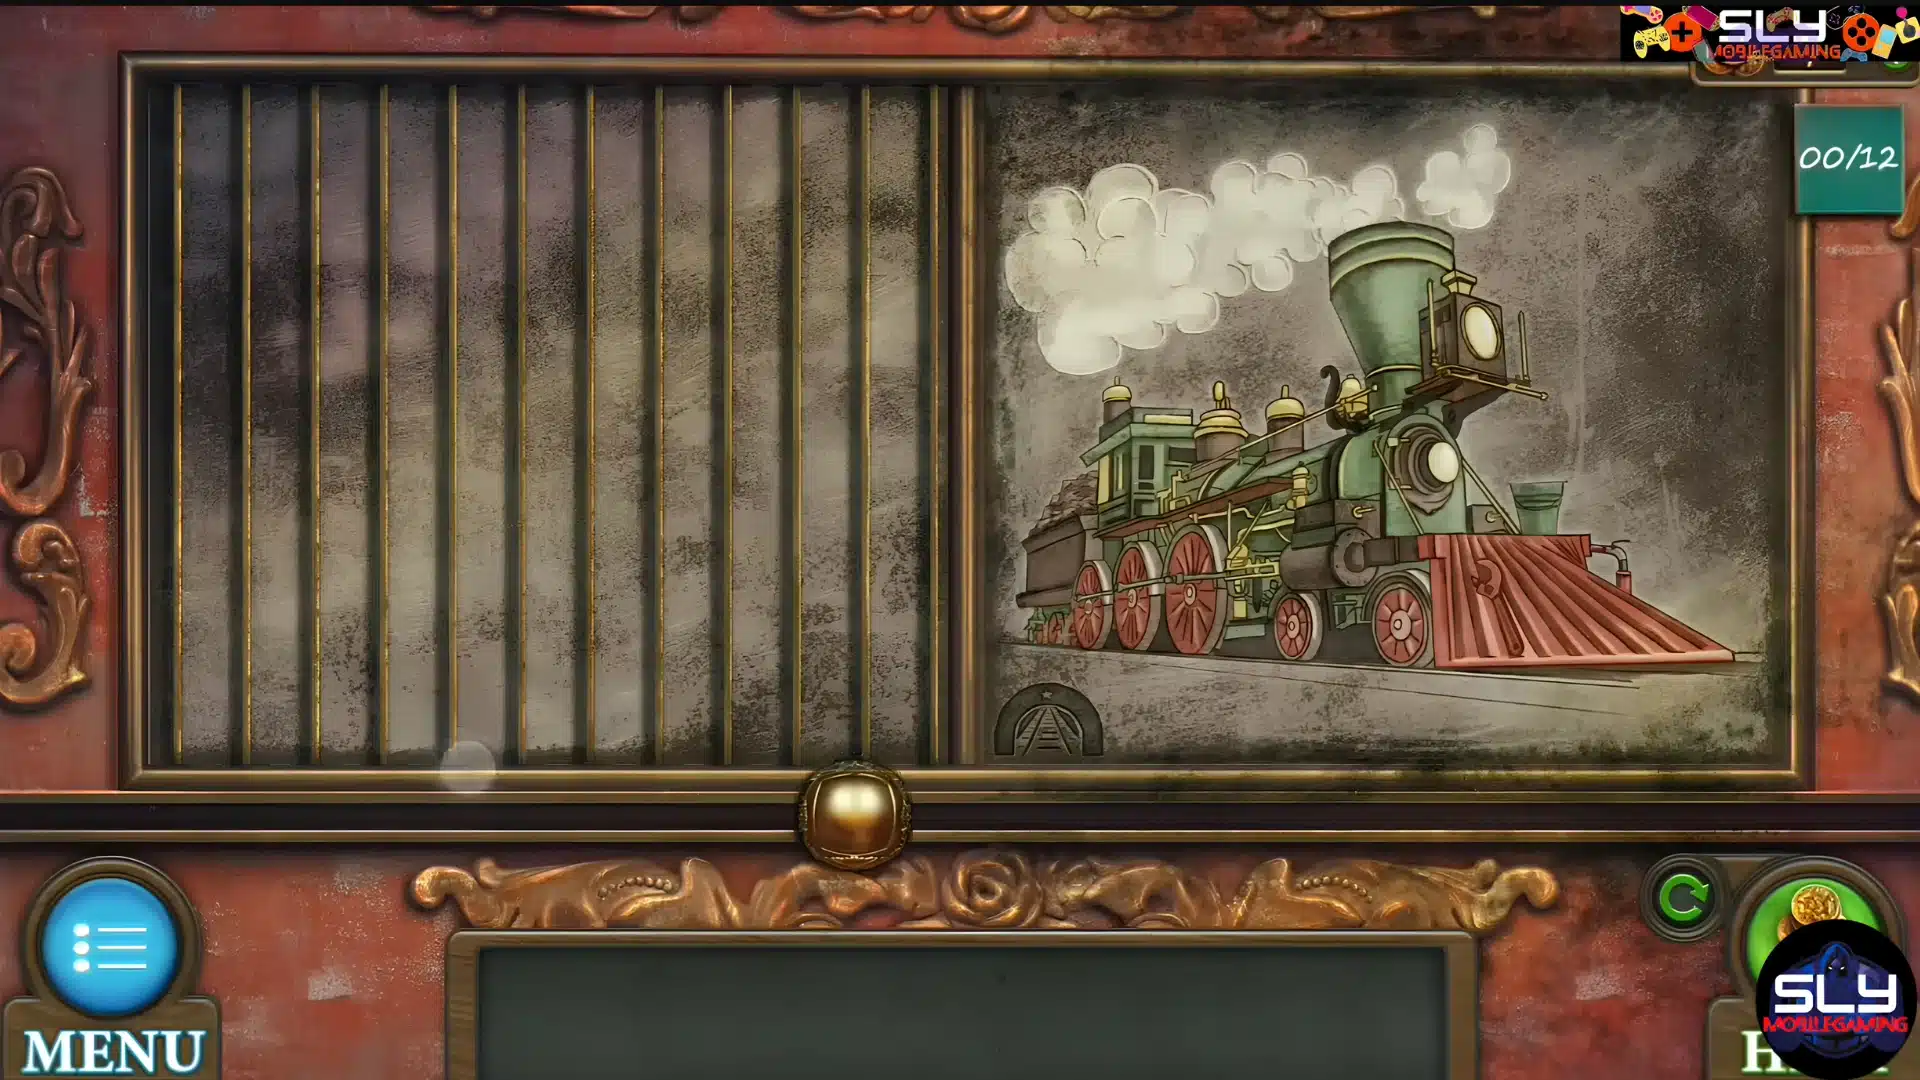
Train begins in the corridor. Pull down the curtain and collect the first chip plus the curtain rail.
Use the rail on the ceiling light to knock down the second chip, then place both chips into the wall panel. Solve the signal block puzzle to open the passenger compartment.
From there:
- Collect the handle, candle, spoon, and later tools.
- Complete the color and observation puzzles.
- Restore the train mechanisms.
- Assemble the required track elements.
- Reach the boiler and control systems.
Your final objective is not another door. Complete the mechanical sequence and pull the brake lever to stop the train.
11. Circus
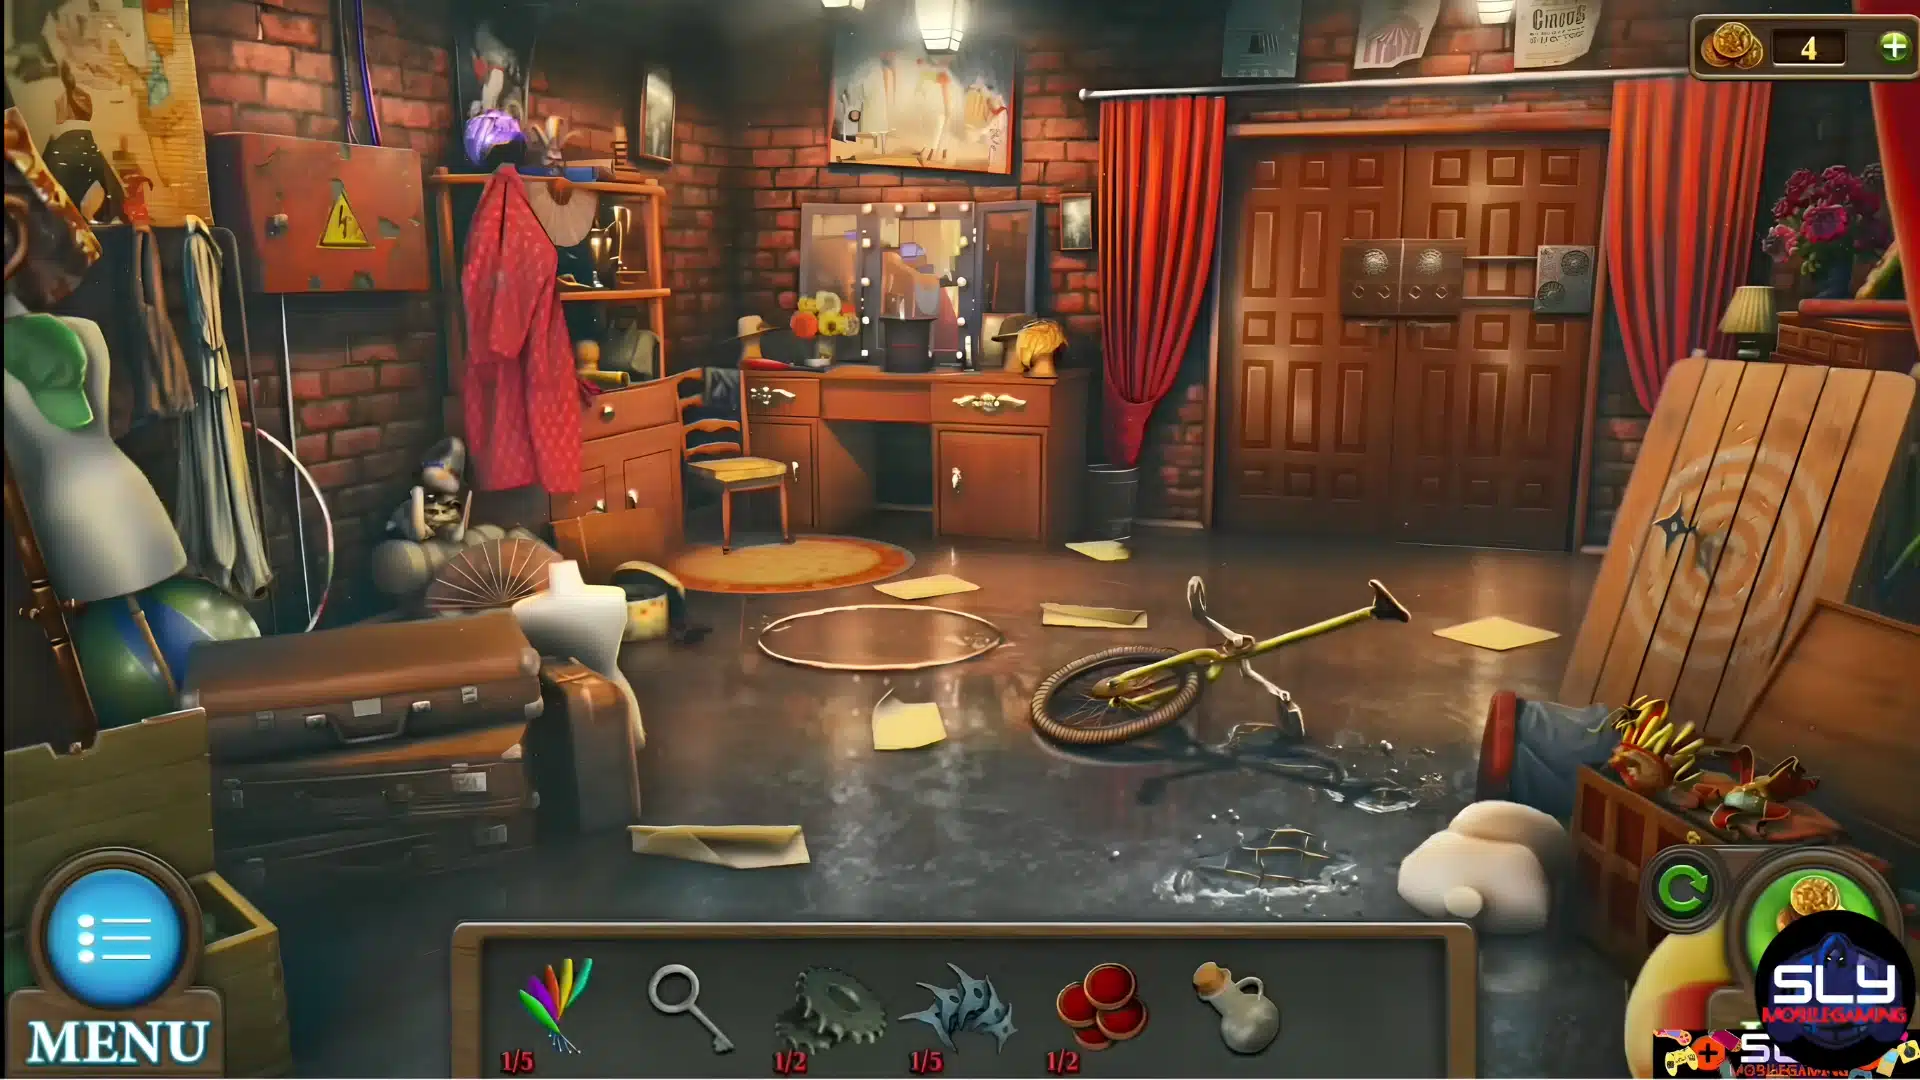
Circus begins inside the ring. Pick up the first club from the animal cage and the first shuriken near the drum kit. Take the key from the blue box and head backstage.
Open the brown case with the key and solve its disk puzzle. You will receive a saw handle and wrench, which start another chain of interactions.
Watch for:
- Five clubs
- Five shuriken
- Two gears
- Switchboard and gear mechanisms
- Token matching puzzles
- Chip arrangement puzzles
The juggling equipment becomes part of progression later. Completing the backstage mechanisms eventually opens the doors required to escape.
12. Mars
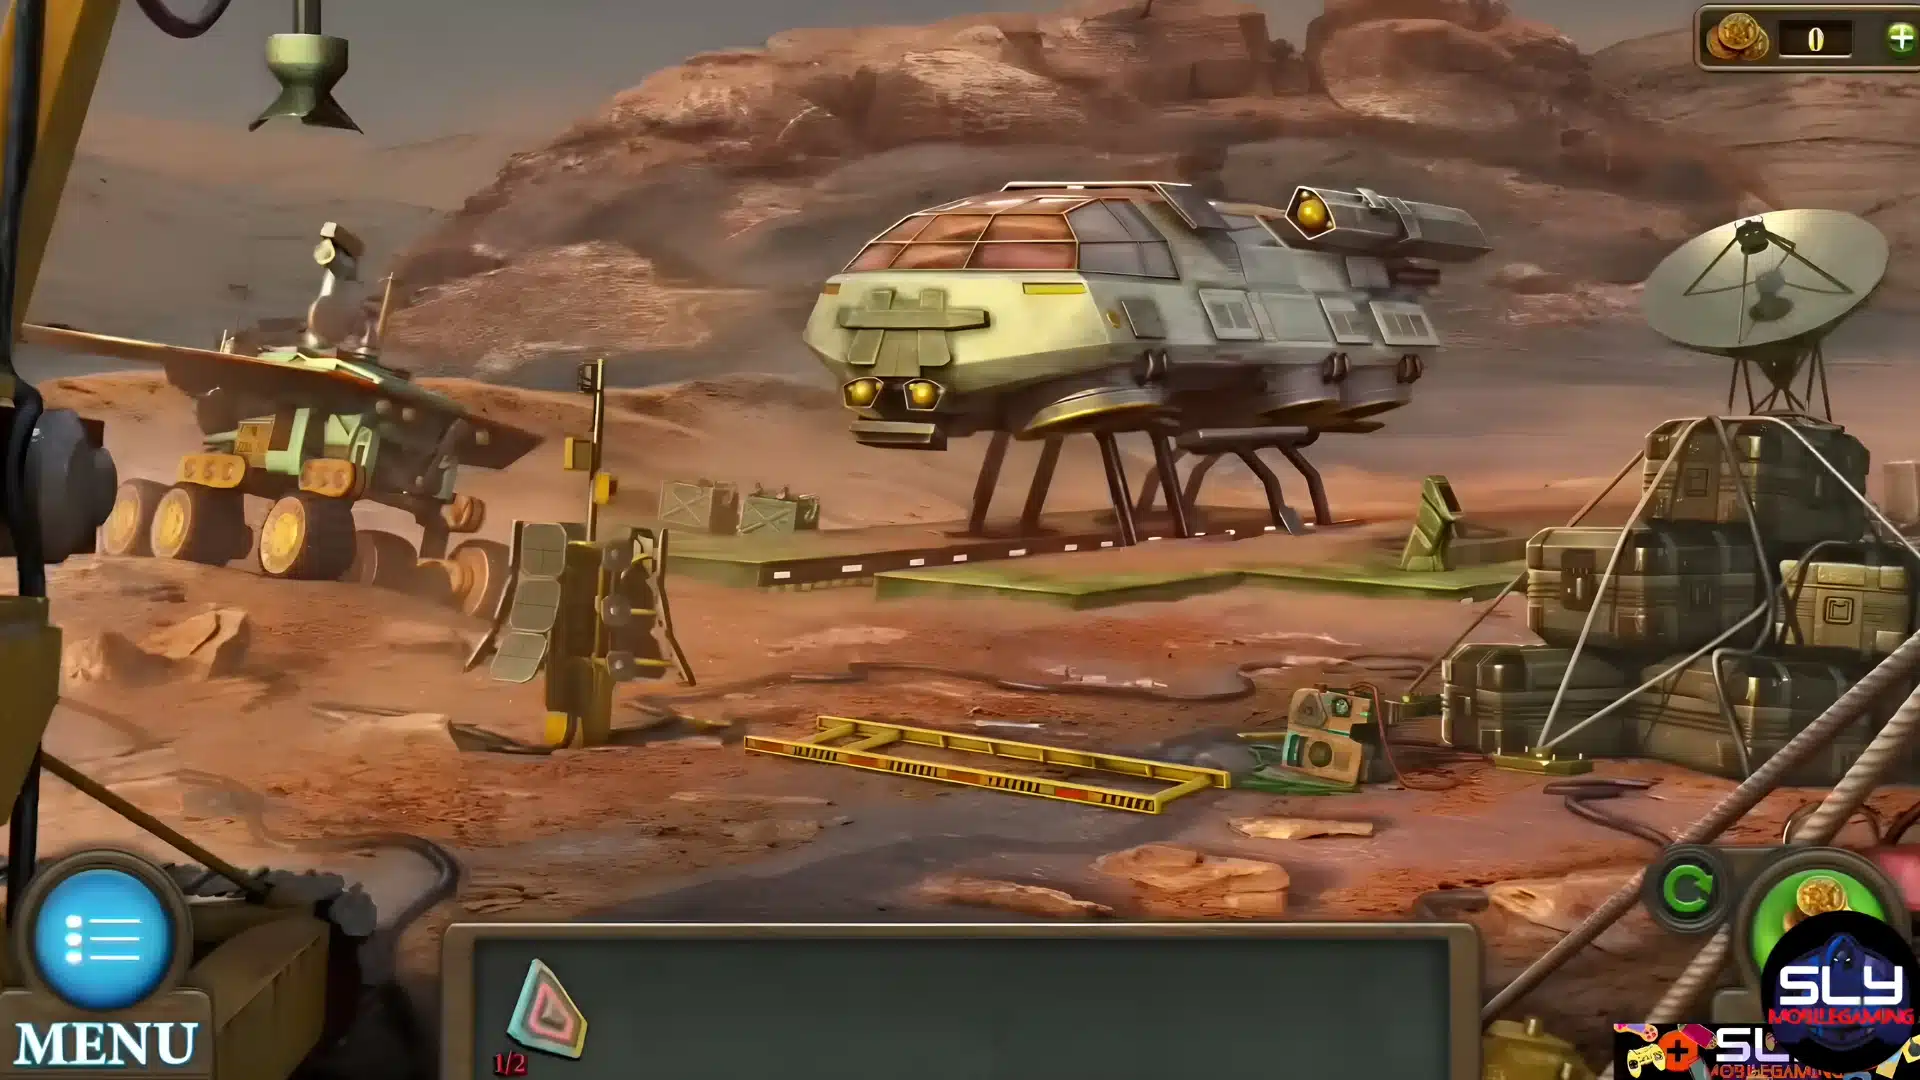
Mars begins inside an abandoned station. Collect the chip from the blue box, the paperclip from the papers, and the small detail nearby.
Put the chip into the box and solve the slider puzzle. The slider positions can vary, so solve it against the red line shown in your game.
After receiving the screwdriver and rubber glove:
- Open the lower panel.
- Safely remove the fuse.
- Restore station systems.
- Solve beam reflection and color puzzles.
- Complete the mathematical and number puzzles.
- Assemble the ladder.
- Use the station equipment to produce the steering wheel.
Once the required systems are restored, complete the escape procedure to leave Mars.
13. Vampire’s Castle
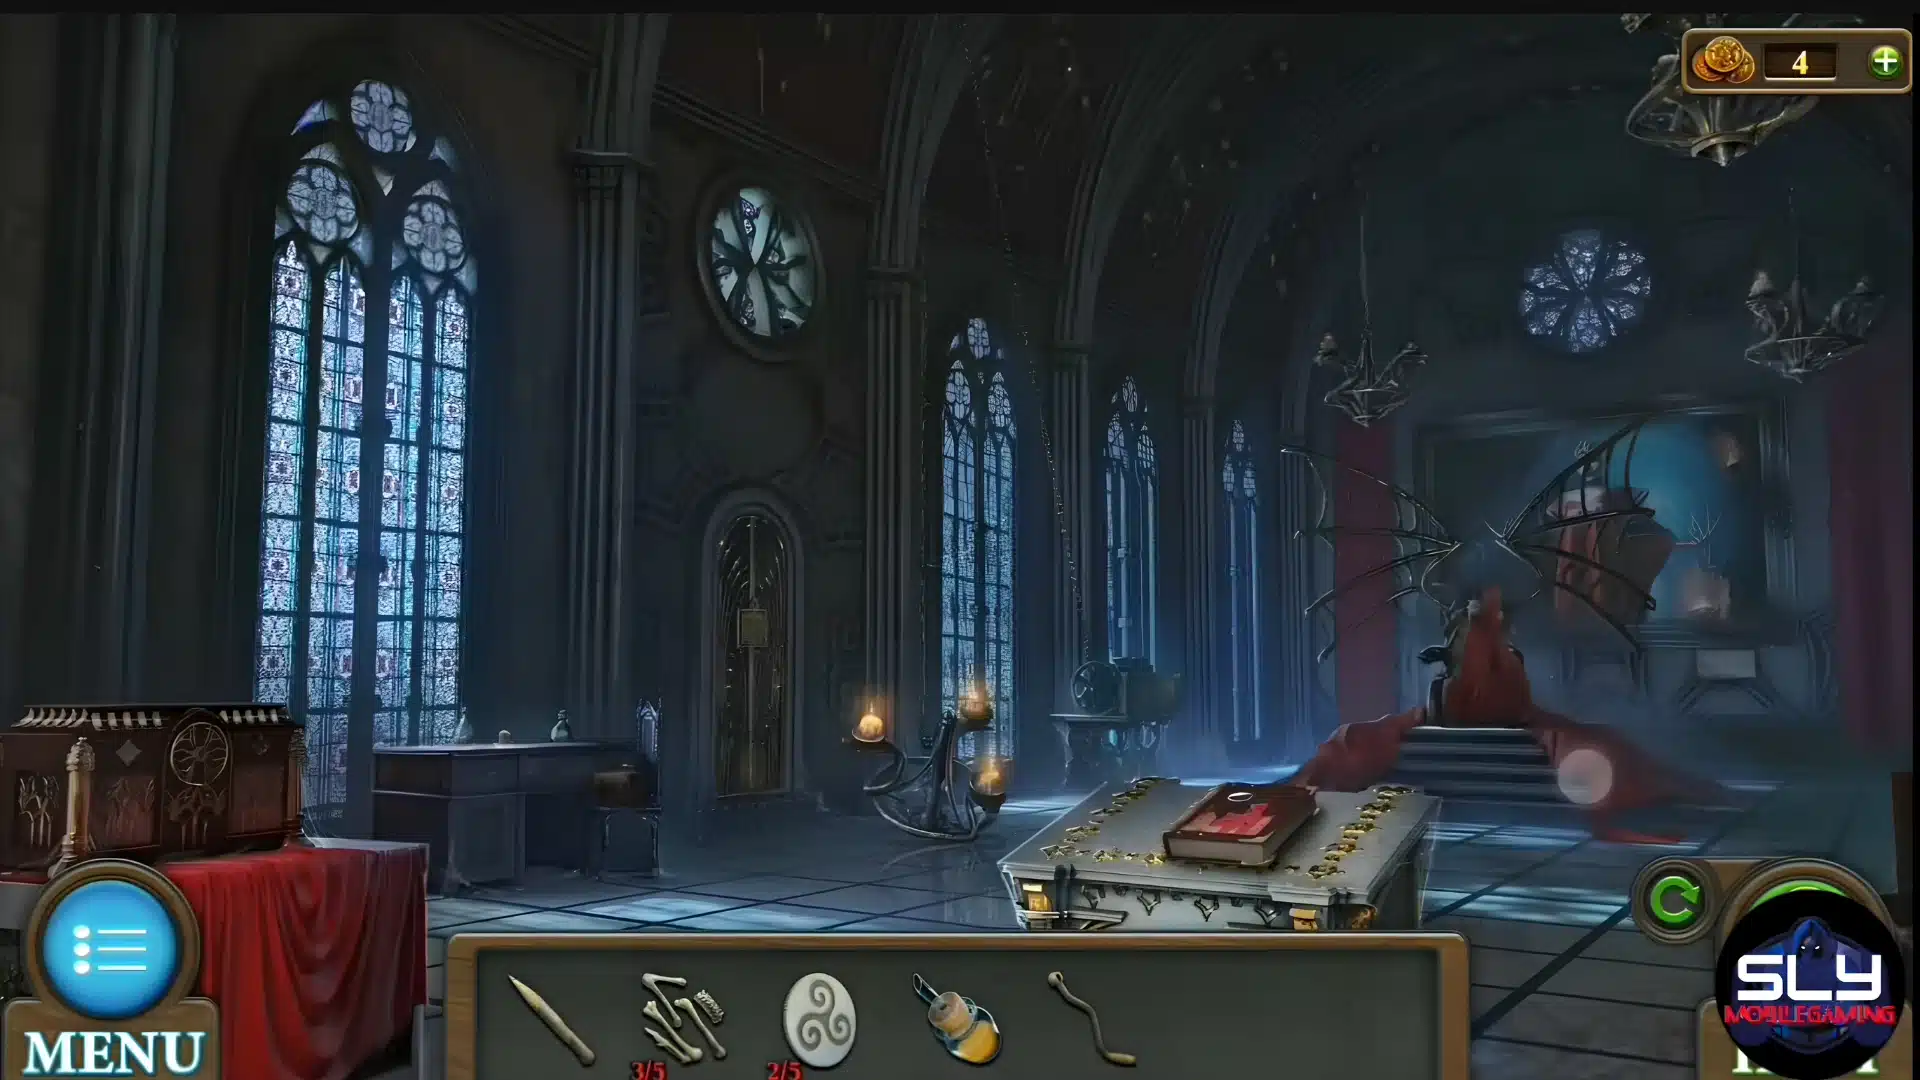
Vampire’s Castle starts in the cemetery. Take the axe from the tall gravestone and collect the skull figurines nearby. Cut the thorny bush to reveal the vampire clue, then use the axe on the tree to obtain an aspen stake.
Continue collecting bones, silver coins, and the items needed to enter the castle and crypt.
Later priorities are:
- Prepare the aspen stake correctly.
- Create the magic key.
- Complete the castle mechanisms.
- Reach and defeat the vampire.
- Obtain the ruling staff.
- Use the staff during the final bat sequence.
Do not approach the vampire until the stake preparation chain is complete.
14. Santa’s House
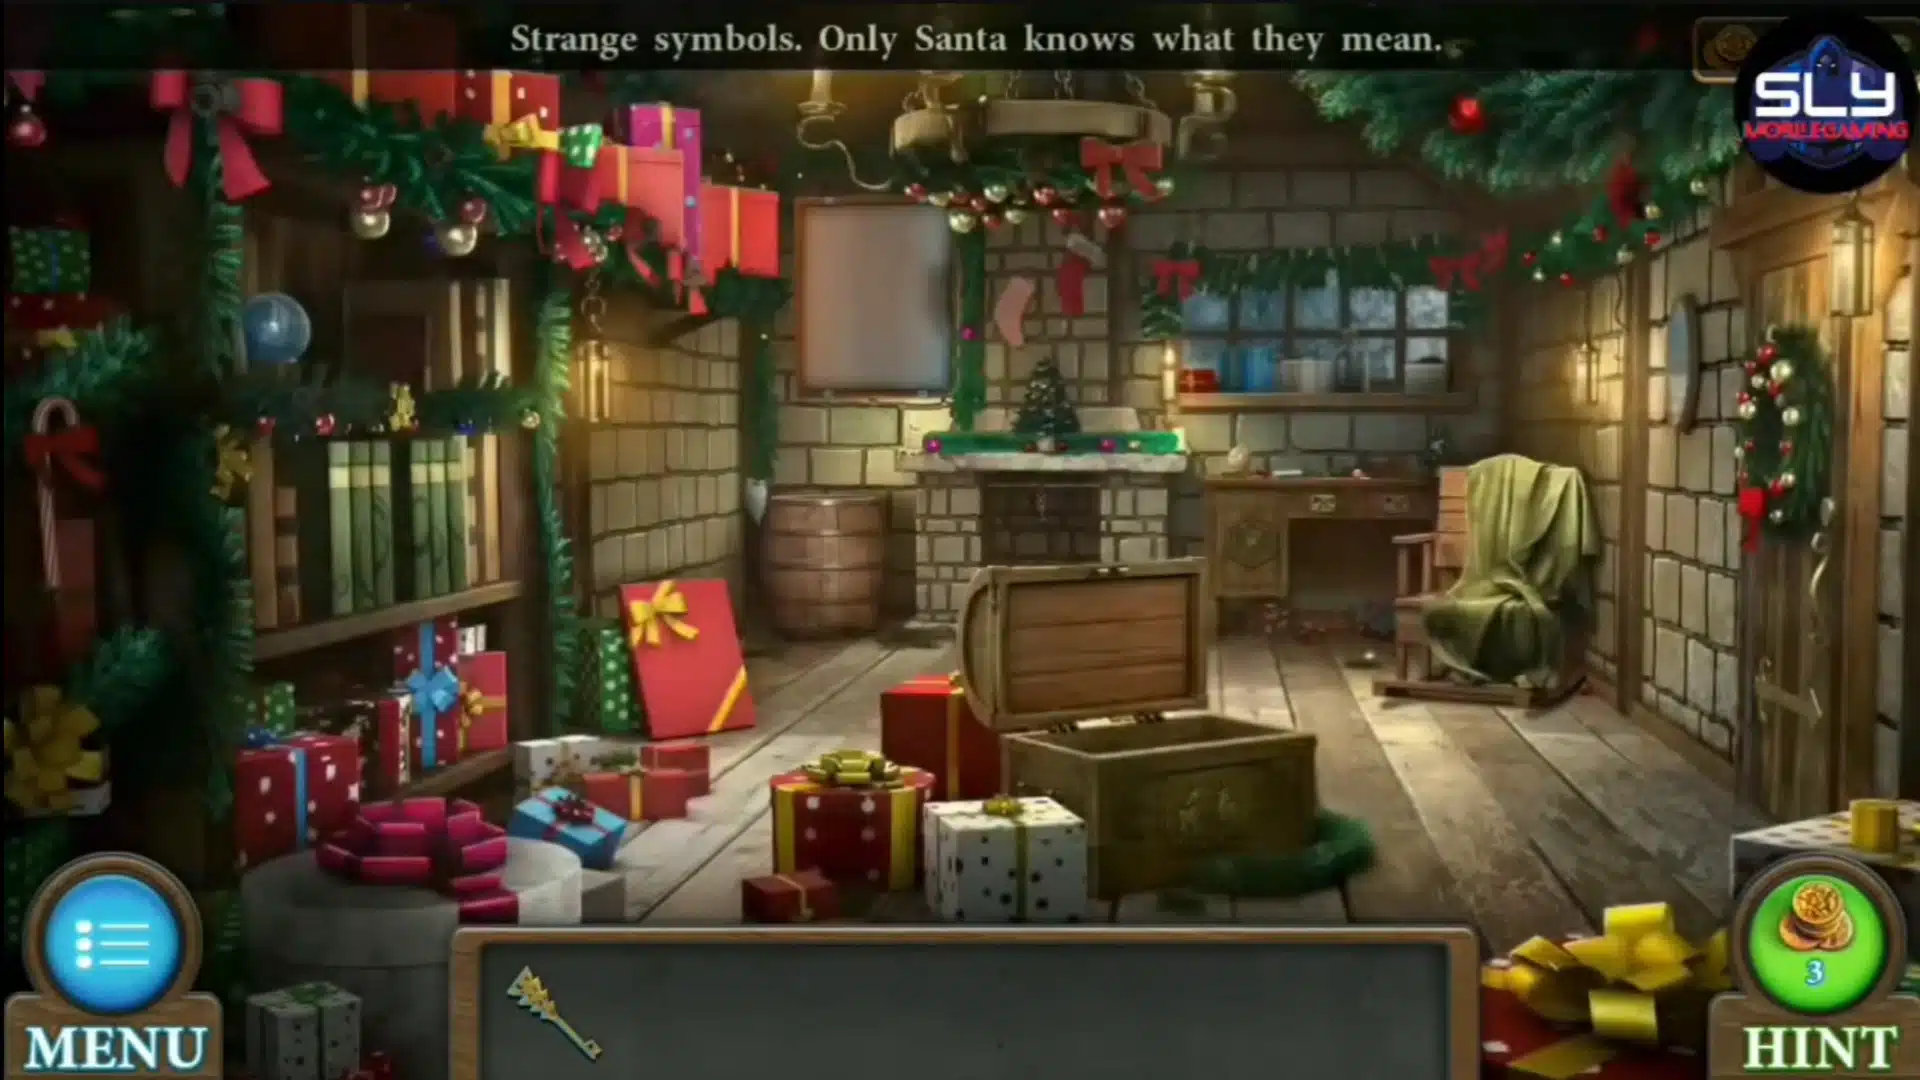
Santa’s House starts inside the cabin. Use the broom to knock the figurine from the chandelier, then find the second figurine inside the chair.
Place both on the chest and solve the color-matching puzzle. Take the key, beard, and empty frame before heading outside.
The remaining level connects several objectives:
- Treat the sick reindeer.
- Complete chip, rotation, book, and peg puzzles.
- Prepare Santa’s missing outfit pieces.
- Work through the workshop.
- Restore the conveyor system.
- Solve the line connection puzzle.
I would keep every clothing piece and workshop component until the game clearly consumes it. The final sequence depends on completing both sides.
15. Wild West
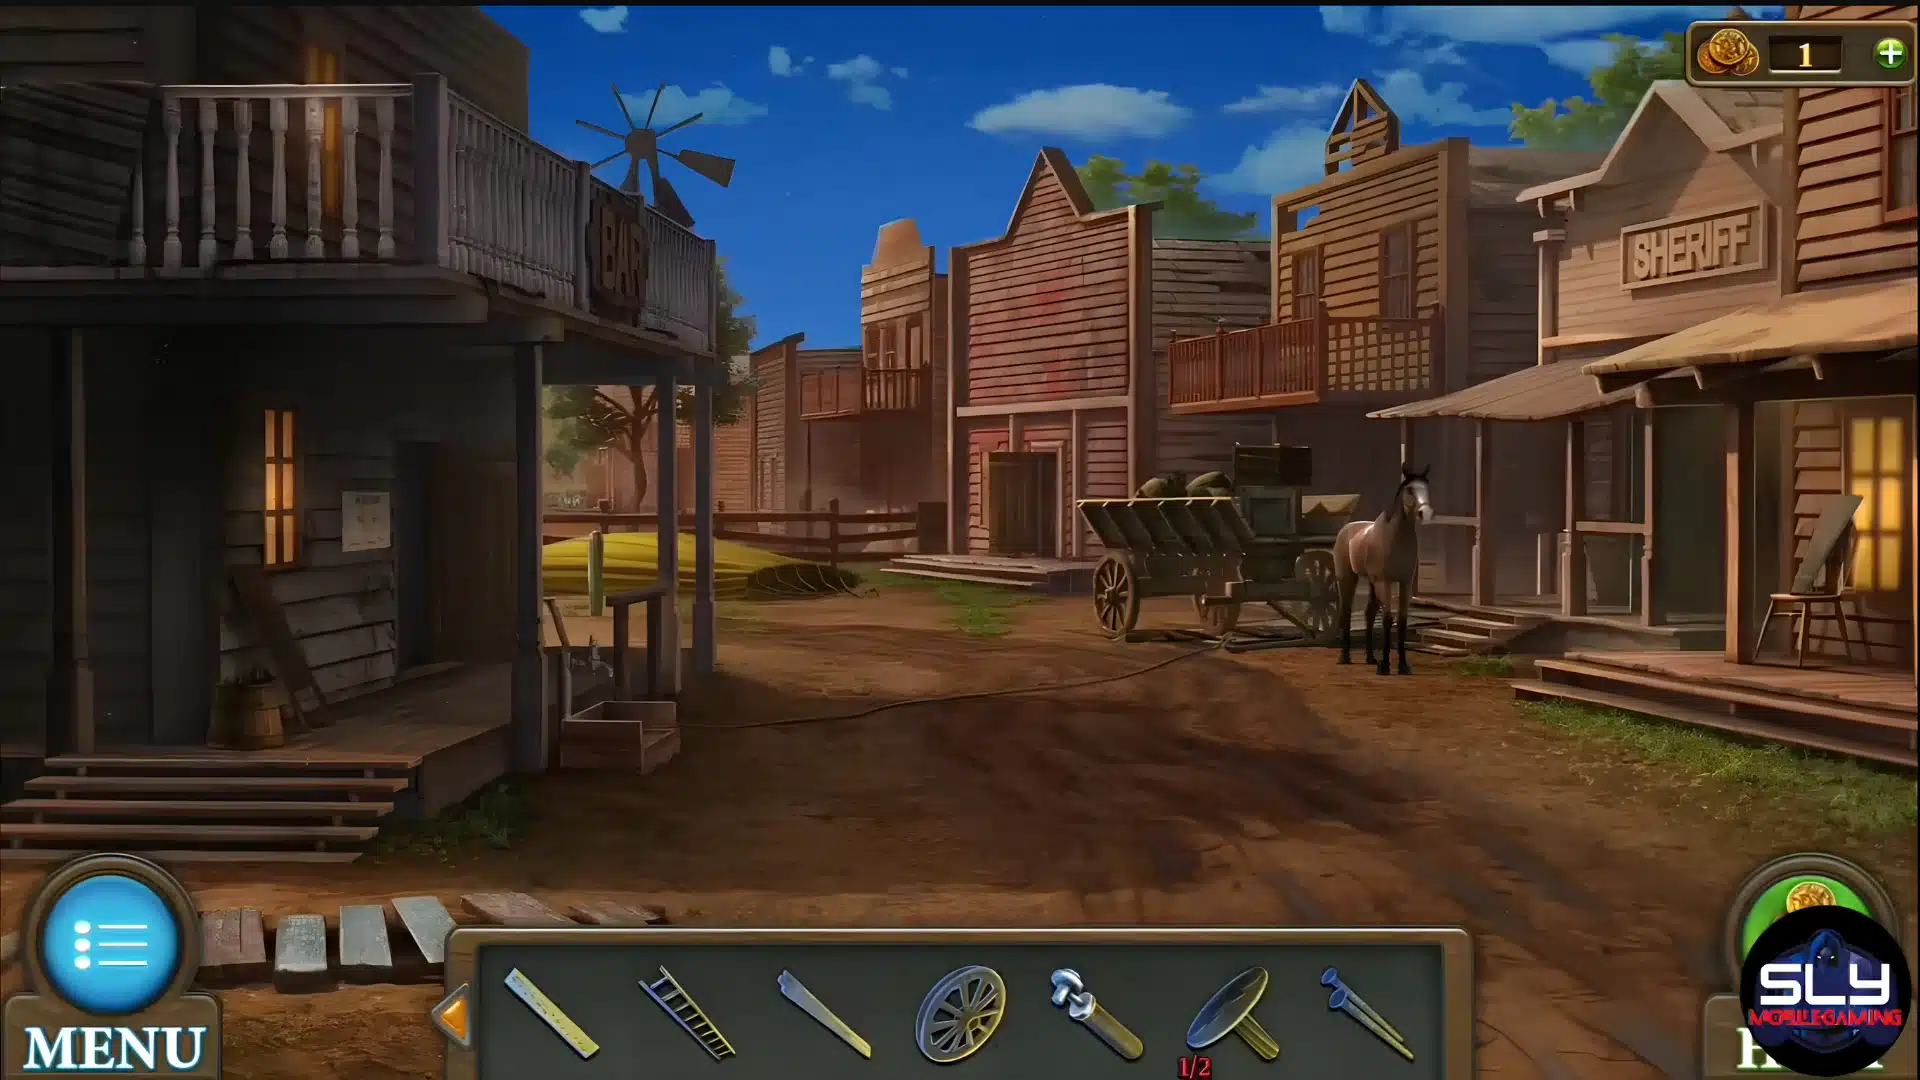
Wild West begins in the Sheriff’s office. Collect the corkscrew, pencil, and empty mug. Take the hammer near the heater and the glove from the barrel.
Remove the barrel ring, open the barrel, and fill the mug with water. Use the glove to open the heater, pour in the water, and take the key. The key opens the first major rotation puzzle and gives access to town.
Later you will work through:
- Maze and stained glass puzzles
- Piano melody clues
- Card arrangements
- Pin removal puzzles
- Tool crafting
- Balloon repairs
Finish the balloon setup correctly, then use it to escape the Wild West town.
16. Aerodrome
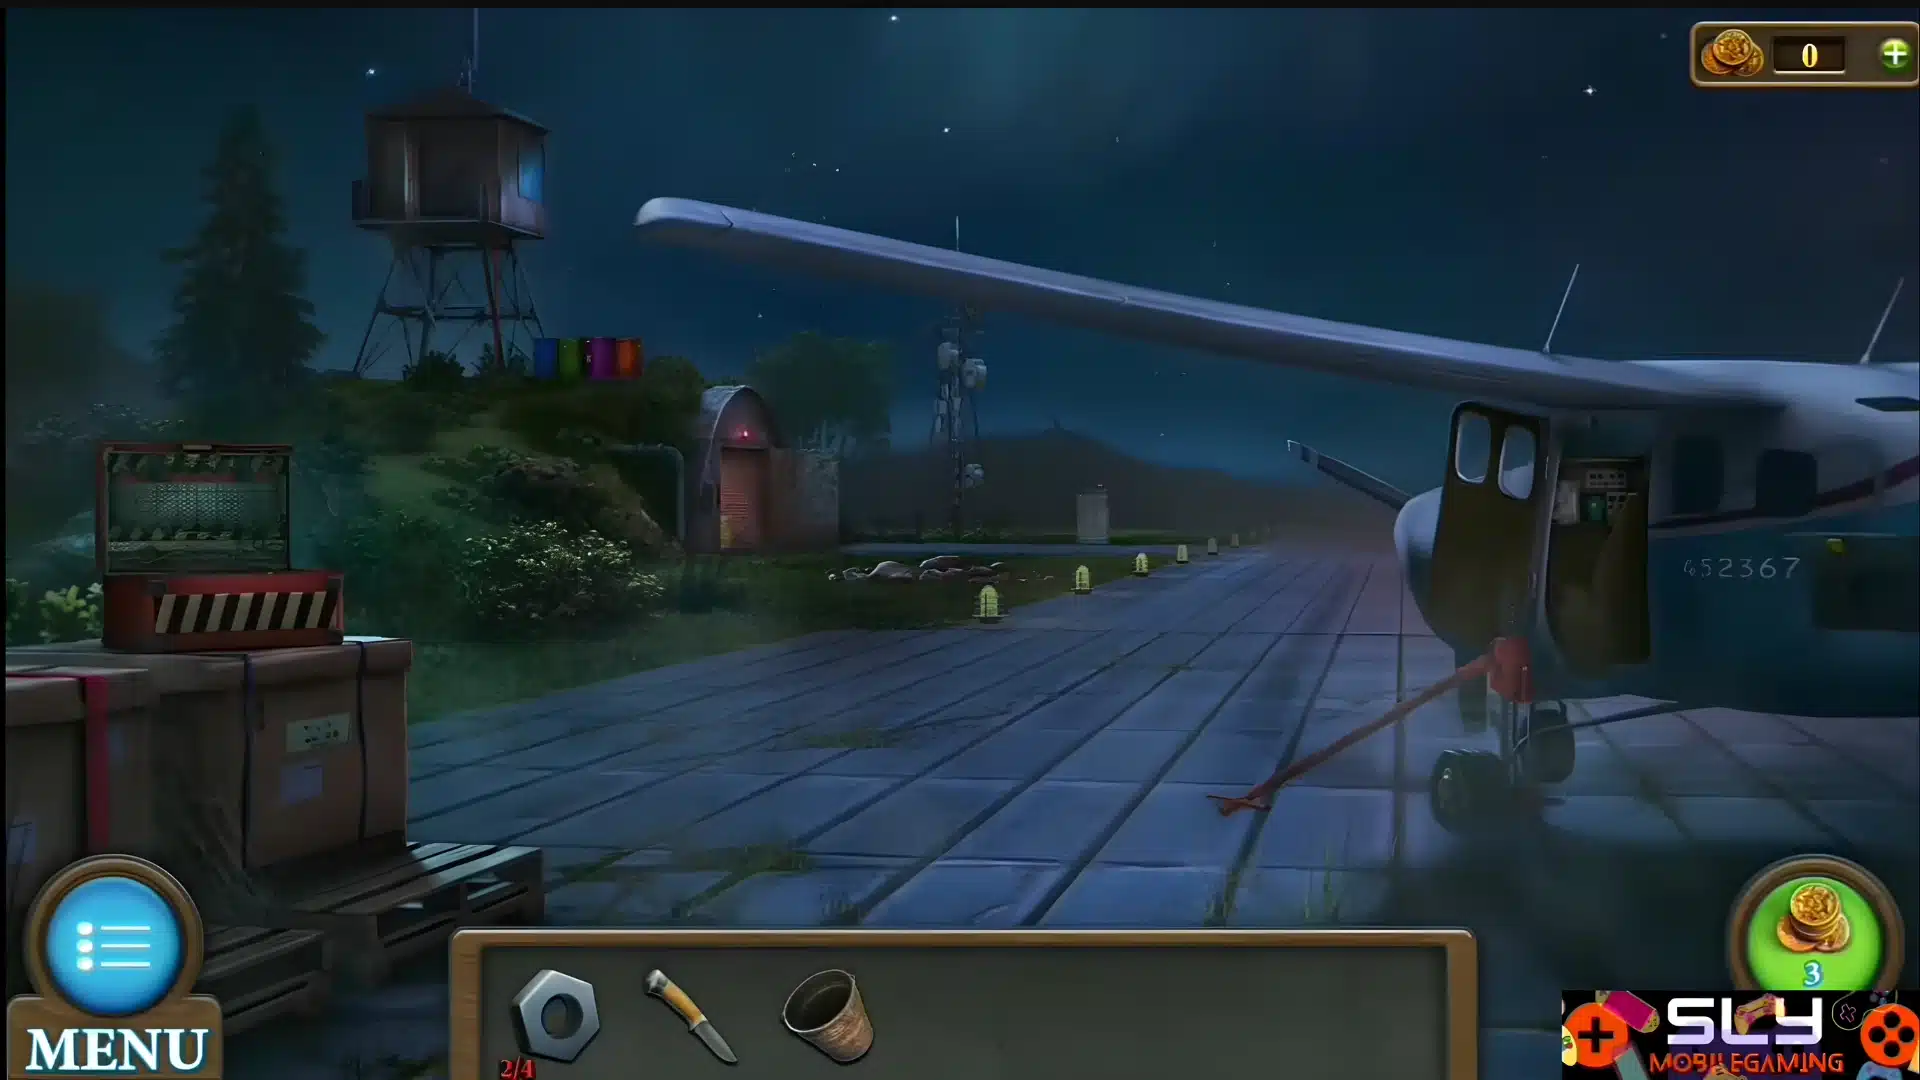
Aerodrome starts beside the plane. Collect the first nut near the red box and the first arrows around the airfield. Raise the aircraft with the jack to find another arrow, then take the key near the hangar.
Use the key on the red box and solve the chip puzzle.
Take the knife and hook, cut the straps for the cable, then combine the cable with the hook. Use the rope with the hook to reach the watchtower.
From there:
- Restore electrical connections.
- Find the remaining plane parts.
- Extract fuel.
- Repair damaged systems.
- Complete the arrow and wiring puzzles.
Finish the aircraft repairs and use the plane to leave the aerodrome.
17. Ship
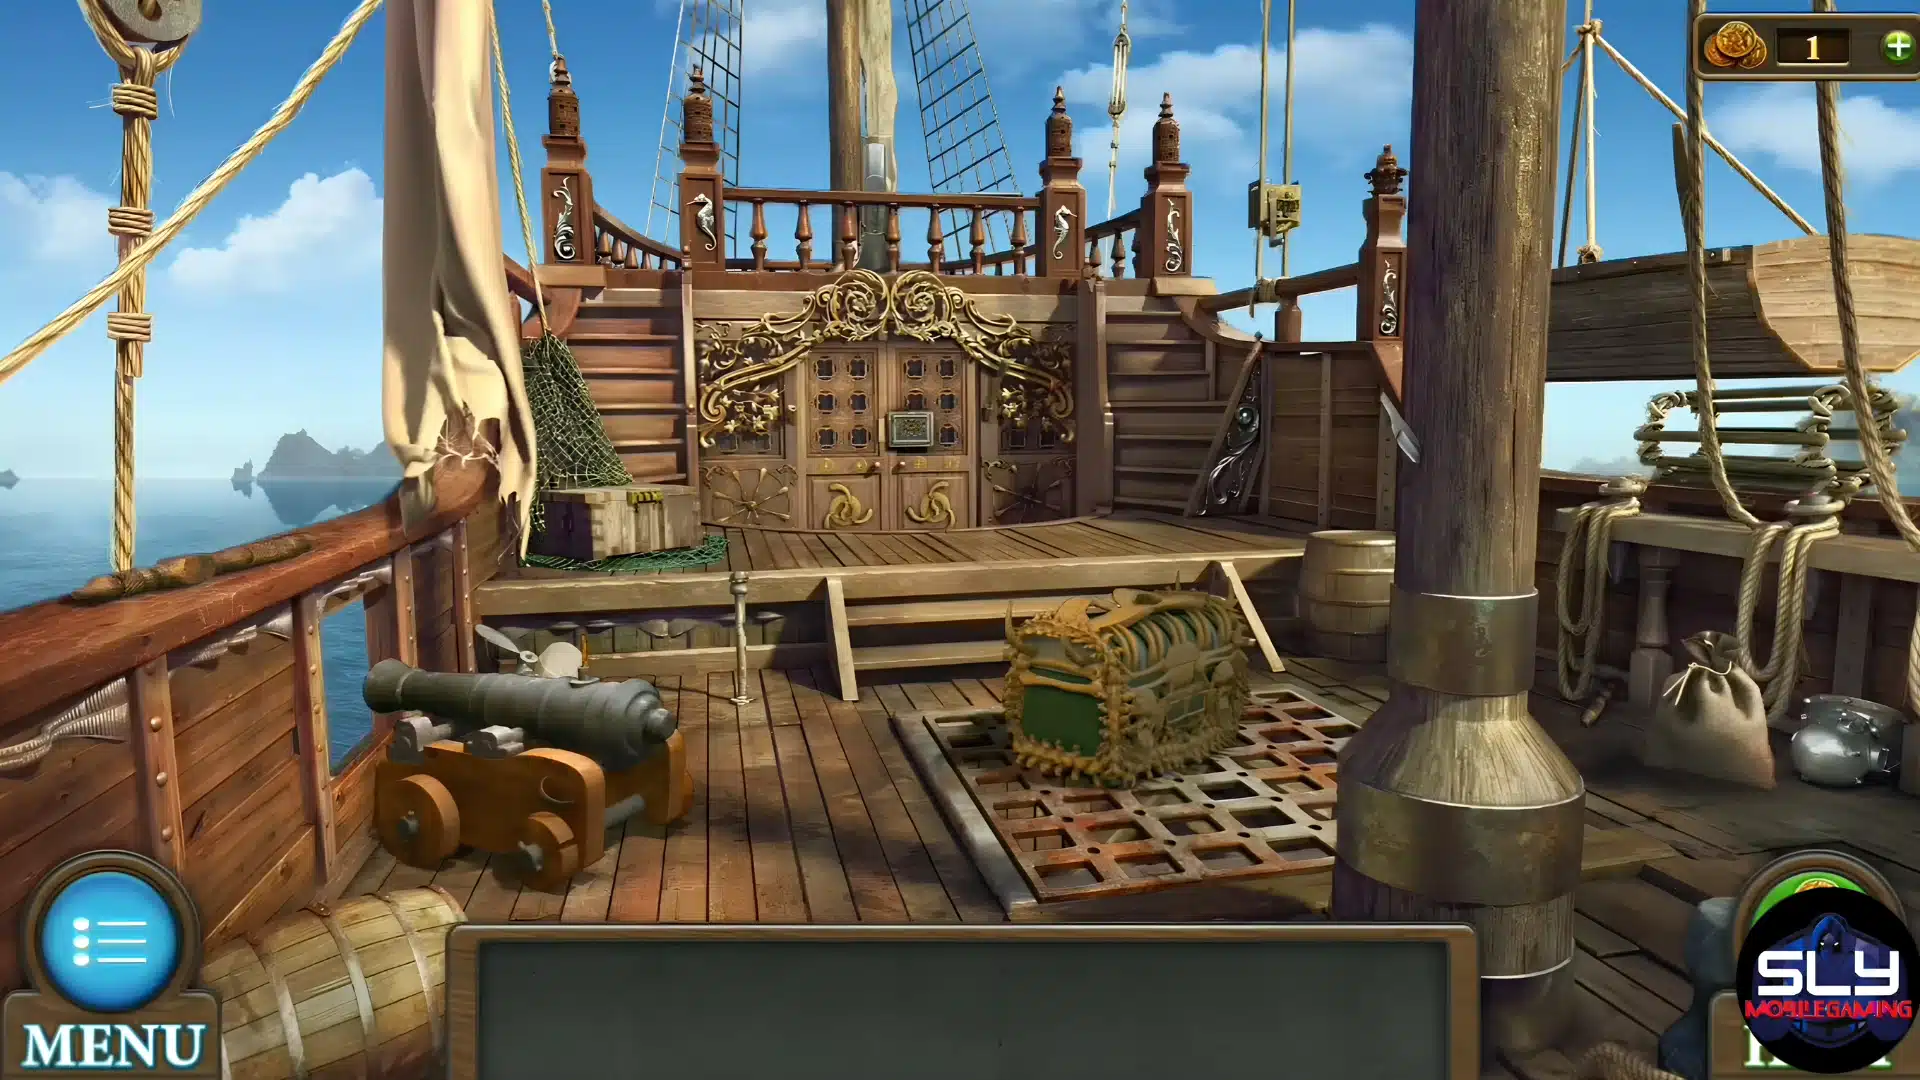
Ship spreads its puzzles across the deck, cabins, control areas, and engine spaces.
Start by inspecting the deck carefully for tools, keys, equipment, and environmental codes before pushing deeper into the vessel.
Progress depends on completing several connected systems:
- Open locked cabins and storage spaces.
- Solve combination locks.
- Use navigation clues correctly.
- Repair mechanical systems.
- Complete the code and mechanism puzzles.
- Restore the equipment required for the final escape.
This is one level where I would search every newly opened compartment immediately. A small part from a drawer or cabinet can block a much larger ship mechanism later.
18. Egyptian Pyramids
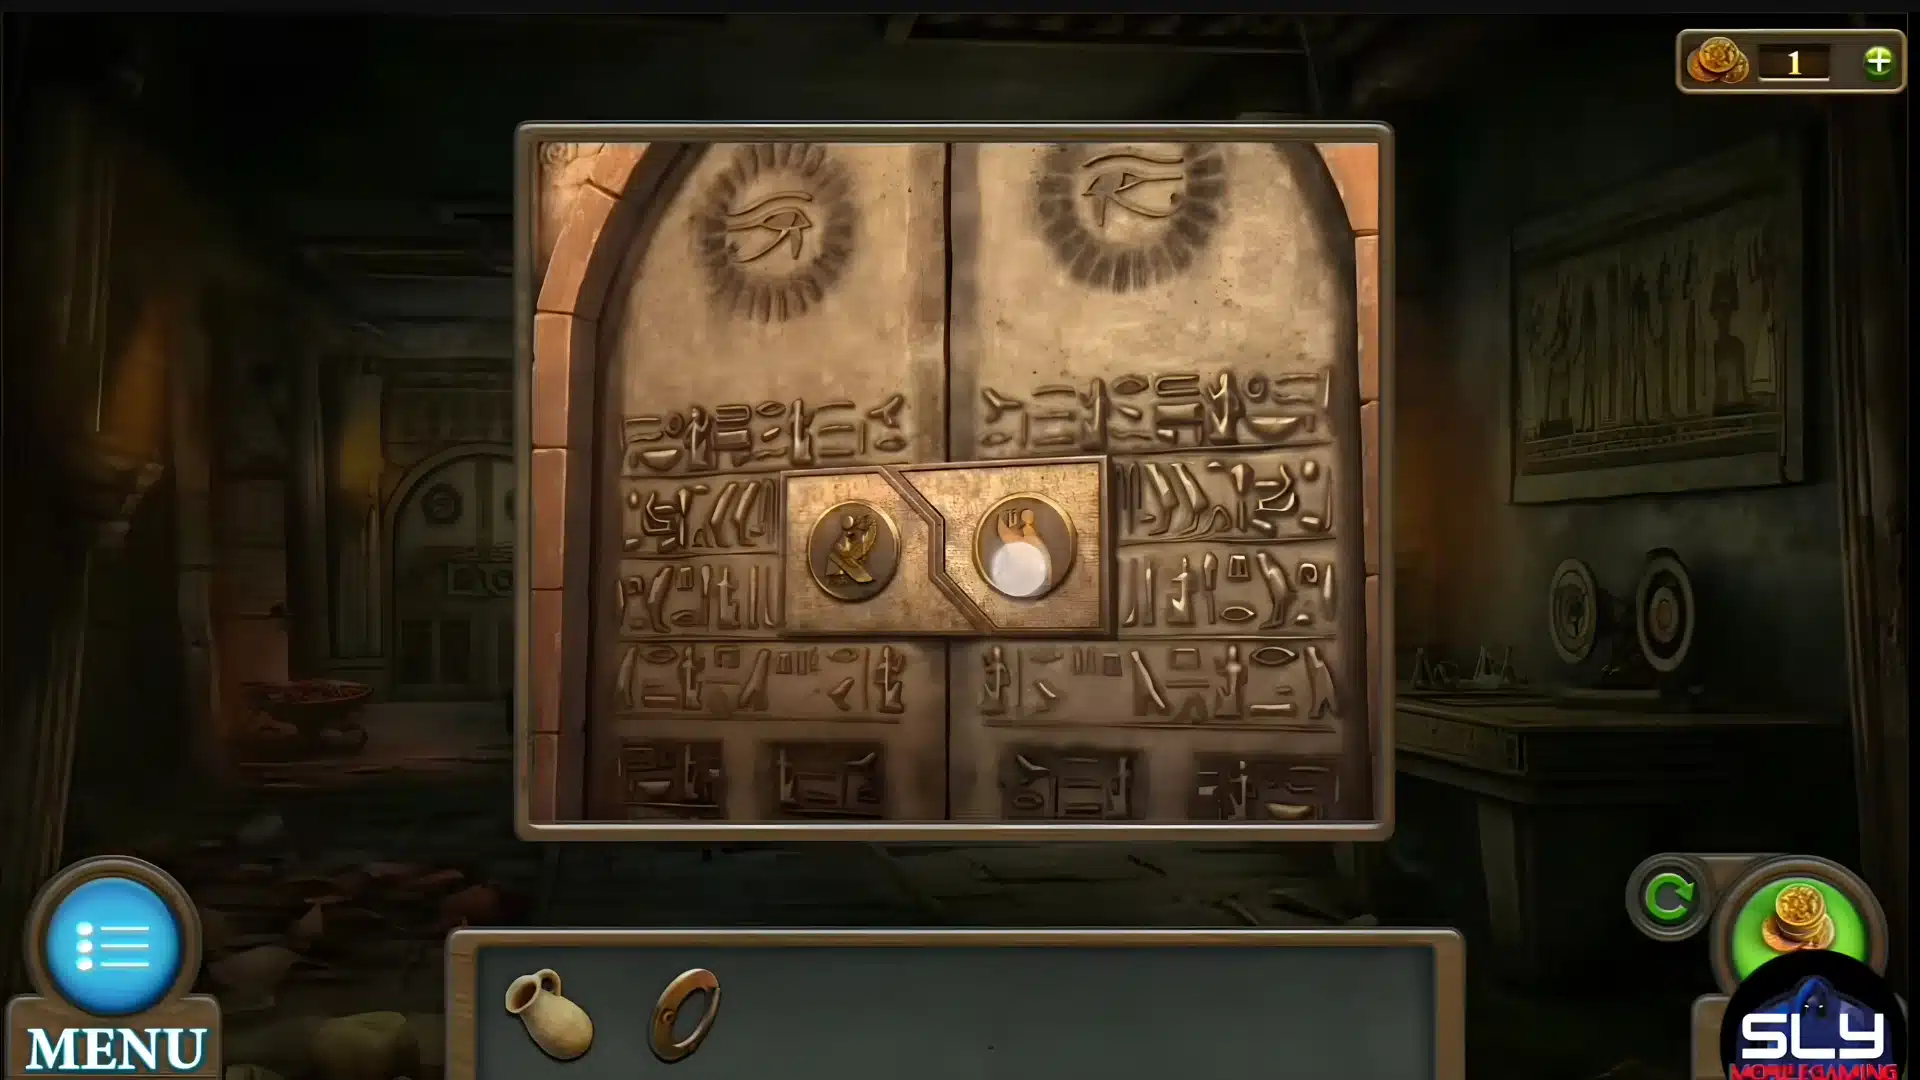
Egyptian Pyramids begins inside the first chamber. Collect the water jug, metal circle, and oil.
Put the metal circle onto the tabletop statue and solve the two-sided ring puzzle by completing both images. Take the figurine from the opened compartment and use it on the distant doors.
The deeper chambers involve:
- Door lock puzzles
- Number blocks
- Scarab mazes
- Pipe connections
- Light reflection
- Column symbols
- Pyramid color patterns
- Torch preparation
The ring puzzle is worth doing carefully because moving one side affects the other. Once the later chambers are solved, complete the final mechanism and leave the pyramid.
19. Mayan Pyramids
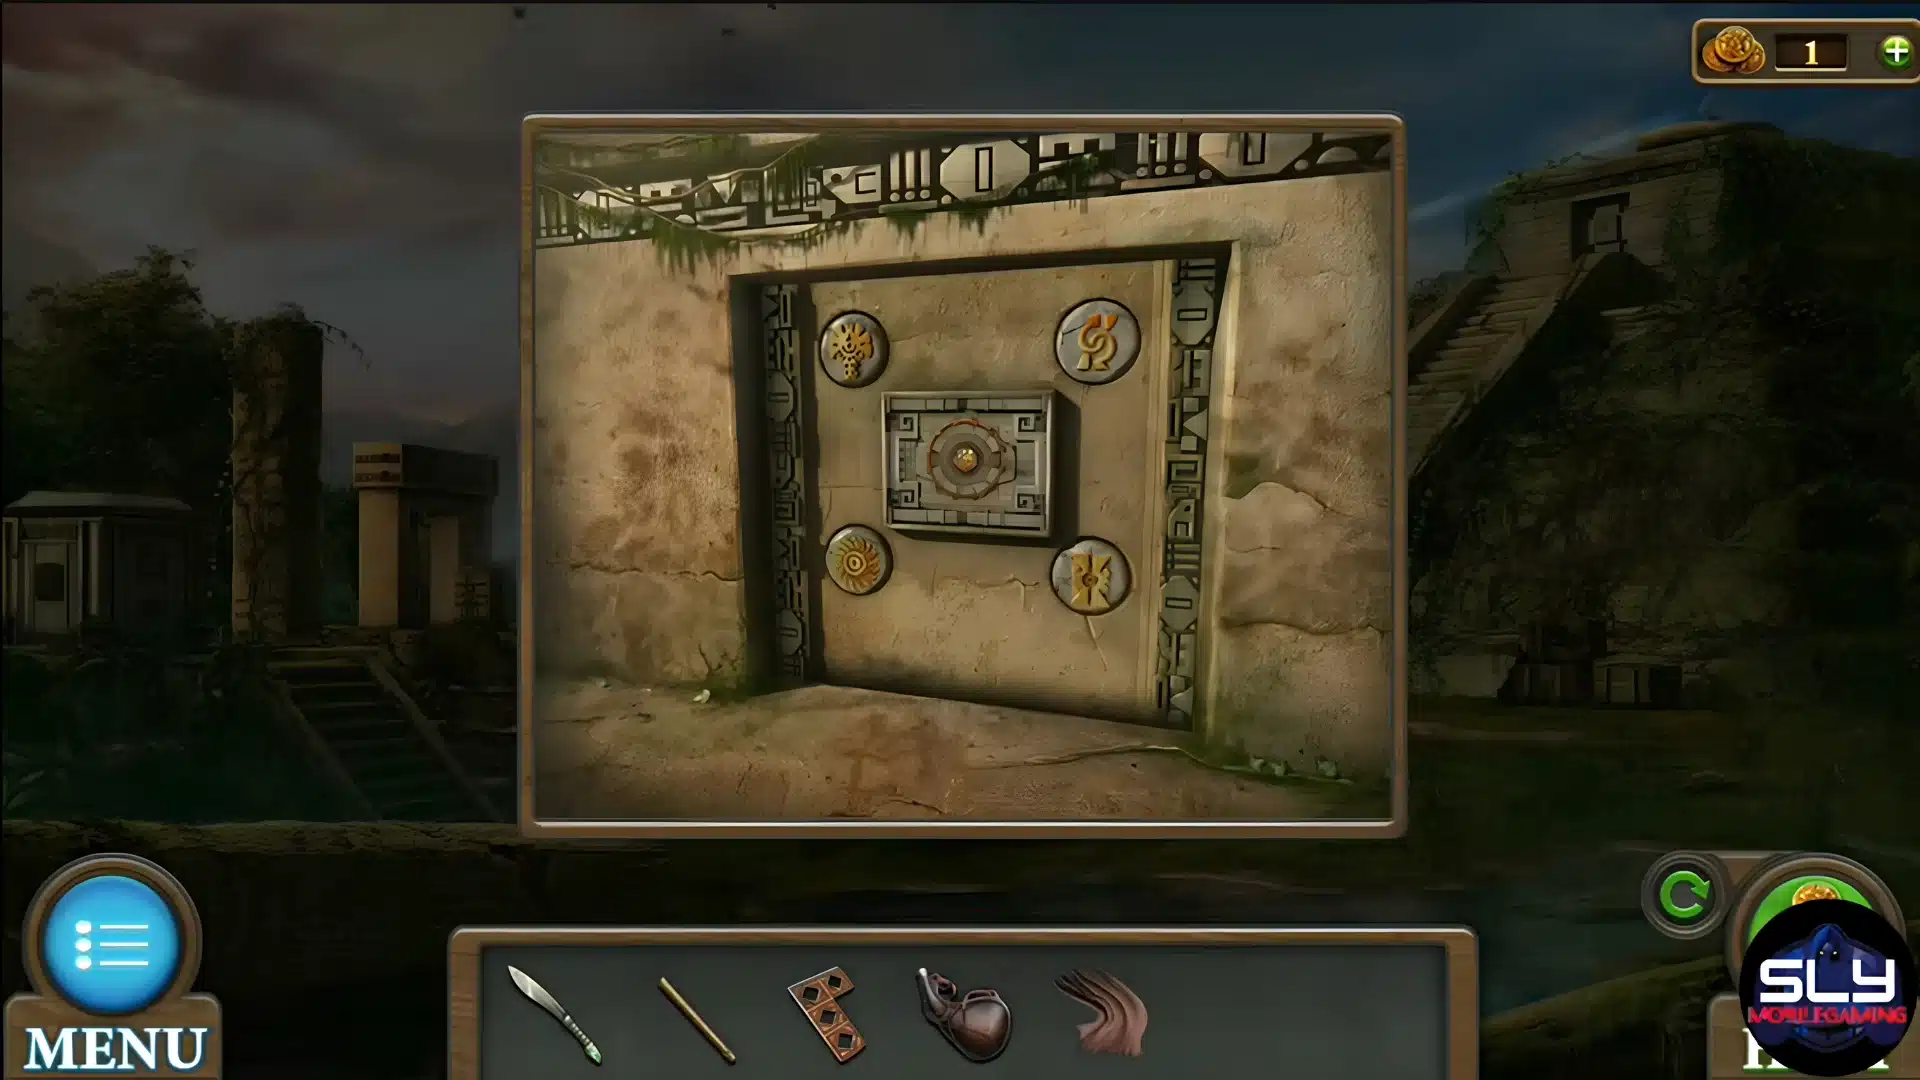
Mayan Pyramids starts outside the ruins. Take the knife and first stones from the central log.
Cut the rope around the large crate, collect that rope, then find another stone near the archway before heading toward camp. The level soon expands across the jungle, camp, and pyramid chambers.
You will need to:
- Make a hook on a rope.
- Build or recover a shovel.
- Complete statue and zodiac puzzles.
- Solve stone chest and triangle puzzles.
- Arrange jade figures.
- Work through snake head and circular mechanisms.
Keep collecting every required stone and figure as you go. Missing one can stop the final pyramid sequence completely.
20. Shopping Mall
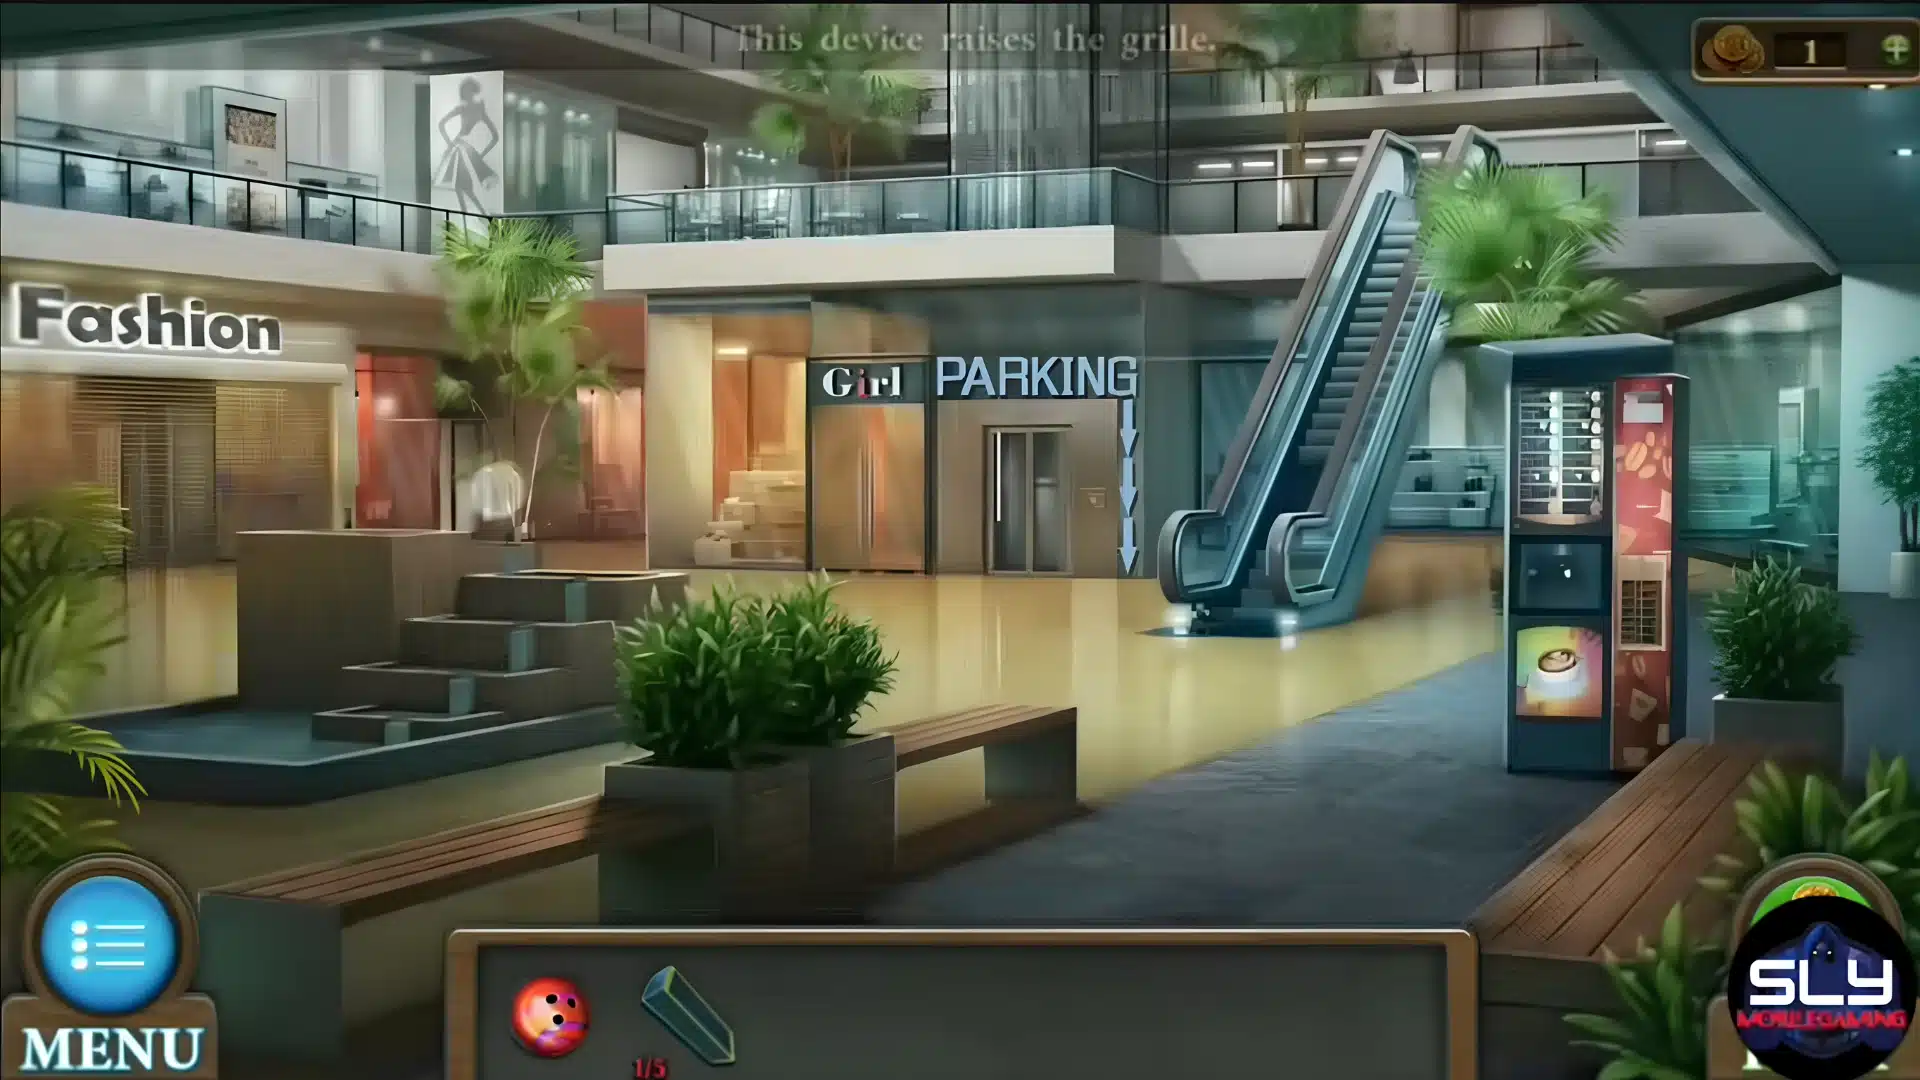
Shopping Mall starts on the main floor. Collect the early steps, take the screwdriver from the plant, unplug the vending machine, and open its panel to retrieve the chip.
Insert the chip into the elevator panel and solve the track-matching puzzle. Use the elevator to access the parking garage.
Your main progression includes:
- Collect five steps.
- Recover and use the car battery.
- Enter the Fashion shop.
- Complete the fire cabinet and slider puzzles.
- Collect the bowling balls.
- Finish the bowling challenge.
- Solve the triangle puzzle.
- Operate the ticket machine.
Obtain the parking ticket and use it to complete the mall escape.
21. Tropical Forest
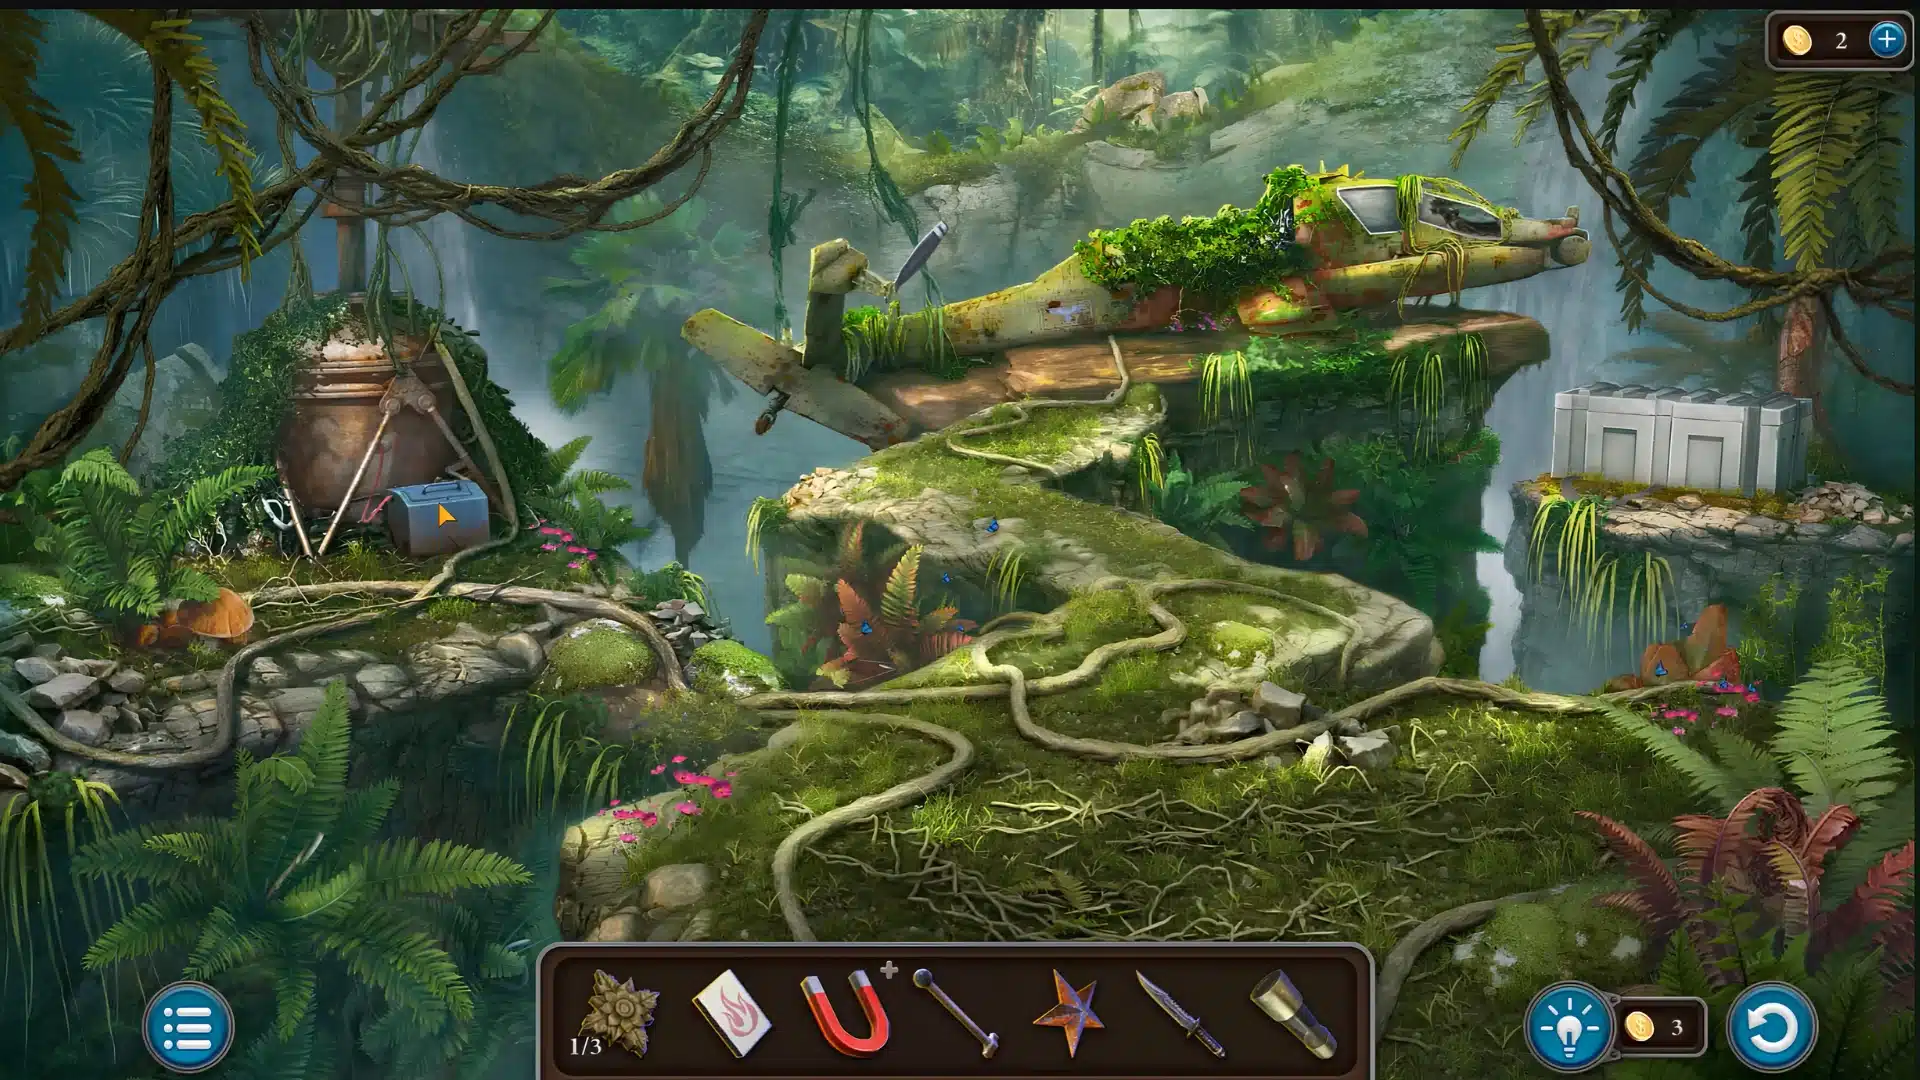
Tropical Forest begins inside a prison cell. Collect the stone flower, rag, bent nail, and stone. Straighten the nail with the stone, clear the blocked pipe, wet the rag, then use the rag and stick on the cell door to bend the bars.
After escaping:
- Repair and start the generator.
- Solve the star lock.
- Open the route to the oil pump.
- Repair the pump and obtain the speargun.
- Lower the bamboo bridge.
- Solve the wire and painted face puzzles.
- Help the other prisoner.
- Collect parts for the seaplane.
The episode ends after the aircraft is repaired and ready for escape.
22. Drifting Tanker
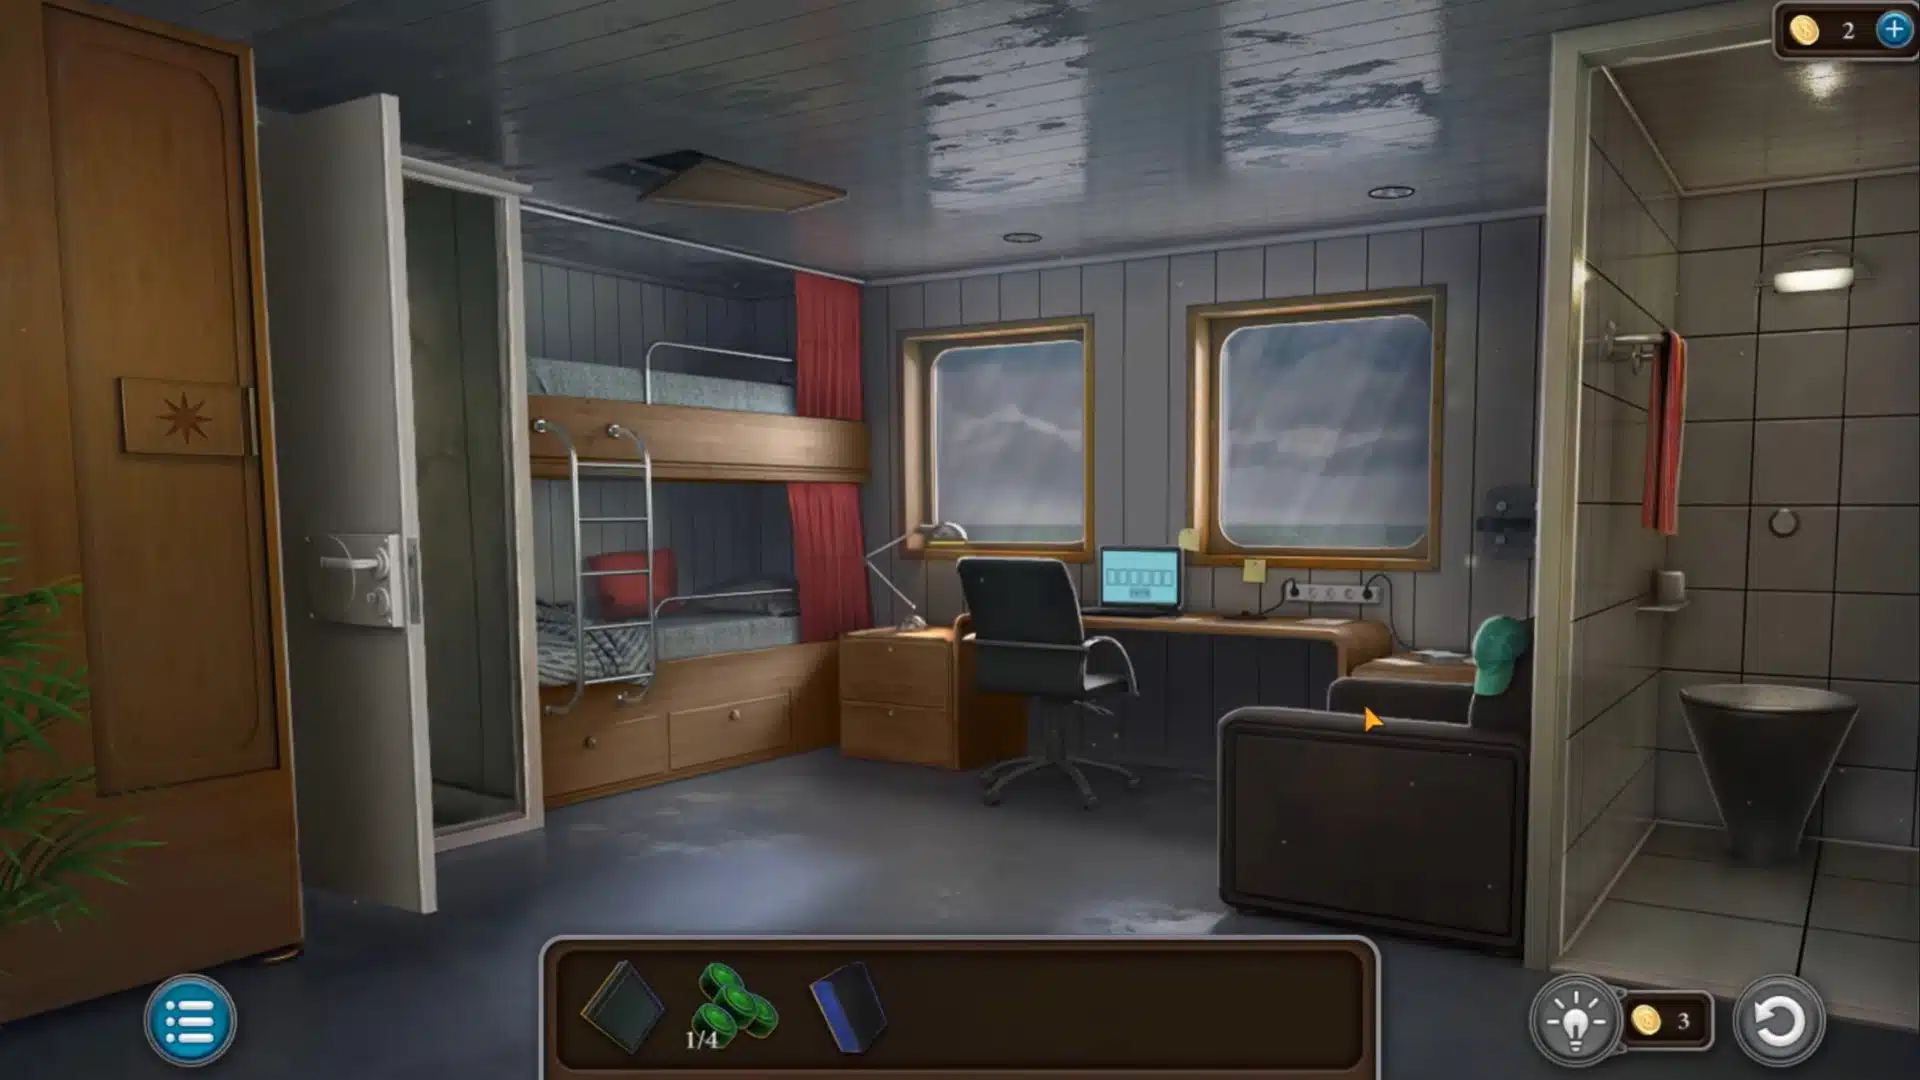
Drifting Tanker takes place across several sections of the ship, so begin by clearing the starting area of every usable object before moving on.
Pay particular attention to control panels, storage spaces, navigation equipment, and mechanical components.
The level is built around a repeating pattern:
- Search each new ship area thoroughly.
- Match tools to damaged or locked mechanisms.
- Use environmental clues on control systems.
- Combine items when individual pieces have no obvious use.
- Restore the systems needed to progress between sections.
If you become stuck, return to earlier compartments. This episode hides useful components in areas that can feel finished before they actually are.
The same patience pays off in slower, timing-based puzzles too, which is part of why our Google Boba Game guide stresses precision over speed.
23. Haunted Castle
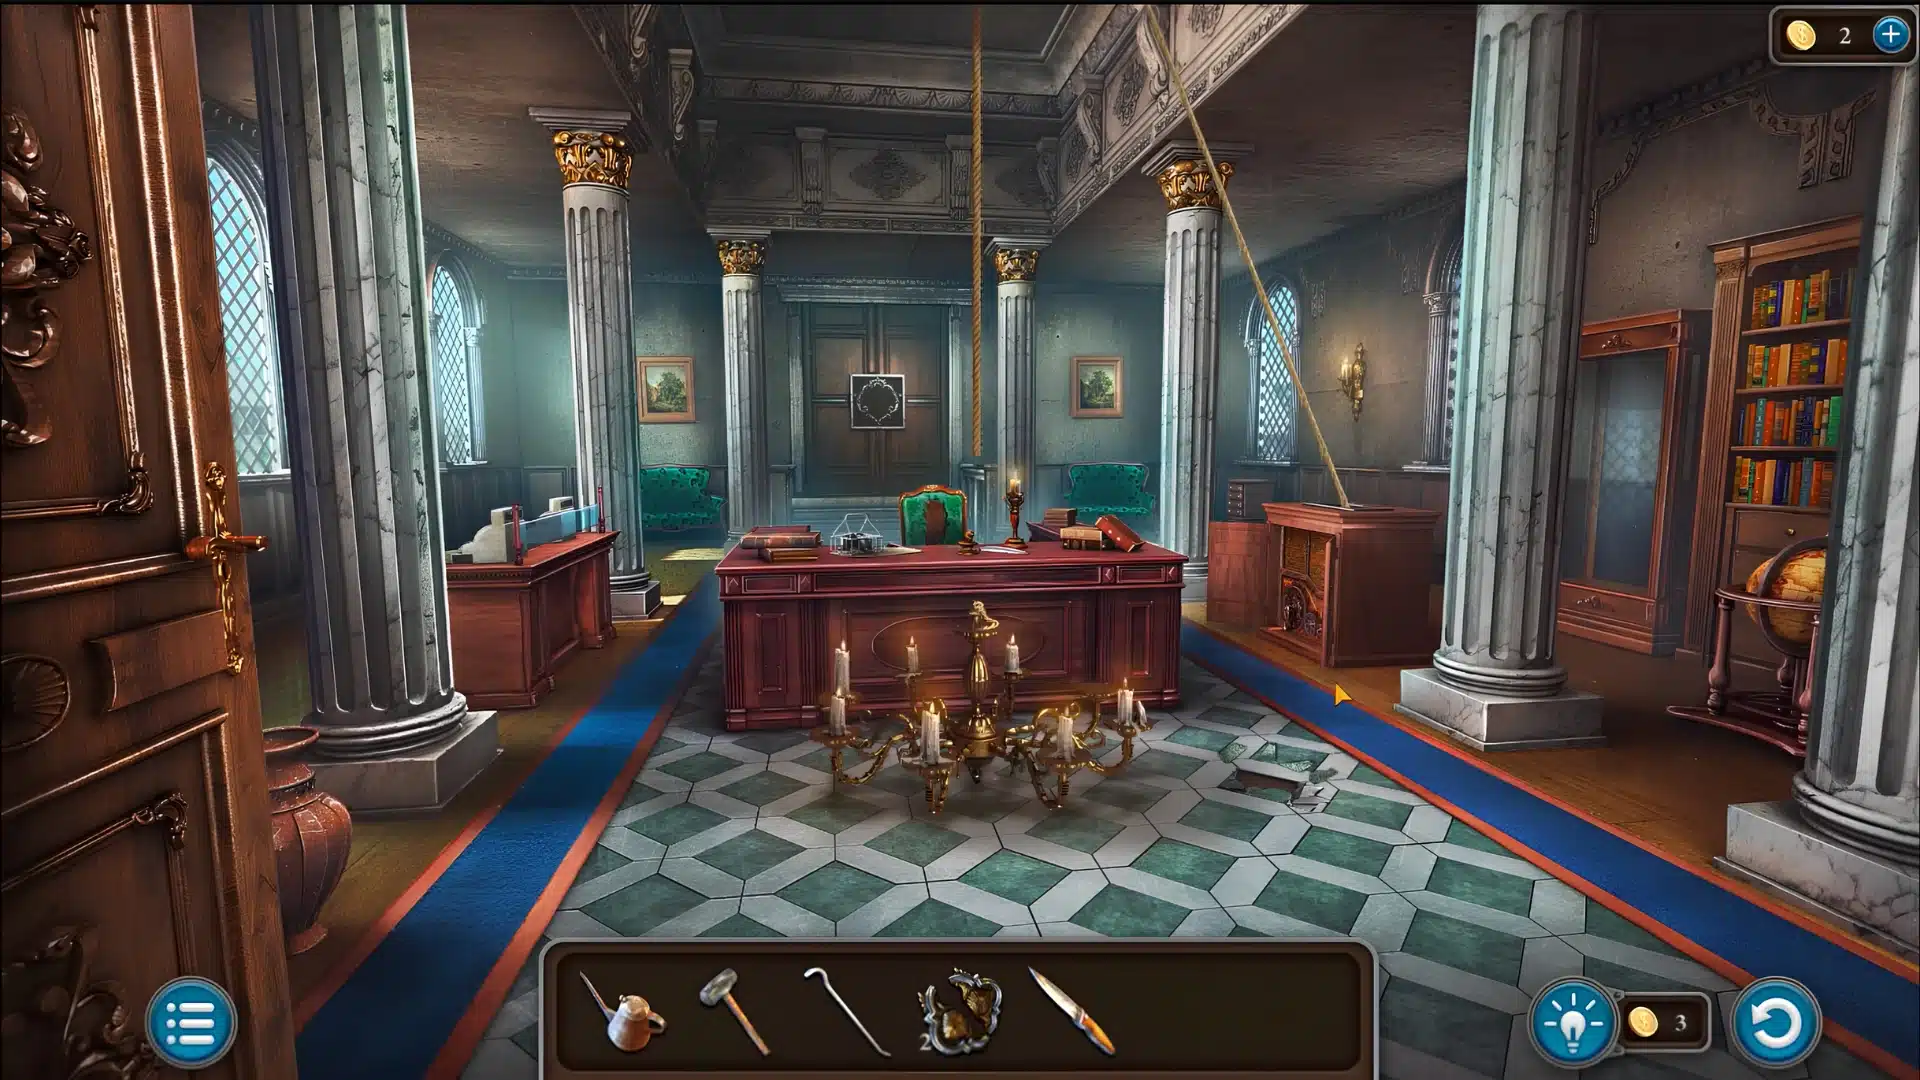
Haunted Castle begins outside a damaged castle. Collect loose boards, nails, and nearby tools, then repair the broken walkway sections so you can reach the entrance.
Inside, the route becomes more mechanical:
- Open the side areas and warehouse.
- Collect gears and fit them into the wall mechanism.
- Lower the chandelier.
- Search it for a required item.
- Repair incomplete statues using the nearby clue.
- Continue collecting the pieces needed for the portal staff.
- Solve the remaining castle mechanisms.
The final objective is to assemble the staff correctly and use it to activate the portal that provides your escape.
24. Enchanted Woods
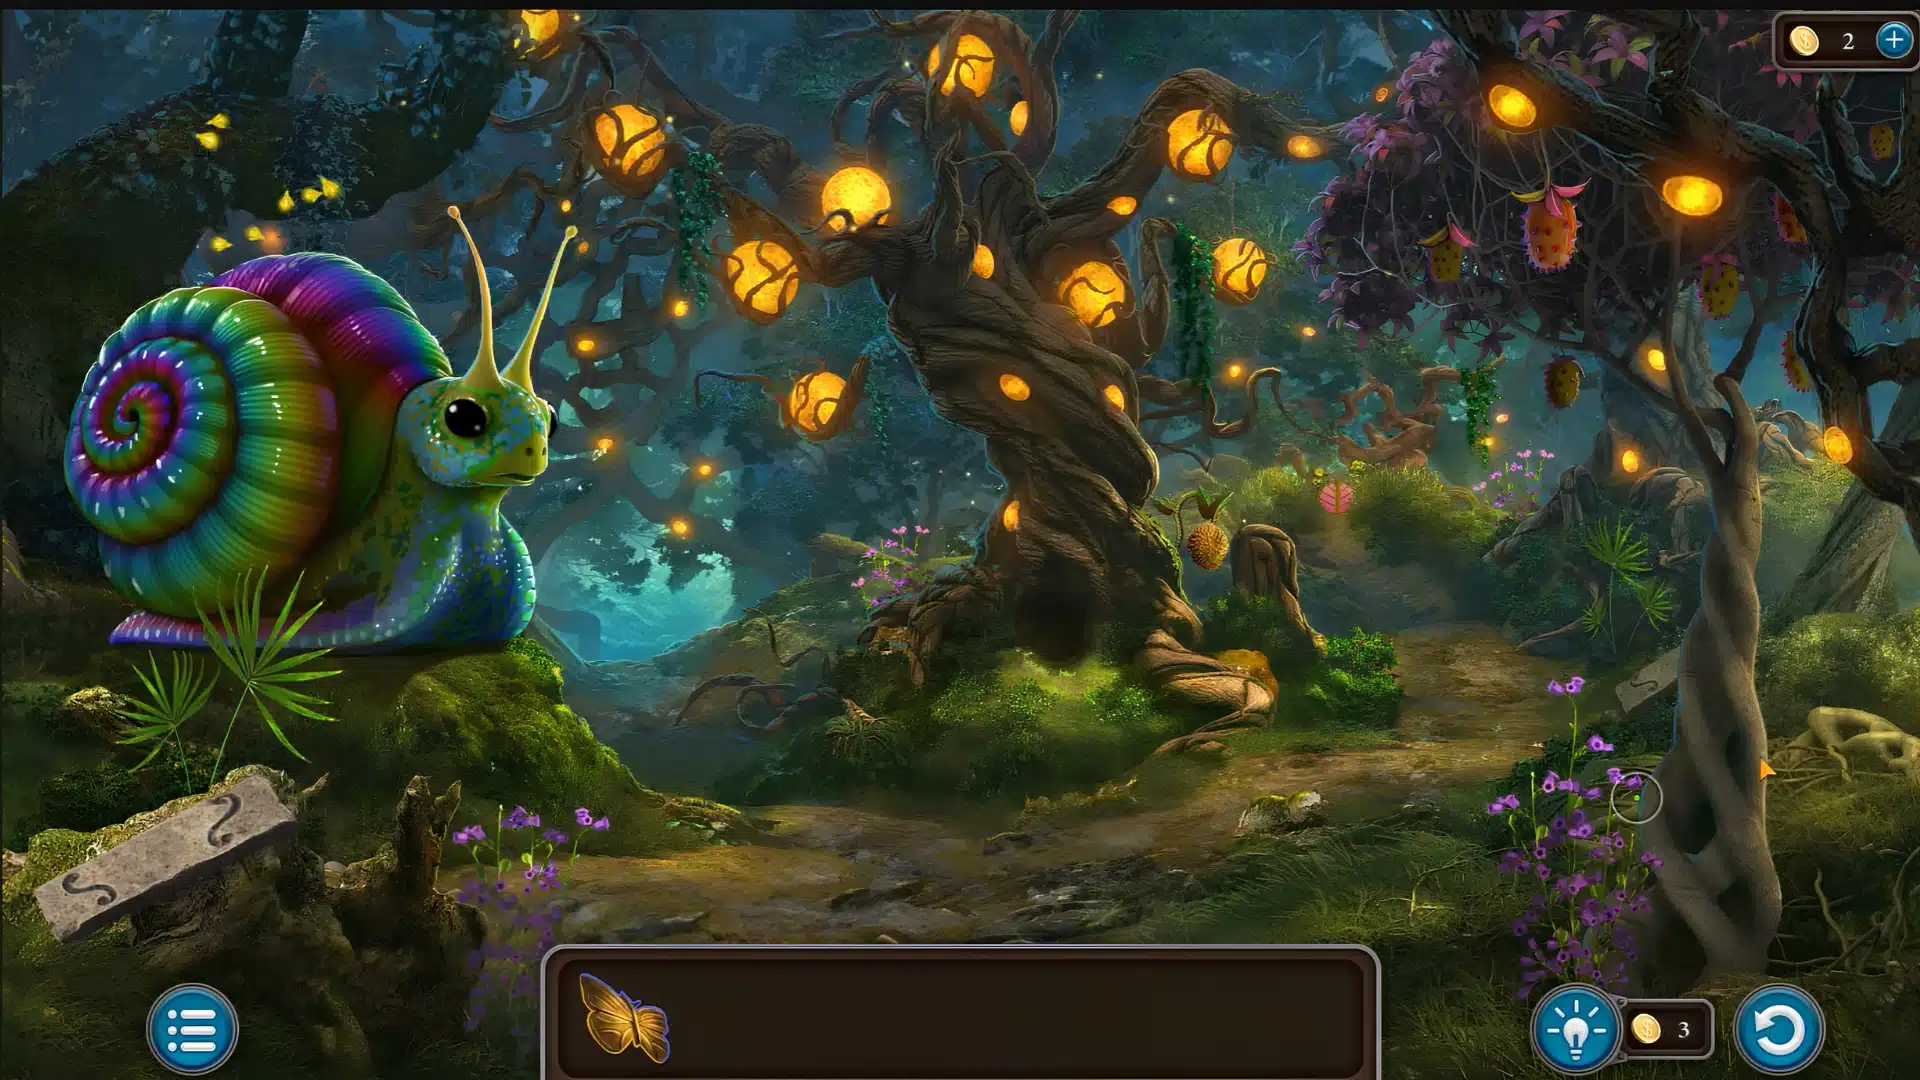
Enchanted Woods begins with the growth potion sequence. Collect the wooden handle, mug, dried spurge, rope, rag, and butterfly.
Use the barrel puzzle to obtain water, combine the potion ingredients, clean the window for sunlight, then use the completed mixture on the entrance.
Outside:
- Catch fireflies and create a light source.
- Collect all ten crystal prisms.
- Use them to obtain the octagonal stone.
- Collect six slabs and rebuild the bridge.
- Help the fairy and gather the fire scroll pieces.
- Build the magic staff.
- Use it against the witch.
- Complete the unicorn, rune, flower, and roof sequences.
Finish the remaining forest path to complete Level 24.
25. Other World
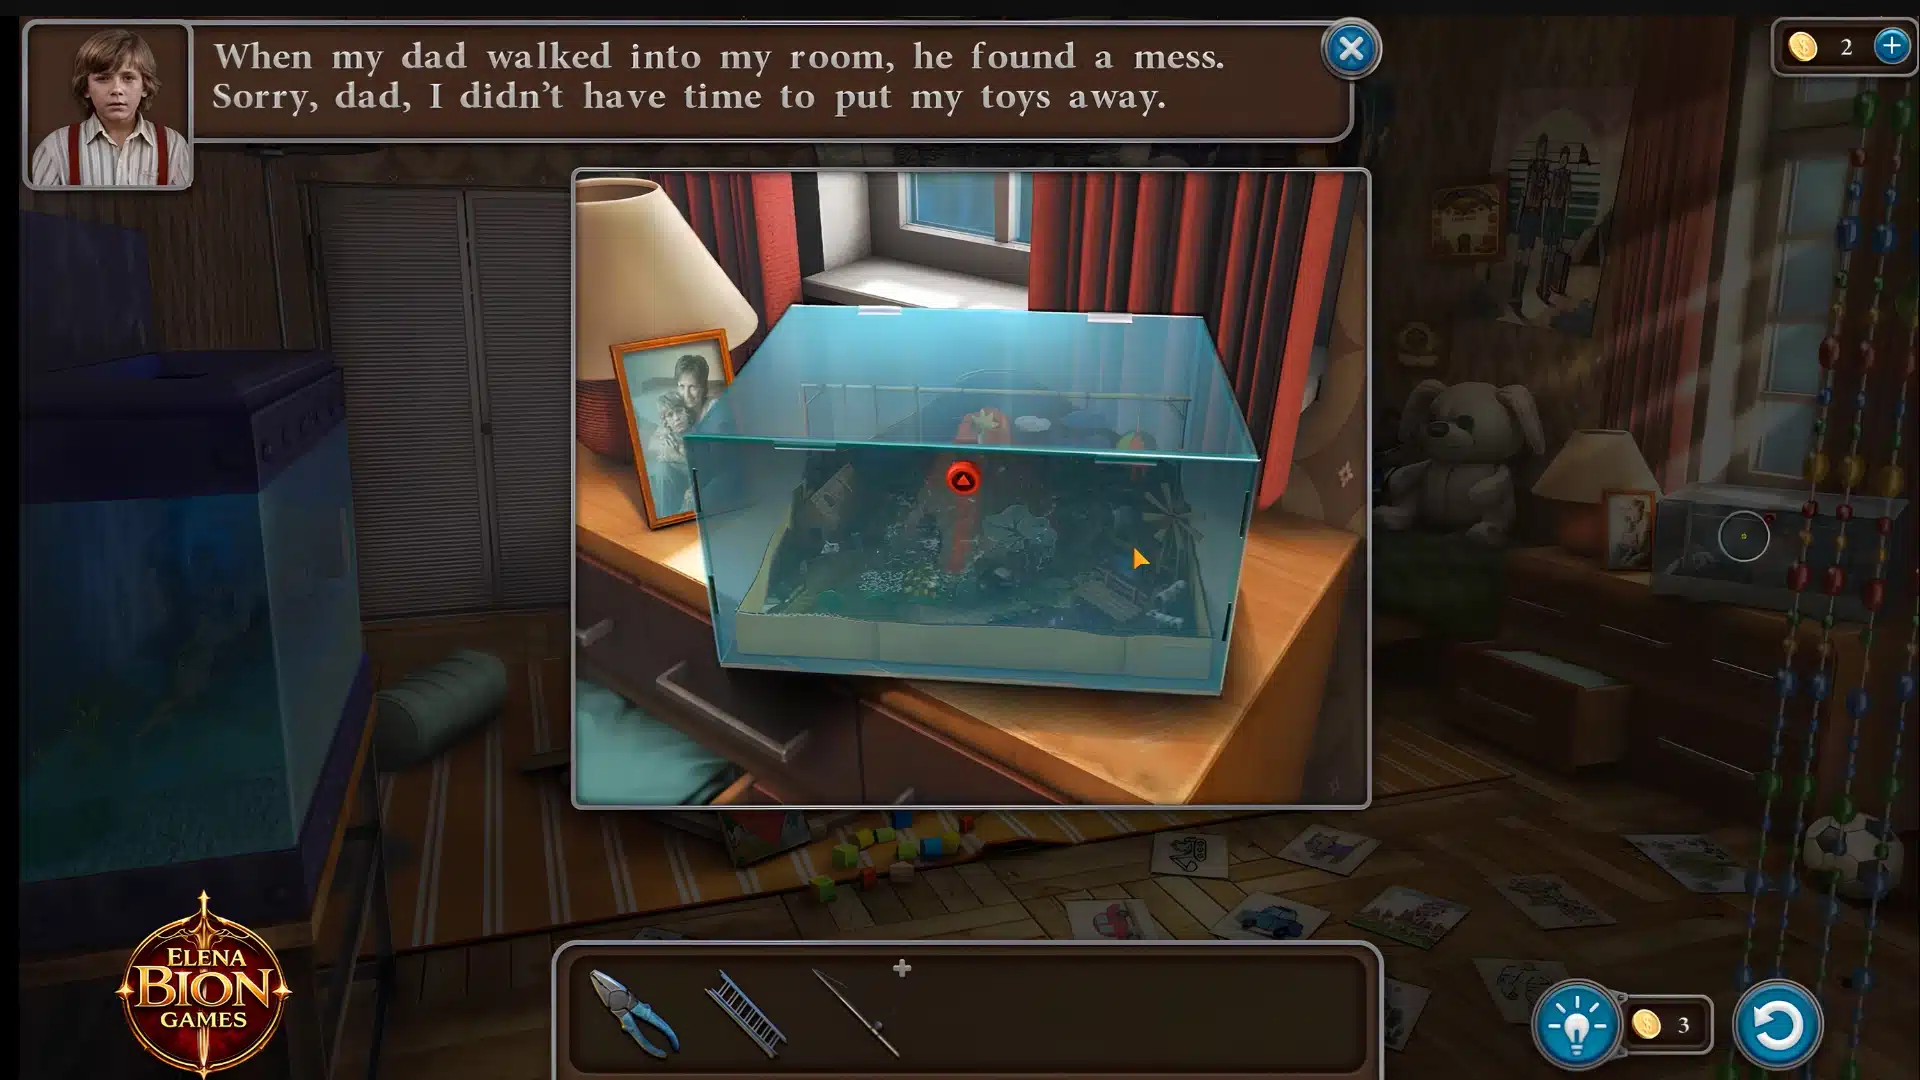
Other World sends you between your suburban home and its abandoned mirror version as you search for your missing child.
The chapter is longer than earlier levels and depends on power restoration, tool reuse, and several connected prerequisites.
- Repair the TV cable early to reveal the payphone number.
- Collect all six rubies before opening the shelf box.
- Fuel and start the generator before using powered machines.
- Keep the crowbar, wrench, screwdriver, magnet, and fishing rod.
- Before confronting the monster, record the UV bedroom code and build the pharmacy syringe. Both are required before the final sequence can properly continue as intended.
Why You May Still Be Stuck in Tricky Doors
A correct puzzle answer does not always mean the level is ready to end. Tricky Doors often links several actions together, so one missed item, clue, or earlier interaction can block the next step even when your current solution is right.
| Check | What to do |
|---|---|
| Inventory | Look for unused items that may belong to an unfinished interaction |
| Earlier areas | Revisit recently opened rooms for missed objects or changed details |
| Mini-games | Confirm every required step was completed before entering the answer |
| Final sequence | Make sure the ending animation or scene transition actually triggers |
If nothing happens, retrace your progress from the last successful action instead of trying random solutions. A level is only complete when the final required interaction triggers the proper ending or moves you into the next scene.
Conclusion
A good Tricky Doors walkthrough should help you do more than copy the next answer.
It should show how items, clues, locks, and earlier rooms connect, because that pattern repeats across almost every level.
Once you start checking your inventory, revisiting opened areas, and waiting for the right clue before solving a puzzle, the game becomes much easier to follow.
Some chapters are longer than others, but the same patient approach works from Magic World to Other World.
Which Tricky Doors level has you stuck right now? Share the chapter in the comments, and tell us which puzzle is slowing you down.
Frequently Asked Questions
How Long Does It Take to Beat Tricky Doors?
A full playthrough usually runs several hours, since Tricky Doors rewards observation over speed rather than fast reflexes. The 25 levels move at your own pace, with no timer, so total time depends on how often you get stuck. Following a written walkthrough for you current level typically cuts that time in half by removing trial and error.
Can You Walk Me Through the Museum Level in Tricky Doors?
Yes. The Museum is Level 6 of Tricky Doors, covered in its own section above, starting in the security office with planks, a screwdriver, a clip, a flashlight, and cloth. From there, the level moves into radio tuning, arranging historical figures, and the cannon puzzle. If progress stalls early, you likely missed an exhibit hall item before entering the security room.
Are Tricky Doors Puzzles Hard?
Difficulty changes from level to level rather than climbing in a straight line. The real challenge is usually spotting which item or earlier interaction unlocks the next puzzle, not solving it once you know what it needs. Later chapters string together longer item chains, so one missed pickup causes more confusion than it would in an early level.
What Should I Do if a Tricky Doors Solution Does Not Work?
First, confirm every earlier step in that room actually finished, since a correct code or mini-game answer will not trigger anything if a required clue or object is still inactive. Go back to your last successful action and compare your inventory against what the level still expects. Retracing usually finds the missed step faster than trying random solutions.